Built & Backyard is reader-supported: we may earn a commission from qualifying purchases made through links on this page, at no extra cost to you.
A sprinkler system is the most expensive plumbing in your yard, and it is also the most exposed: shallow lines, a backflow preventer sitting out in the weather, and low spots that hold water all winter. One hard freeze with charged lines can split a pipe underground, crack the backflow body, or take out a run of heads — and none of it announces itself until spring, when the first watering turns a section of lawn into a swamp. Winterizing is a single afternoon’s work, done in a strict order: water off, drain what drains, blow the rest out zone by zone at safe pressure, and insulate what stays above ground. It finishes the job our outdoor faucet winterizing guide starts — that one handles the hose bibs; this one handles everything past them, underground.
Quick answer
Turn the sprinkler water off at its shutoff, open the manual drains and let gravity take what it will, then connect a compressor through a blowout adapter and clear each zone one at a time — never all at once — at 30–50 PSI for spray zones and no more than 80 PSI for rotor zones, two short passes per zone until the heads mist, not spit. Drain the backflow preventer, leave its test cocks at 45 degrees, and insulate everything above ground. Volume of air does the work, not pressure — that rule is the whole job.
Step 1: Connect safely — the blowout adapter
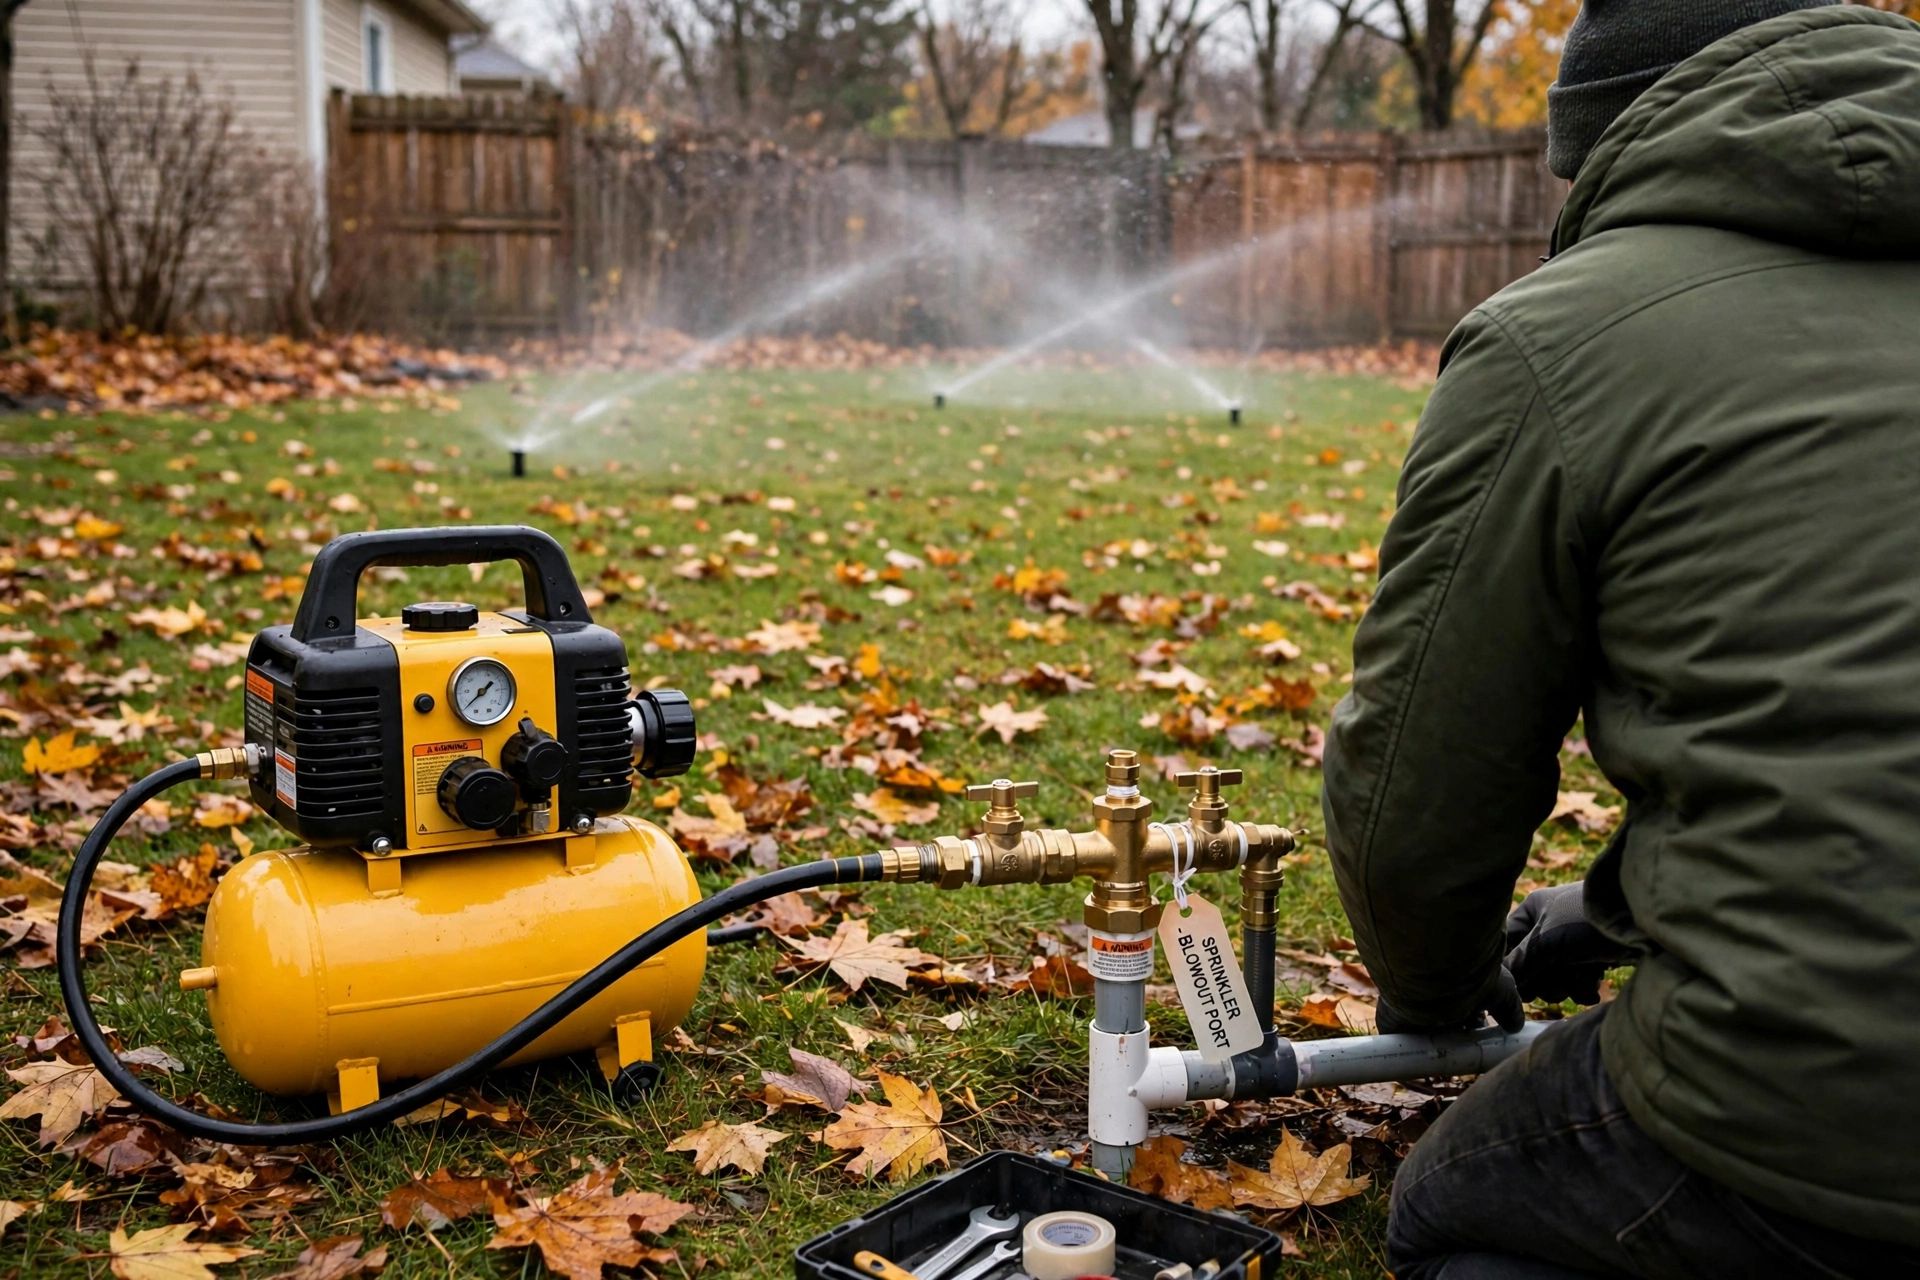
A compressor hose does not mate to a sprinkler system on its own, and the improvised fittings people tape together are where blowouts go wrong. A proper blowout adapter connects the compressor to the system’s blowout port or a hose bib downstream of the backflow preventer, with its own shut-off valve so you control air to each zone instead of the compressor doing it for you. The shut-off matters: you want air flowing only while a zone is open, and you want to be able to stop instantly. Eye protection is not optional here — a head that pops under pressure comes up fast, and zones can spit grit on the first pass.
Sprinkler Blowout Adapter Kit with Shut-Off Valve
Brass adapter sized for standard blowout ports and hose threads, with an inline shut-off that meters air zone by zone — the controlled connection between the compressor and a system that was never built for shop air.
→ Click here to check price on Amazon
Step 2: Volume, not pressure — the pancake compressor
The counterintuitive heart of a blowout: a small compressor turned up too high splits pipe, while a modest one with enough air volume, run patiently zone by zone, clears lines clean. A portable pancake compressor is the homeowner size for this — enough tank and flow for residential zones, light enough to carry to wherever the backflow sits, and useful the other fifty weeks for tires, nailers, and the pressure washer’s off-season company in the garage. Run each zone in two short passes rather than one long blast, and never leave a zone blowing dry for minutes at a time — air friction heats PVC, and a dry head spinning on hot air is a spring repair.
Portable Pancake Air Compressor, 6-Gallon
Enough tank volume to clear a residential zone in steady passes, regulated output you can set and hold, and a carry weight that makes the backflow preventer’s corner of the yard a one-trip job.
→ Click here to check price on Amazon
Step 3: Hold the line — the pressure regulator with a gauge
If there is one number discipline in this whole guide, it is this one: spray zones at 30–50 PSI, rotor zones at no more than 80 PSI, drip zones at 30 PSI or less — and a compressor’s tank gauge does not tell you what the zone is actually seeing. An inline regulator with its own gauge, set before you open the first zone and checked as you work, is the difference between a winterizing and a rupture. Set it low and step it up only until the heads come fully up and clear; if a zone will not clear at its safe pressure, the answer is more passes and more patience, not more pounds. This is also the step where honesty applies: a large system, a well-fed mainline, or any doubt at all is a fair reason to hand this one job to an irrigation pro — their truck compressor exists precisely for volume.
Inline Air Pressure Regulator with Gauge
Dial-set regulation with a gauge that reads what the zone actually sees — the guardrail that keeps a blowout at 40 pounds, where the water leaves and the pipe stays.
→ Click here to check price on Amazon
Step 4: The part above ground — the insulated backflow cover
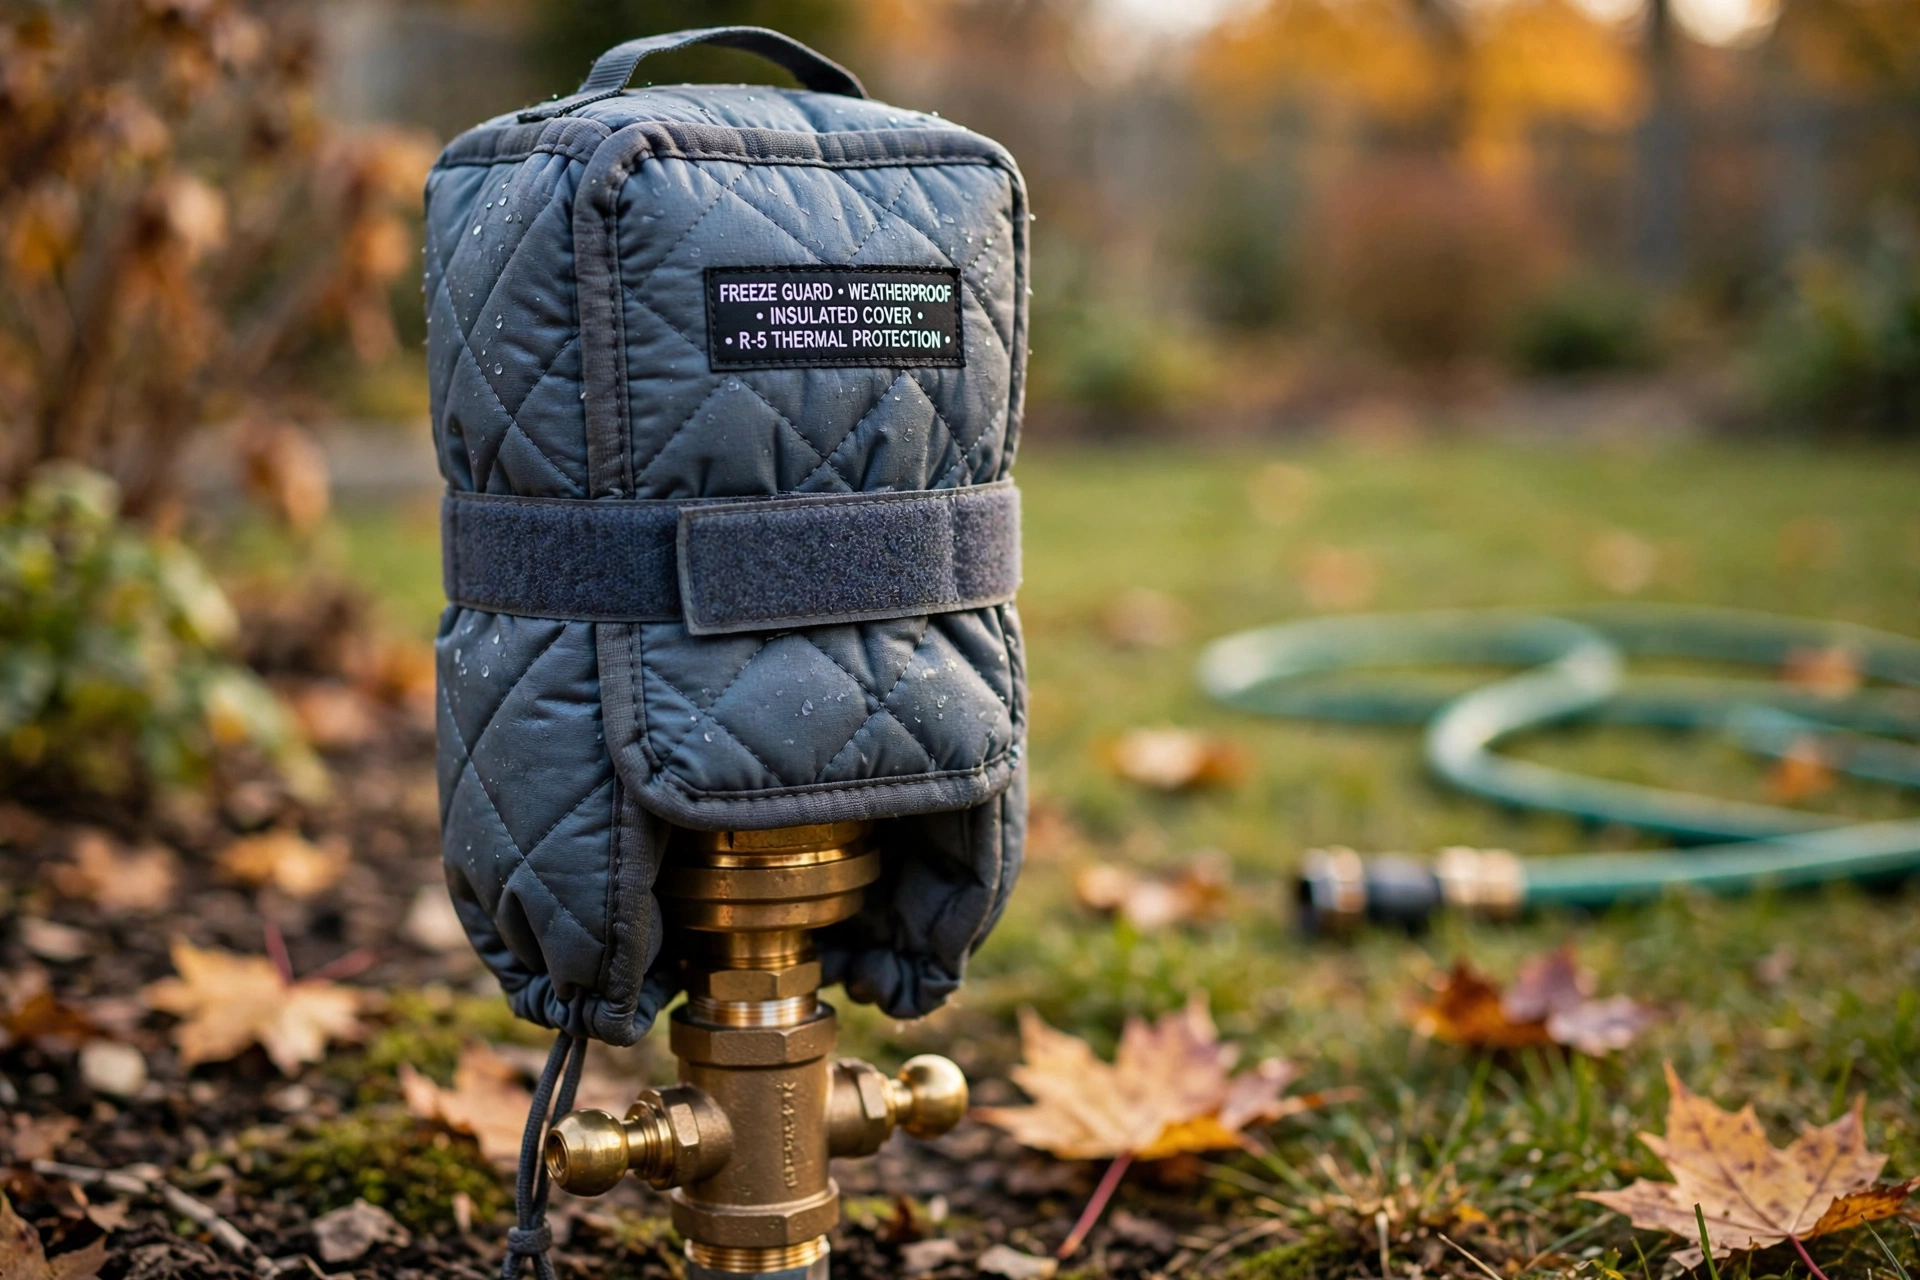
Everything underground can be emptied; the backflow preventer mostly cannot — its body and test cocks hold pockets of water no drain fully reaches, and it sits above ground in the coldest air in the yard. After draining it and leaving the test cocks half-open at 45 degrees, an insulated backflow cover is its winter coat: a padded, weatherproof pouch that slows the freeze around the one brass body whose replacement costs more than everything else in this guide combined. Size it to the assembly with room for the handles, and check it once after the first real storm — a cover blown off in a December wind protects nothing.
Insulated Backflow Preventer Cover, Weatherproof
Thick insulated padding in a weatherproof shell, sized for standard backflow assemblies — freeze protection for the one part of the system that can never be fully drained.
→ Click here to check price on Amazon
Step 5: The hose bib it feeds from — the hard-shell faucet cover
The sprinkler shutoff and the outdoor faucet it tees from are the last above-ground water in the run, and they get the same treatment this site gives every hose bib in fall: a hard-shell insulated faucet cover, foam-sealed against the siding, that keeps the freeze from starting at the bib and walking inward. It is the closing step of our outdoor faucet guide, doing the same work here at the system’s front door.
Hard-shell insulated faucet cover
Rigid shell over a foam gasket that seals to the wall — the cover that stops a freeze at the bib before it can reach the pipe, or the sprinkler tee, behind it.
→ Click here to check price on Amazon
Already on this site’s hub: the hard-shell insulated faucet cover is a pick in the Outdoor Faucet Winterizing guide too — listed once on the hub, on purpose.
Dry lines sleep through winter
Shut it off, drain what gravity takes, blow each zone clear at a pressure a gauge — not a guess — confirms, and wrap the brass that has to spend winter above ground. Do it before the first hard freeze rather than after the first cold night, and spring startup becomes what it should be: turn the water on, walk the zones, and water the lawn — not dig up the swamp where a line gave up in January.
Leave a Reply