Built & Backyard is reader-supported: we may earn a commission from qualifying purchases made through links on this page, at no extra cost to you.
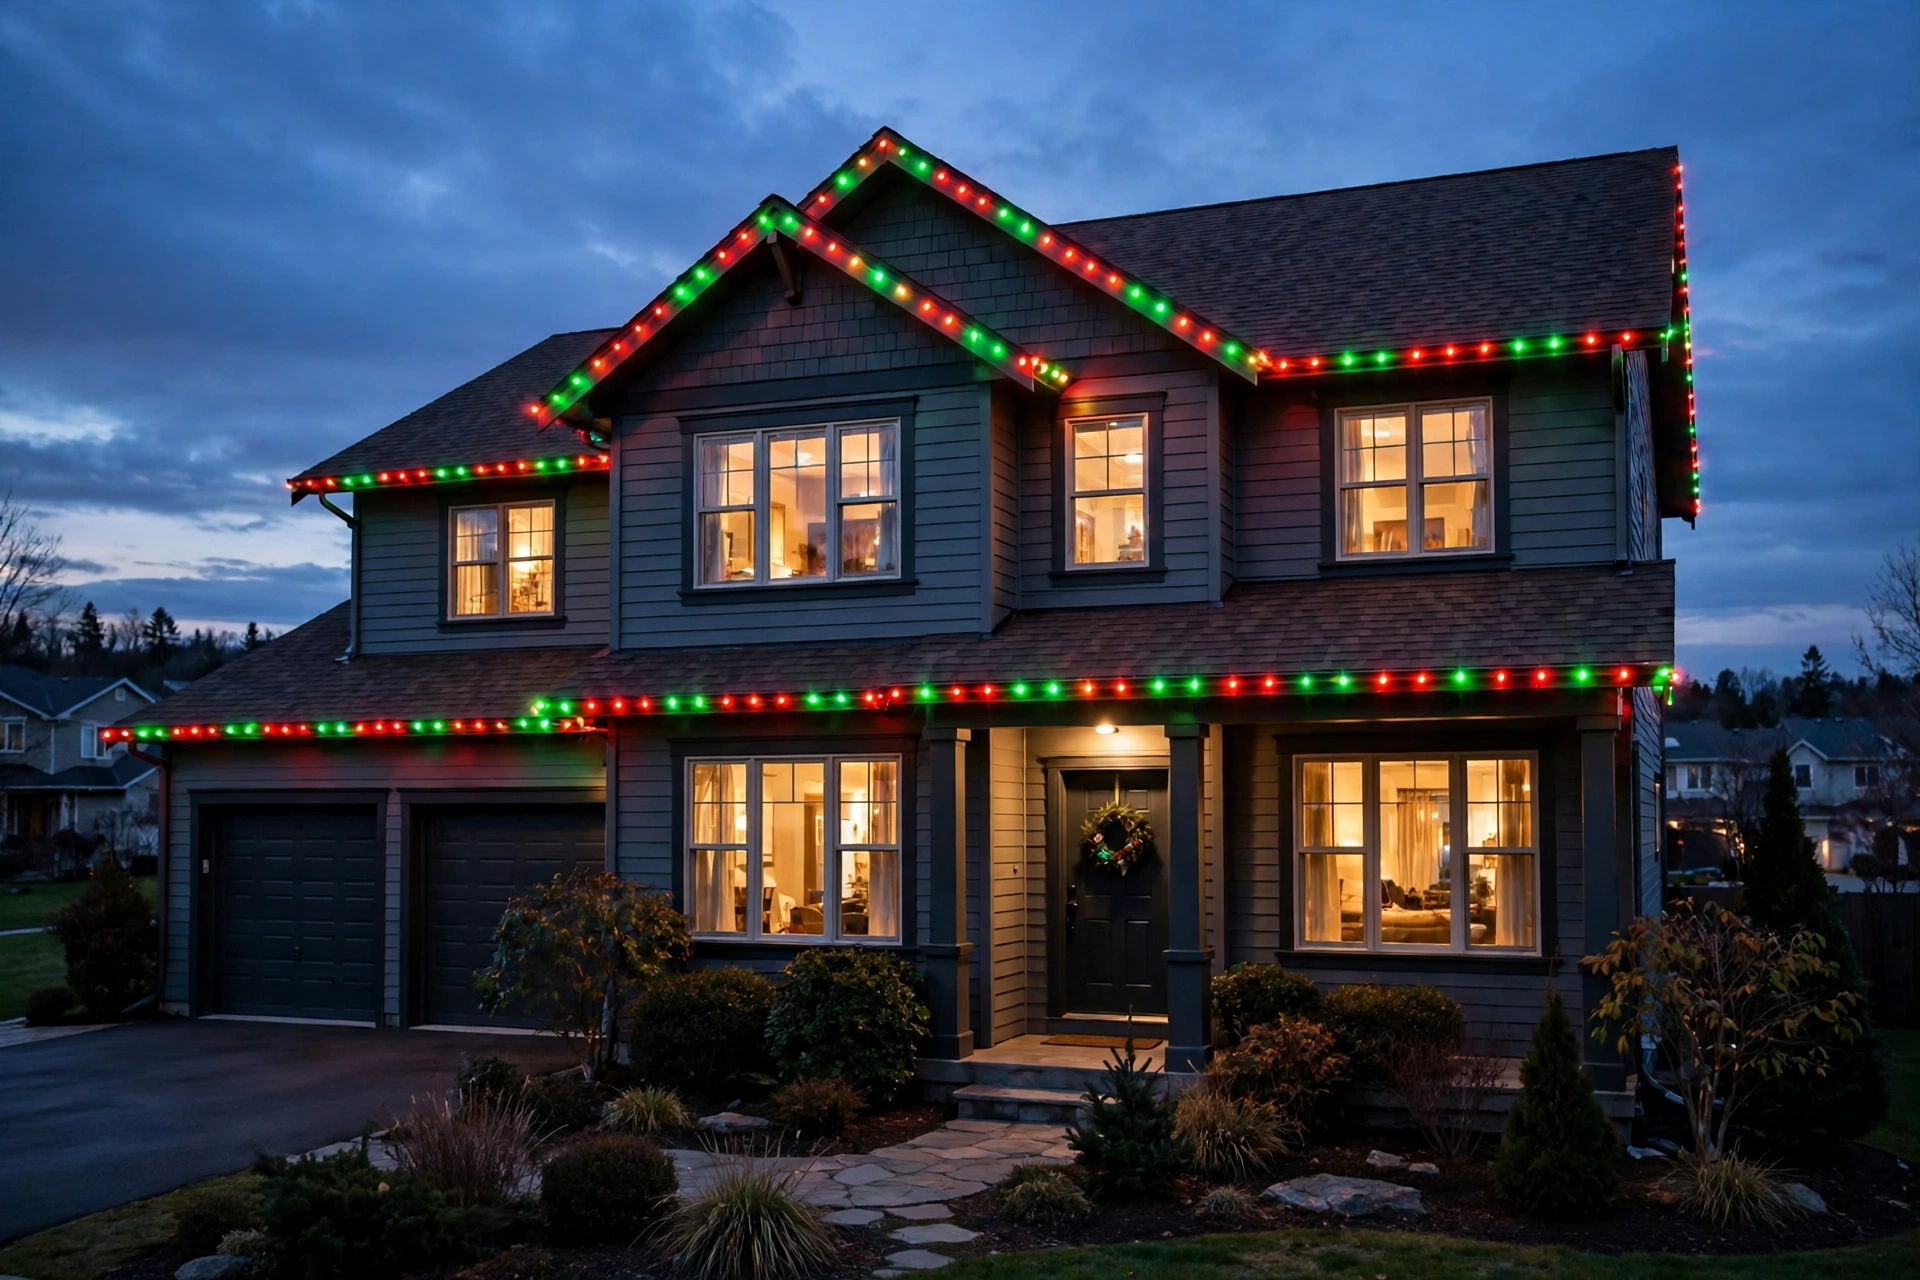
Every December it’s the same routine: drag the bins out of the attic, untangle last year’s strings, climb the ladder in the cold, and clip lights to the gutters — knowing you’ll take it all down in January. Permanent outdoor lights end that cycle. These are low-profile LED pucks or strips that mount under your eaves once, stay up year-round, and change color and pattern from an app. Red and green for Christmas, orange for Halloween, red-white-and-blue for July 4th, your team’s colors on game day, and a clean warm white the other 330 nights of the year. Here’s how to pick a kit and put it up right.
Quick answer
Measure every run of eave first and buy the kit that covers it with a little to spare — 100 ft suits most single-story fronts. Mount the pucks in track for a straight, factory-looking line, jump the gaps with waterproof extension cables, and put the whole system on a smart outdoor plug scheduled from sunset to 11 PM. One weekend on the ladder buys you every holiday of the year: Christmas colors in December, warm white the other 330 nights.
Step 1: Measure your roofline before you buy anything
Walk the front of the house (and any sides you want lit) with a tape or a measuring app and add up every run of eave you plan to cover. Kits come in set lengths — 100 ft and 200 ft are the common sizes — and the strands can be cut or extended at segment points, but you can’t stretch a 100 ft kit across 140 ft of roofline. Measure each peak and return separately so you know where you’ll need jumper cables to jump gaps (over a porch, between two roof sections). Buy the kit that covers your total with a little to spare.
100 ft permanent LED eave light kit — app-controlled color-changing pucks that mount under the eave and disappear in daylight; the right starting size for most single-story fronts.
→ Click here to check price on Amazon
Step 2: Mount them in track for a clean, straight line
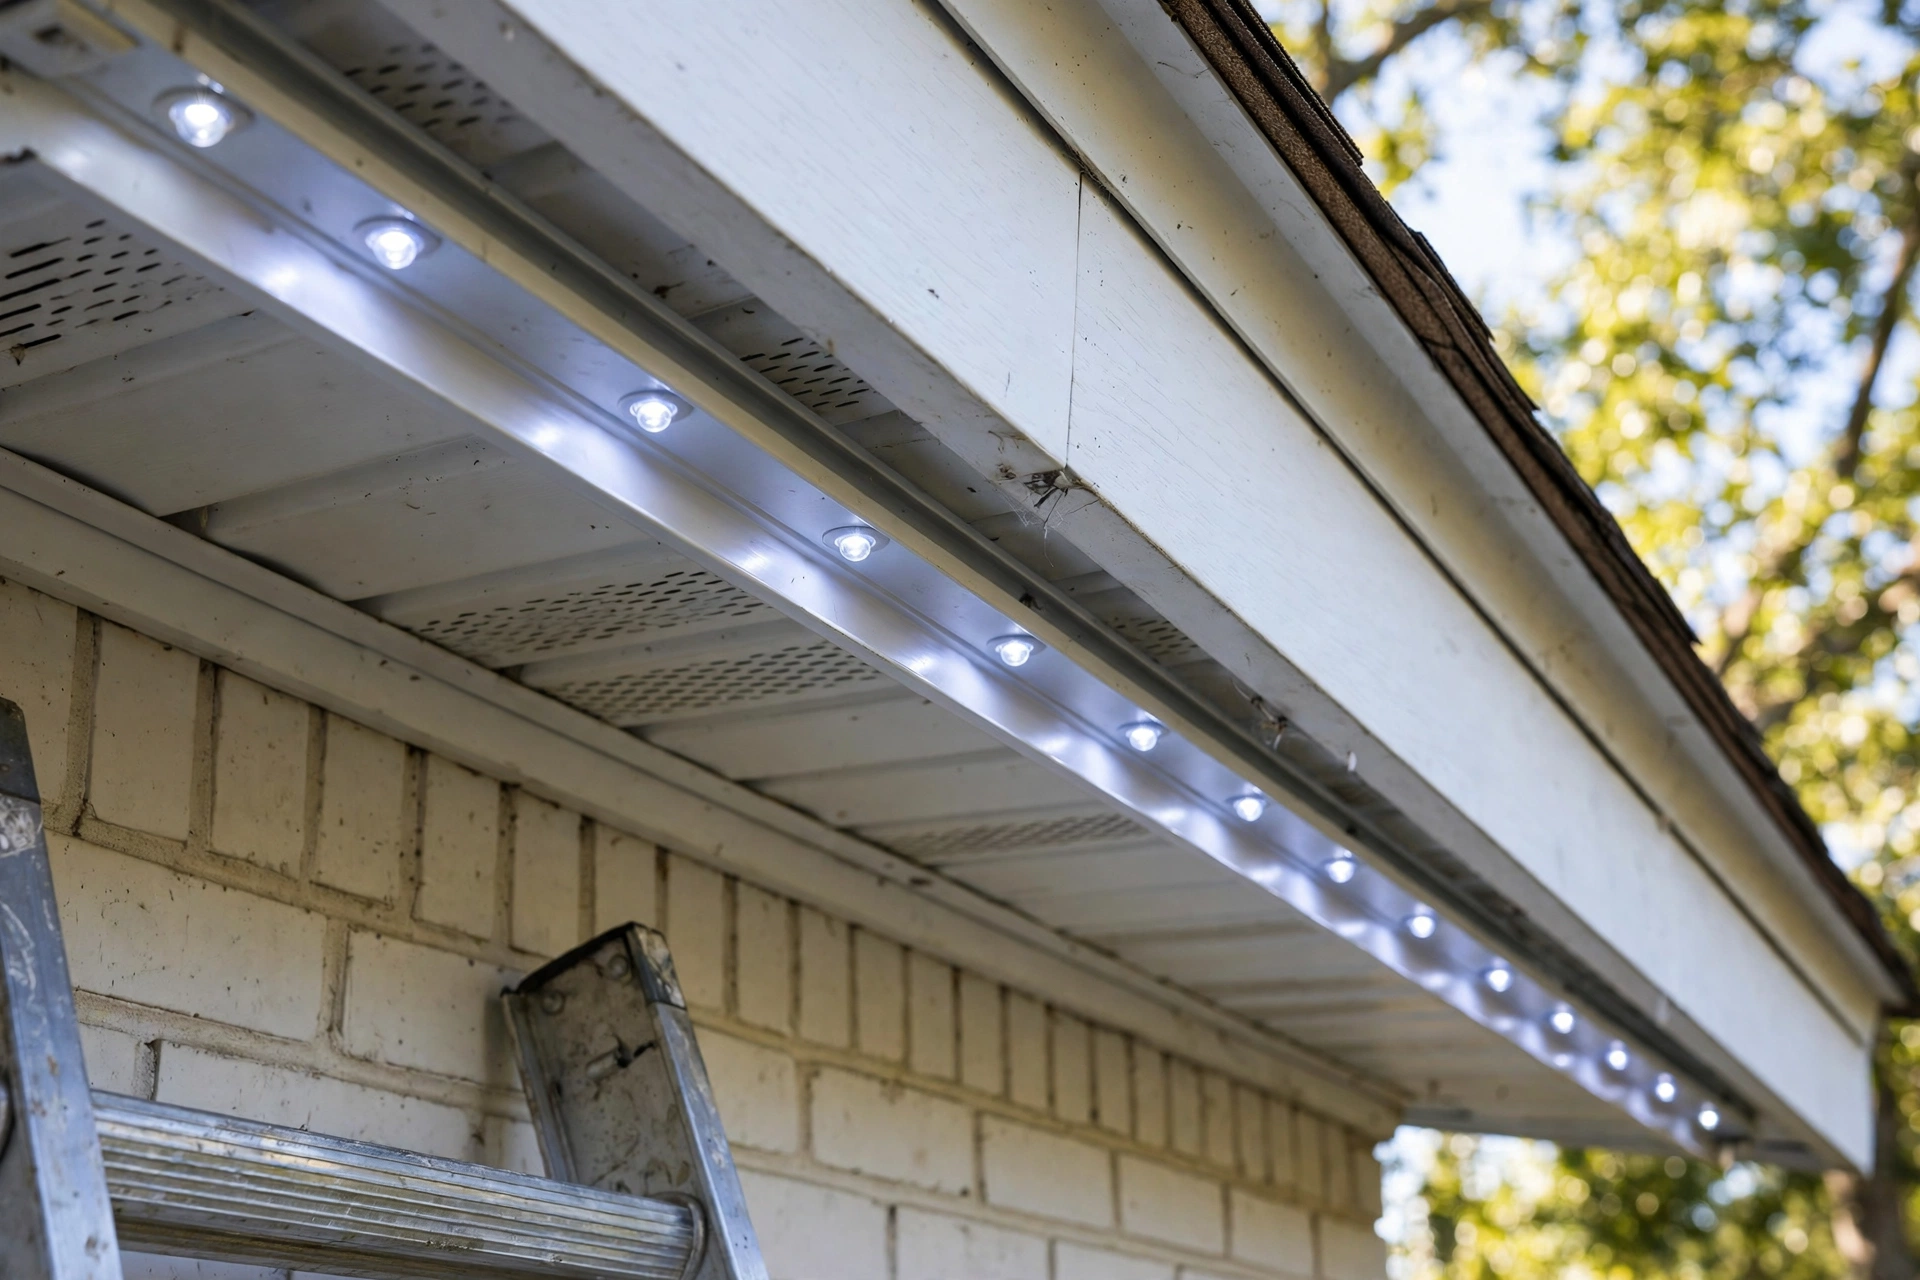
You can stick or screw the pucks straight to the soffit, but a mounting track or channel gives you a dead-straight line, hides the wire, and makes the install look factory instead of DIY. Snap the lights into the channel on the ground, then screw the channel up under the eave in sections. Work from one end, keep the channel tight to the fascia, and put a screw every few feet so nothing sags by summer.
Permanent light mounting channel/track kit — straight, paintable runs that hide wiring and hold the lights in a clean line.
→ Click here to check price on Amazon
Step 3: Jump the gaps and weatherproof every connection
Real rooflines aren’t one straight run. Extension jumper cables carry power and signal across gaps — from the front eave around to a side gable, or across a section you don’t want lit. Every outdoor connection is a place water wants in, so use waterproof connectors and give each joint a drip loop (a little slack hanging down) so rain runs off the cable instead of into the plug.
Outdoor extension jumper cables with waterproof connectors — bridge unlit sections and keep every splice sealed against the weather.
→ Click here to check price on Amazon
Step 4: Put the whole display on a schedule
The controller that comes with the kit handles colors and scenes, but a smart outdoor plug adds the part you’ll use most: a schedule. Lights on at sunset, off at 11 PM, brighter on weekends — set it once in the app and the house just lights itself. It also gives you a clean way to cut power to the whole system during a storm or while you’re on vacation.
Outdoor smart plug with app scheduling — sunset-to-bedtime schedules, voice control, and one-tap shutoff for the entire display.
→ Click here to check price on Amazon
Step 5: Do the ladder work once, and do it safely
This is a one-time install, but it’s still a full day at eave height. A multi-position ladder that works as both a step ladder and an extension ladder covers most single-story eaves and lets you reposition without a second ladder. Set it on firm, level ground, keep three points of contact, and never lean out past the rails to reach “one more screw” — move the ladder instead.
22 ft multi-position ladder — converts between step and extension setups for eaves, gutters, and every other tall job around the house.
→ Click here to check price on Amazon
The year-round payoff
Once they’re up, the fun is in the scenes. Most apps include preset holiday looks and let you build your own: warm white for everyday curb appeal (it reads like expensive architectural lighting, not a leftover Christmas string), team colors on Saturdays, spooky purple and green in October. And when December does roll around, your “decorating” is opening an app — while the neighbors are on ladders, you’re done. If you still run traditional strings in the yard or on the roof peaks, our outdoor Christmas light setup guide covers timers, clips, and storage for those.
The bottom line
Permanent lights cost more up front than a few strings of C9s, but you’re buying back every future December weekend. Measure carefully, mount in track, seal your connections, and put it all on a schedule — then the only ladder work left is none at all.
Leave a Reply