Disclosure: This post contains affiliate links. If you buy through them, Built & Backyard may earn a commission at no extra cost to you.
Quick answer
Winterizing an outdoor faucet takes about 20 minutes per spigot, and it prevents one of the most expensive winter failures in a house. Water trapped in the pipe between the inside shutoff and the outside faucet freezes, expands, and splits the pipe — usually inside the wall, where you don’t see the leak until the thaw. Shut the water off from inside, open the outside faucet to drain it, and cover the spigot. Do it before the first hard freeze, not the morning after one.
This is the outdoor half of winter prep. It pairs with the indoor side — sealing drafts with our weatherstripping guide — and with the rest of the fall shutdown: our lawn mower winterizing guide and our fall lawn winterizer guide.
Step 1: Find the inside shutoff valve
Every outdoor faucet should have a shutoff valve inside the house, usually in the basement, crawl space, or utility room, on the pipe leading to that faucet. It may be a lever handle (quarter-turn) or a round wheel handle. Turn it clockwise until it stops.
No inside shutoff for a faucet? That faucet is your highest-risk one — cover it well (Step 4) and consider having a plumber add a shutoff and a frost-free sillcock before winter. For this season, draining and covering is still far better than doing nothing.
Step 2: Open the outside faucet and drain it
Go outside and open the faucet fully. Leave it open. Water trapped between the shutoff and the spigot needs somewhere to go — an open faucet lets it drain out instead of sitting in the pipe all winter.
If your inside shutoff has a small drain cap (a little bleeder cap on the side of the valve), open that too, with a bucket underneath, to drain the section of pipe between the valve and the wall. Close the bleeder cap once it stops dripping, but leave the outside faucet open all winter. An open faucet can’t trap water, and it gives any remaining water room to expand without splitting the pipe.
Also: disconnect every garden hose, drain it, and coil it up in the garage or shed. A hose left attached traps water in the faucet, defeats the whole job, and can crack the faucet itself. Drain hose-end sprayers and splitters too.
Step 3: Insulate any exposed pipe
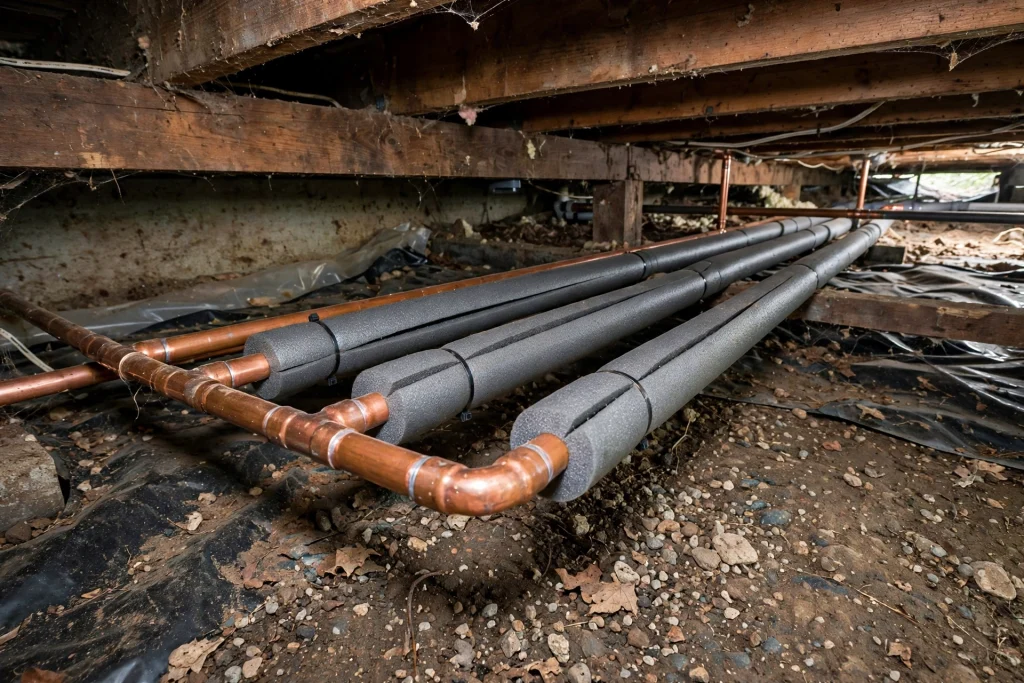
Any pipe you can see — in an unheated garage, crawl space, or along an exterior wall — is a freeze risk on its own. Slip foam pipe insulation sleeves over it, tape the seams, and pay special attention to elbows and joints, where ice starts first. For pipes in truly exposed spots (a well house, an outdoor kitchen, a crawl space that gets wind), self-regulating heat cable under the insulation is the upgrade that actually holds up in a hard freeze — it only draws power when the pipe gets cold.
This is the same logic as sizing heat for a space: you protect the weakest point first. Our garage heater sizing guide covers keeping an unheated garage above freezing, which protects pipes in there too.
Step 4: Cover the faucet
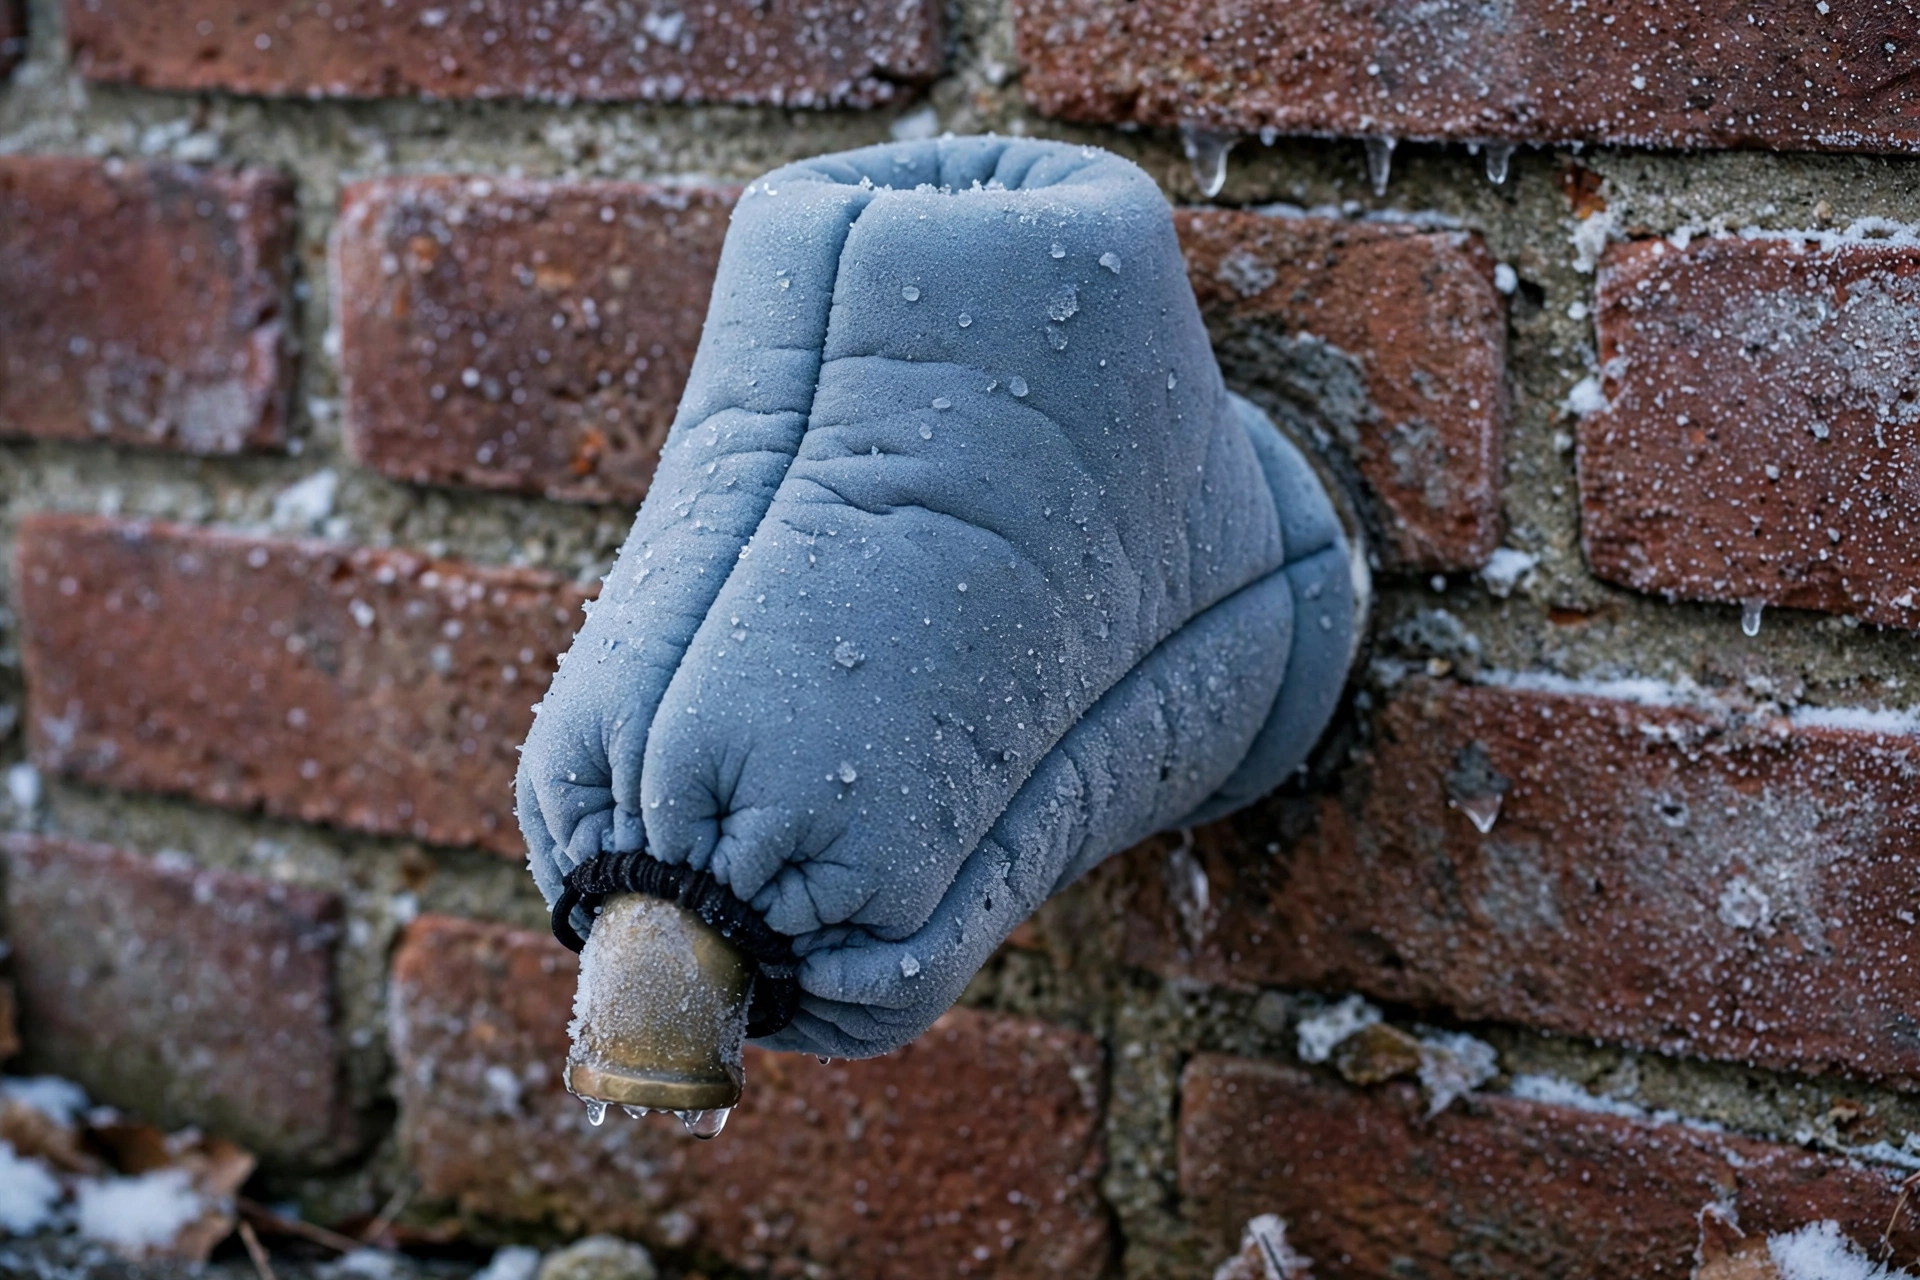
With the water off and the line drained, put a faucet cover over the outside spigot. The simple foam dome covers work fine for most climates: they trap a pocket of still air around the faucet, which is what actually insulates it. Press it tight against the wall and latch or tighten it so wind can’t peel it off in January.
For a faucet that faces north or takes direct wind, a hard-shell insulated cover with a foam gasket seals better than the soft foam domes. Either way, a cover on a drained faucet is belt-and-suspenders — the draining is what prevents the burst; the cover is what keeps the faucet itself from cracking.
Step 5: Check the rest of the outdoor water
- Sprinkler system: If you have one, blow it out or drain it before the first freeze — a frozen sprinkler line is the same failure, underground.
- Outdoor shower, pool fill line, or outdoor kitchen sink: Same treatment — inside shutoff, drain, cover.
- Well pump house: Insulate the pump and pressure tank pipes, and make sure any heat source in there actually works before the cold arrives.
- If a freeze catches you with the water still on: Leave the affected faucet open a trickle during the freeze, and know where your main water shutoff is before you need it in a hurry. If a pipe does burst, shutting off the main in minutes instead of hunting for it is the difference between a mop-up and a claim.
The 20-minute checklist (per faucet)
- Disconnect and drain the garden hose.
- Close the inside shutoff valve.
- Open the outside faucet and leave it open all winter.
- Drain the bleeder cap on the shutoff valve, if it has one.
- Insulate any exposed pipe on the run.
- Put a faucet cover over the spigot.
Do this once, before the first hard freeze, and the pipe that bursts in your neighbor’s wall this winter won’t be yours. And if that freeze comes with a power outage, our generator sizing guide covers keeping the heat — and the pipes — going until the power comes back.
Picks for the job
Foam faucet covers (2-pack or 4-pack)
The simplest, cheapest version of this whole job. One per spigot, tight against the wall, done.
→ Click here to check price on Amazon
Foam pipe insulation sleeves
For any exposed pipe in the garage, crawl space, or along an exterior wall. Cut to length, tape the seams.
→ Click here to check price on Amazon
Self-regulating pipe heat cable
For exposed pipes that foam alone won’t save in a hard freeze. It warms only when the pipe gets cold.
→ Click here to check price on Amazon
Hard-shell insulated faucet cover
A tighter, wind-proof seal for north-facing or wind-exposed faucets where a foam dome won’t stay put.
→ Click here to check price on Amazon
Mistakes that burst pipes
- Leaving the hose attached. It traps water in the faucet and defeats the shutoff.
- Closing the outside faucet after draining. An open faucet gives leftover water room to expand.
- Covering a faucet without shutting off the water. A cover insulates; it doesn’t stop a full pipe from freezing.
- Forgetting the faucet nobody uses. The side-yard spigot you haven’t touched since summer is the one that bursts.
- Waiting for the freeze warning. Do it on a mild weekend — the forecast hard freeze is already too late to shop for covers.
Leave a Reply