Built & Backyard is reader-supported: we may earn a commission from qualifying purchases made through links on this page, at no extra cost to you.
The most expensive sentence in home ownership is “we found it when we got back.” A pipe that bursts on day two of a week-long trip does not leak for a week — it floods for a week, and the difference between that story and a non-story is about ninety minutes of prep before you leave. This is the travel version of our pipe freeze prevention guide: same enemy, different battlefield. The house will be empty, nobody will hear the heat fail or the pipe let go, so the prep leans on shutoffs, insulation, and sensors that phone you instead of ears that are three states away.
Quick answer
Before any winter trip longer than two nights: shut off the water at the main and drain the pressure off, put Wi-Fi leak detectors at the water heater, washing machine, and under the kitchen sink, insulate every exposed pipe you can reach, add heat cable to the runs that freeze first, cover the outdoor faucets, and set the thermostat no lower than 55°F — ideally a smart one that alerts your phone if the house temperature falls. Ninety minutes of this beats a restoration crew in January.
Step 1: Shut the water off — and let sensors stand watch
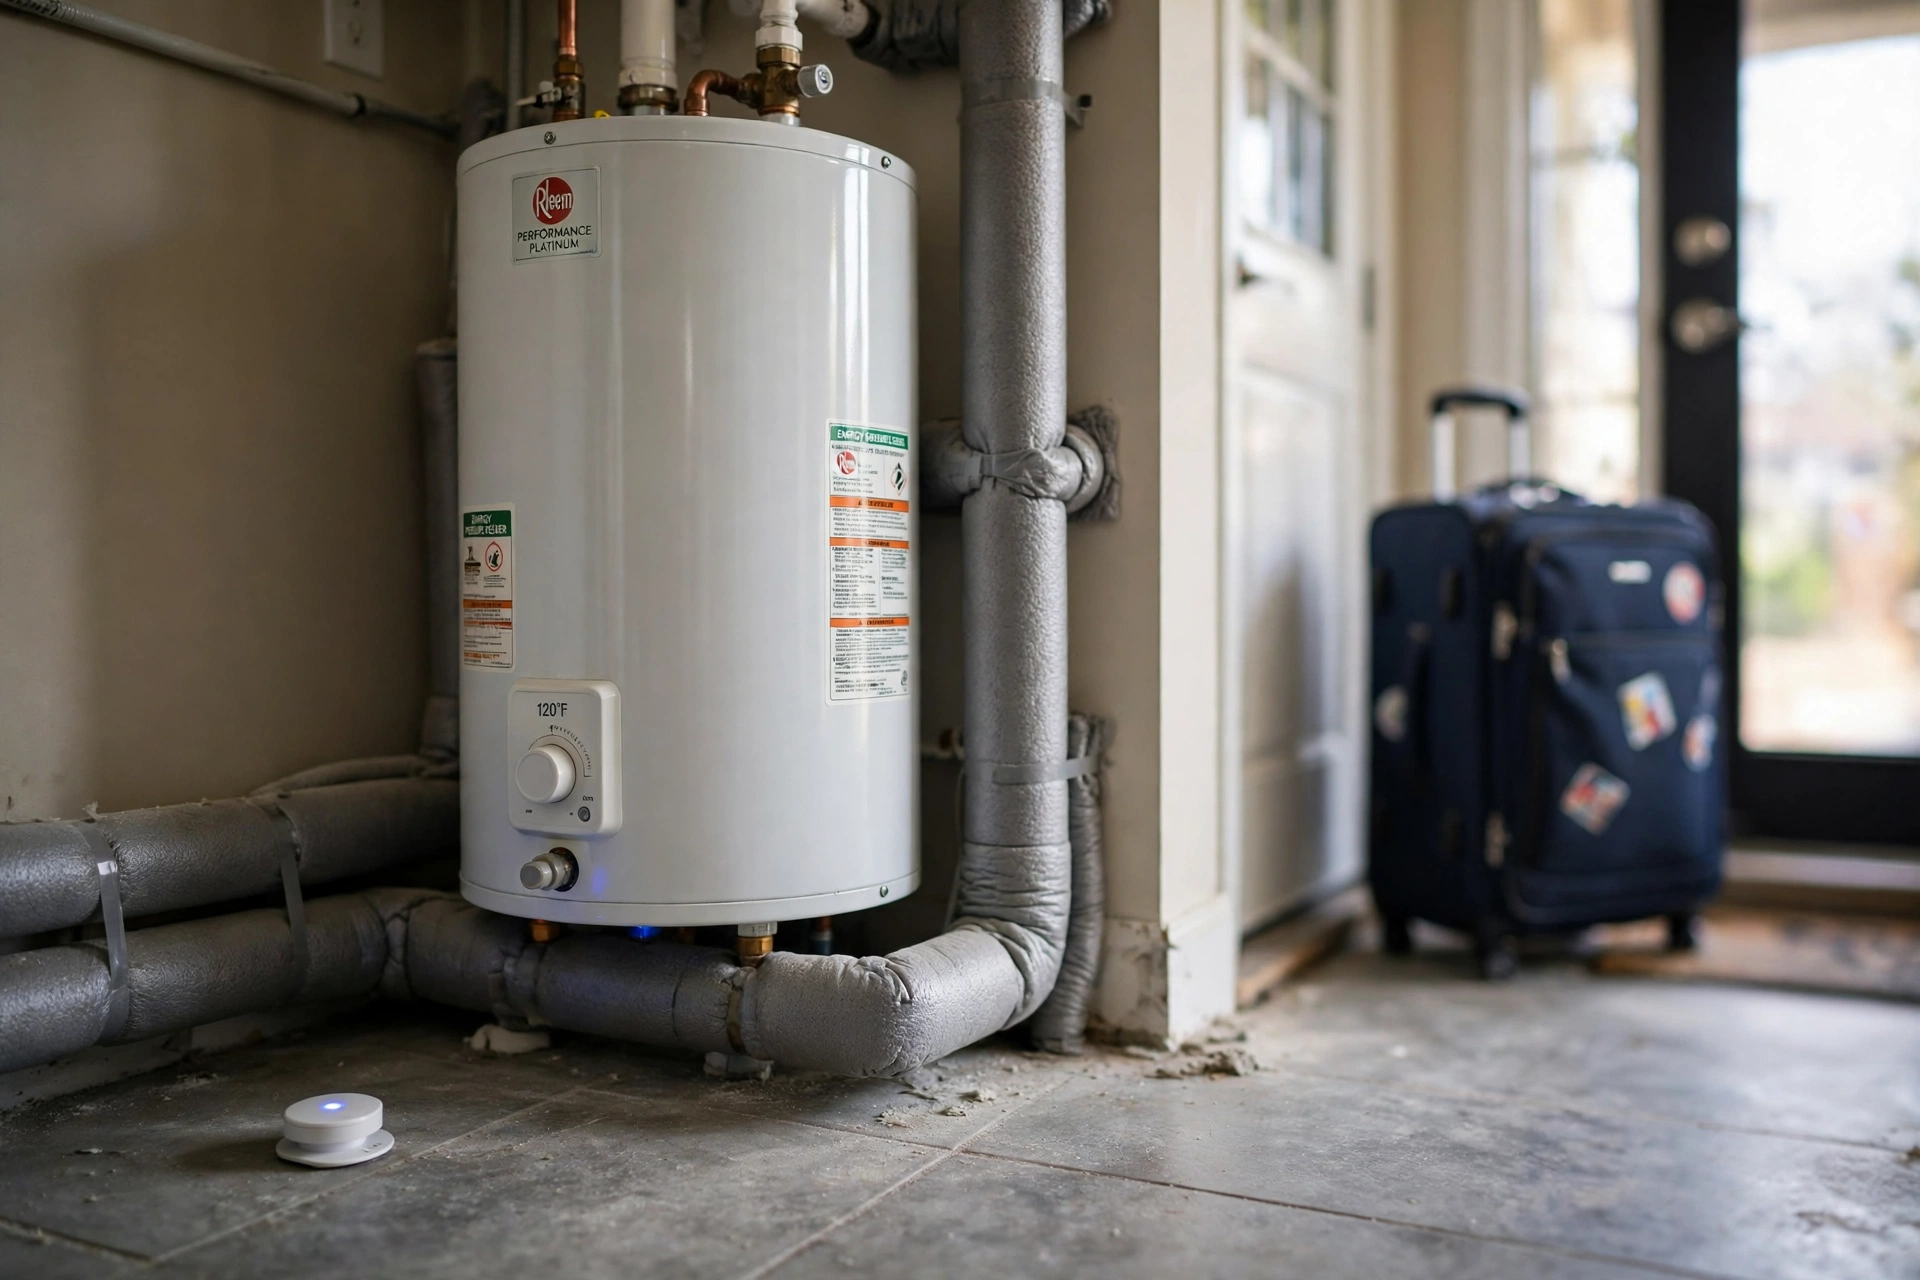
The main shutoff is the single highest-value turn of a wrench in this guide: with the water off and a faucet opened to bleed the pressure, even a burst pipe can only spill what is already in the lines. Find the valve before the trip, not during it, and turn it once to be sure it still works — a seized shutoff is its own discovery. Then put Wi-Fi leak detectors where water lives: at the water heater pan, behind the washing machine, under the kitchen sink. They cannot stop a leak, but they turn a week of flooding into a phone alert on day one, which is the entire game in an empty house.
Wi-Fi Water Leak Detectors, 3-Pack with Hub
Battery sensors with a phone alert the moment water touches them — one at the heater, one at the washer, one under the sink, and an empty house that can still call for help.
→ Click here to check price on Amazon
Step 2: Insulate the exposed pipes — foam tubes before you go
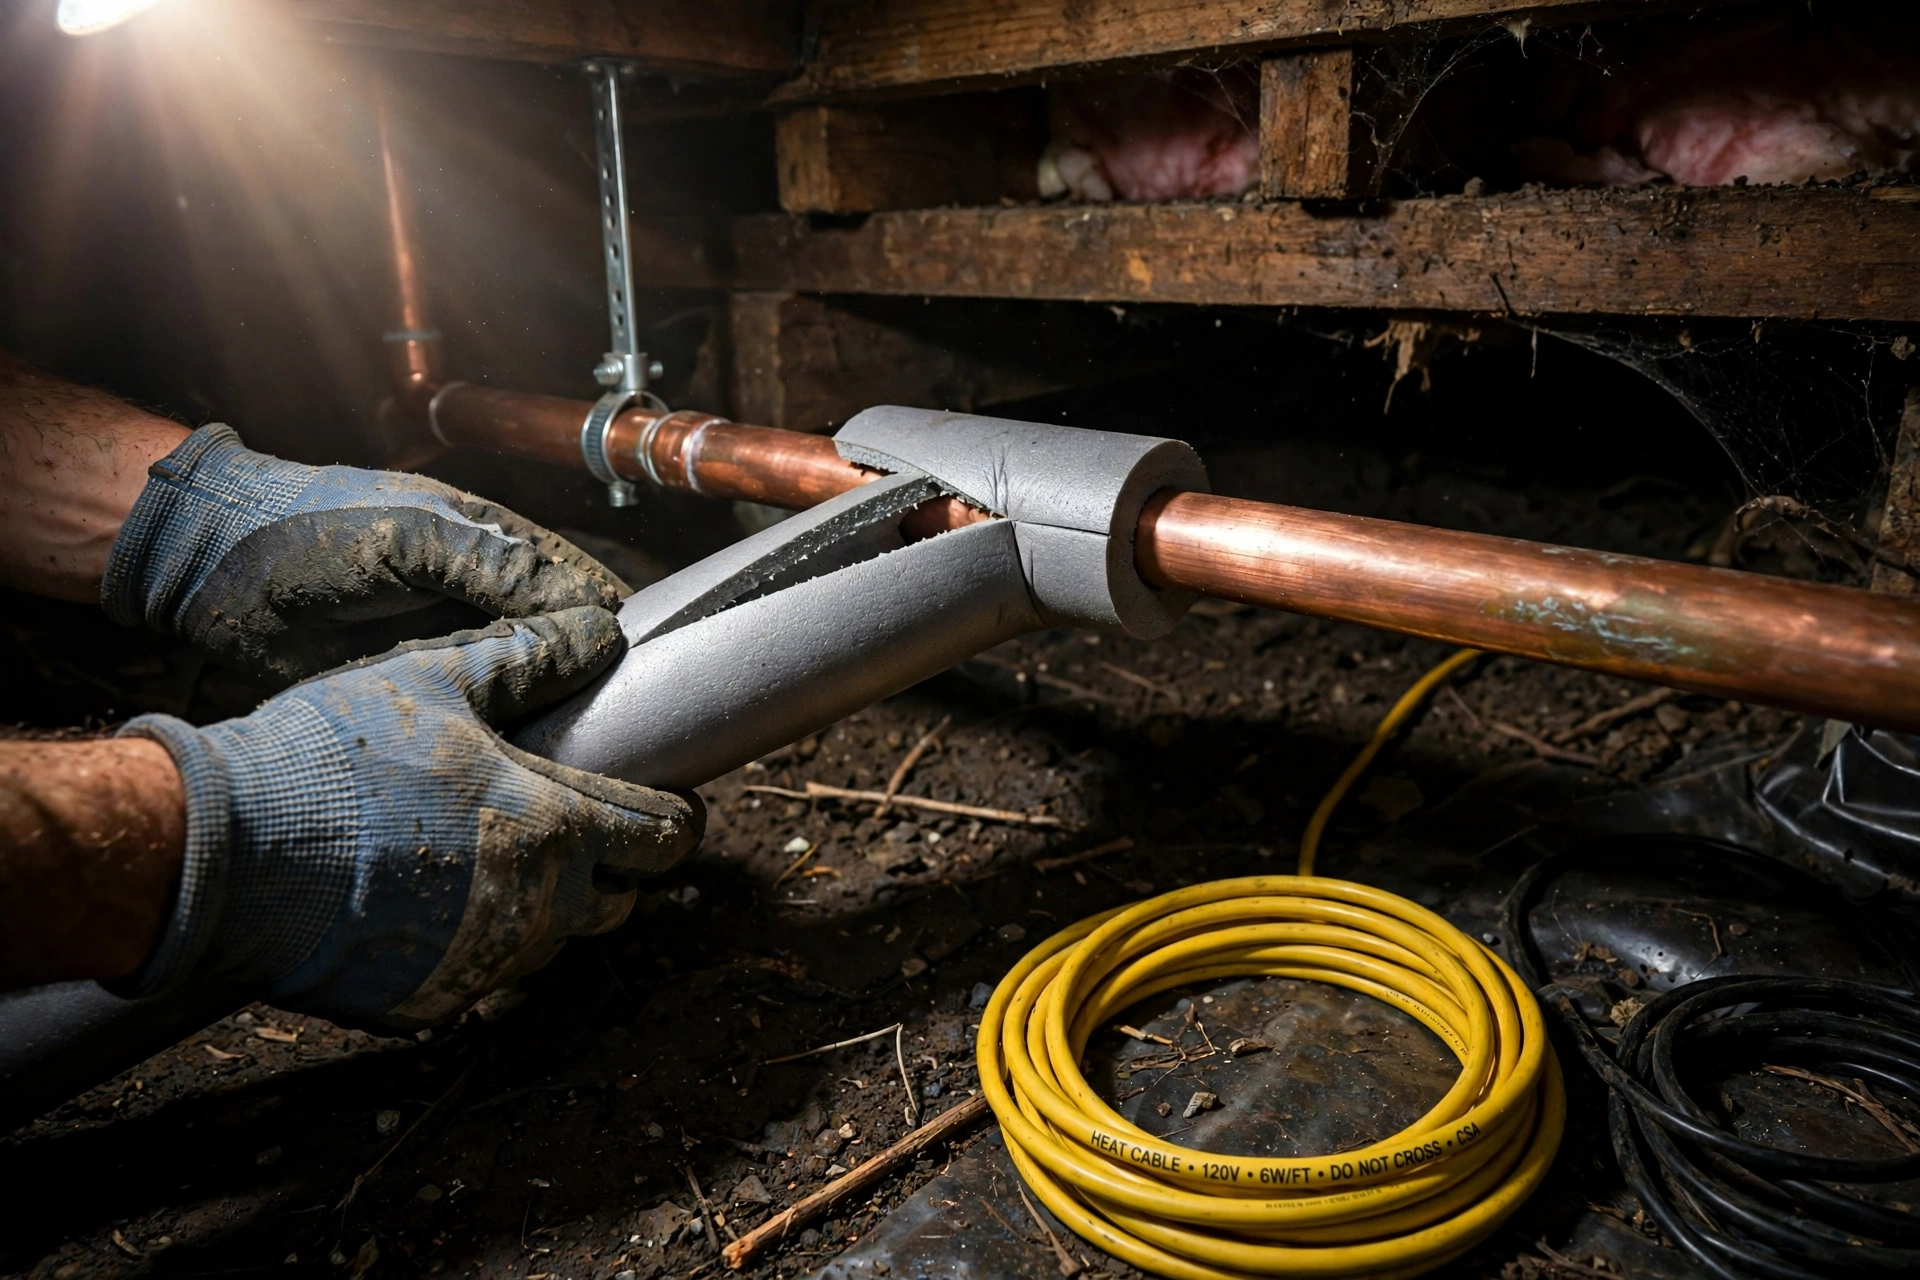
Pipes freeze in the cold zones first: crawl spaces, garages, exterior walls, and the runs under the house that the heating system never reaches. Foam pipe insulation is the cheapest insurance in this entire guide — slit tubes that push on by hand, no tools, sized to the pipe. Walk the house with a flashlight and cover every exposed run you can reach, elbows included; the uninsulated elbow in the crawl space is where the burst will be, because it is always the spot that got skipped. It is the same insulation step as our pipe freeze guide, done on a deadline.
Foam Pipe Insulation Tubes, Pre-Slit, Multi-Pack
Push-on foam sleeves for exposed supply lines in crawl spaces, garages, and under-sink runs — the ten-minute cover that moves the freeze point hours further away.
→ Click here to check price on Amazon
Step 3: A thermostat that phones you — the smart thermostat
Setting a dumb thermostat to 55°F and leaving is a hope, not a plan: if the furnace fails on day one, the house coasts down to outdoor temperature and the pipes follow, and you find out at the front door. A smart thermostat closes that loop — it holds the setback temperature, and if the house falls below your alert threshold it pings your phone wherever you are, while there is still time to send a neighbor or a tech. Set the low-temperature alert at 45°F: warm enough to act, cold enough not to cry wolf.
Smart Wi-Fi Thermostat with Temperature Alerts
Programmable setbacks plus a phone alert when the house drops below your floor — the difference between a furnace failure you hear about on day one and one you meet at the front door.
→ Click here to check price on Amazon
Step 4: Cable the runs that freeze first — pipe heat cable
Some runs freeze no matter what the thermostat says: the line across the unheated garage ceiling, the supply in the outside wall, the crawl-space run above the vent. Self-regulating heat cable is made for exactly those — it wraps or runs along the pipe, warms up as the temperature falls, and holds the line above freezing on its own thermostat. Put it on the runs your house has already warned you about, plug it in before you leave, and confirm the indicator light: this is a set-it-and-leave-town device, which is the point.
Self-Regulating Pipe Heat Cable with Thermostat
Plug-in heating cable for the freeze-prone runs — garage ceilings, exterior walls, crawl spaces — that switches itself on as the pipe gets cold and off when it is safe.
→ Click here to check price on Amazon
Step 5: Cover the outdoor faucets — the last thirty seconds
The outdoor faucet is a pipe that lives outside on purpose, and its freeze travels inward — a burst sillcock can split the line inside the wall where nobody sees it until spring. Hard-shell insulated covers take thirty seconds each: hook, pull snug, done. If you put them on for our sprinkler system winterizing guide, this step is a walk-around check that they are still seated — covers walk off in wind more often than anyone admits.
Hard-Shell Insulated Faucet Covers
Rigid foam-lined covers that seal the outdoor faucets against the cold — thirty seconds each, and the wall line behind the faucet stays out of the freeze.
→ Click here to check price on Amazon
Already on this site’s hub: the hard-shell faucet covers are a pick in the Sprinkler System Winterizing guide too — listed once on the hub, on purpose.
Come home to the house you left
Water off, sensors watching, pipes dressed, a thermostat with your phone number, and covers on the faucets. The trip gets to be a trip — and the house, for once, keeps its problems to itself until you are back to deal with them at human speed.
Leave a Reply