Built & Backyard is reader-supported: we may earn a commission from qualifying purchases made through links on this page, at no extra cost to you.
Every winter bill has an attic hiding inside it. Heat rises, and the ceiling is the largest single surface it escapes through — yet most attics in older houses are running half the insulation current guidance calls for, with the shortfall invisible from the living room. The audit is simple and it is the same one the pros run: measure the depth, multiply by the material’s R-value per inch, and compare it with the target — R-38 is the floor for most of the country, and R-49 to R-60 is the honest number where winters are real. But the order of the fix matters more than the number: seal the air leaks first, because insulation laid over unsealed top plates and wire holes is a filter the warm air blows straight through. This is also the guide that finishes the story our ice dam prevention guide starts — dams are what a warm attic does to a roof; this is the warm attic, fixed at the source.
Quick answer
Measure first: fiberglass batts and loose fill run about R-3 to R-3.8 per inch, so a 6-inch attic is roughly R-19 — half of enough. Before adding anything, seal the top plates, wire holes, and plumbing penetrations with foam, cover recessed lights with fire-safe covers, and insulate the attic stairs. Then top up with unfaced insulation laid perpendicular across the joists to R-38–R-60 total, keeping the soffit vents open with baffles the whole way. Seal, cover, then pile — in that order.
Step 1: Seal the leaks first — the pro foam gun kit
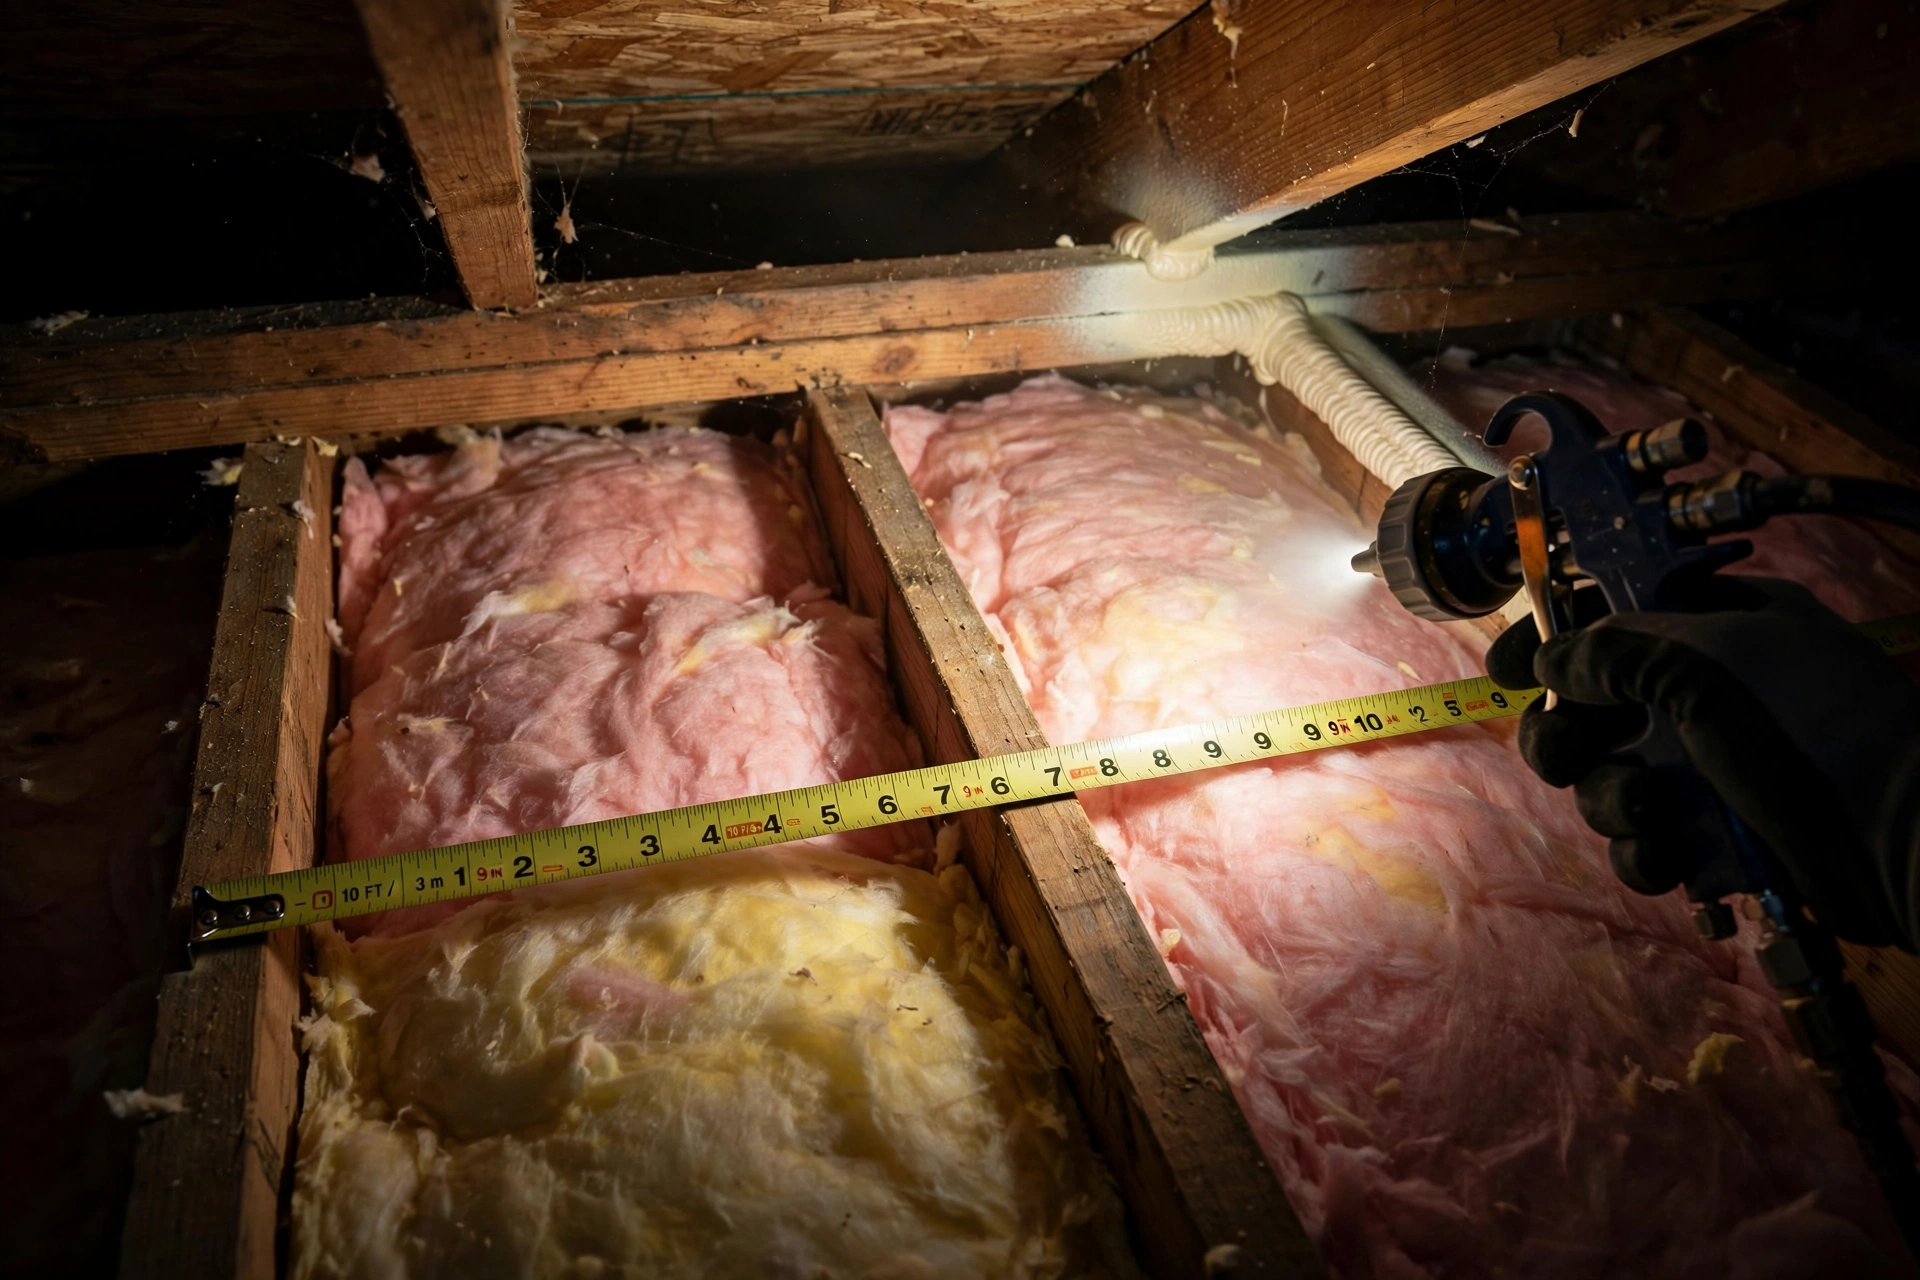
Insulation slows heat moving by conduction; it does almost nothing about heat carried by moving air, and the average attic floor leaks like a sieve — every top plate seam, wire hole, and plumbing penetration is a chimney from the warm house into the cold attic. Sealing those penetrations is the highest-return hour in this whole guide, and a dispensing foam gun is the tool that makes it a clean hour instead of a sticky one: metal body, controlled bead, and cans that reseal between uses instead of gluing themselves shut. Work bay by bay, pull the existing insulation back, foam the penetrations, and lay it back — and wear the respirator and gloves; attic dust is not a seasoning.
Professional Foam Sealant Dispensing Gun Kit
Metal gun with a needle-controlled bead for top plates and penetrations, plus cans that stay usable between sessions — the precision version of the can-and-straw foam in our garage guide, built for a hundred holes instead of ten.
→ Click here to check price on Amazon
Step 2: Cover the can lights — recessed light insulation covers
Recessed lights are holes in the ceiling with a bulb in them. Older non-IC-rated cans cannot touch insulation at all, which leaves a bare, leaky ring around every light — and even IC-rated cans leak air around their housings. Fire-safe insulation covers solve the geometry: a rigid, heat-resistant tent that sits over the can, seals at the floor, and lets insulation run continuous over the top. Count your cans before you order; a hallway of six lights is six little chimneys, and they are usually the single biggest leak in the whole ceiling.
Recessed Light Insulation Covers, Fire-Safe, Multi-Pack
Rigid heat-resistant covers sized for standard can housings — they seal the leak, keep the required clearance, and let the insulation blanket run unbroken over the lights instead of around them.
→ Click here to check price on Amazon
Step 3: Seal the hatch — the attic stair insulation cover
The pull-down stair is a door-sized hole covered by a sheet of plywood a quarter-inch thick, and in most houses you can feel the draft off it from the hallway. An attic stair insulation cover is the fix shaped like the problem: an insulating tent or box that sits over the stair opening in the attic, with a zipper or lift-off face so access stays easy. Look for a real R-value printed on it (R-10 and up is honest), a radiant barrier face, and a seal at the floor line — it is the one step in this guide a visitor can feel from downstairs the same evening.
Attic Stair Insulation Cover with Zipper Access
Insulated tent that seals over the pull-down stair opening — radiant face, zippered entry, and a gasket at the floor — turning the thinnest, draftiest square footage in the ceiling into an insulated one.
→ Click here to check price on Amazon
Step 4: Top up the floor — unfaced R-19 rolls, laid crosswise
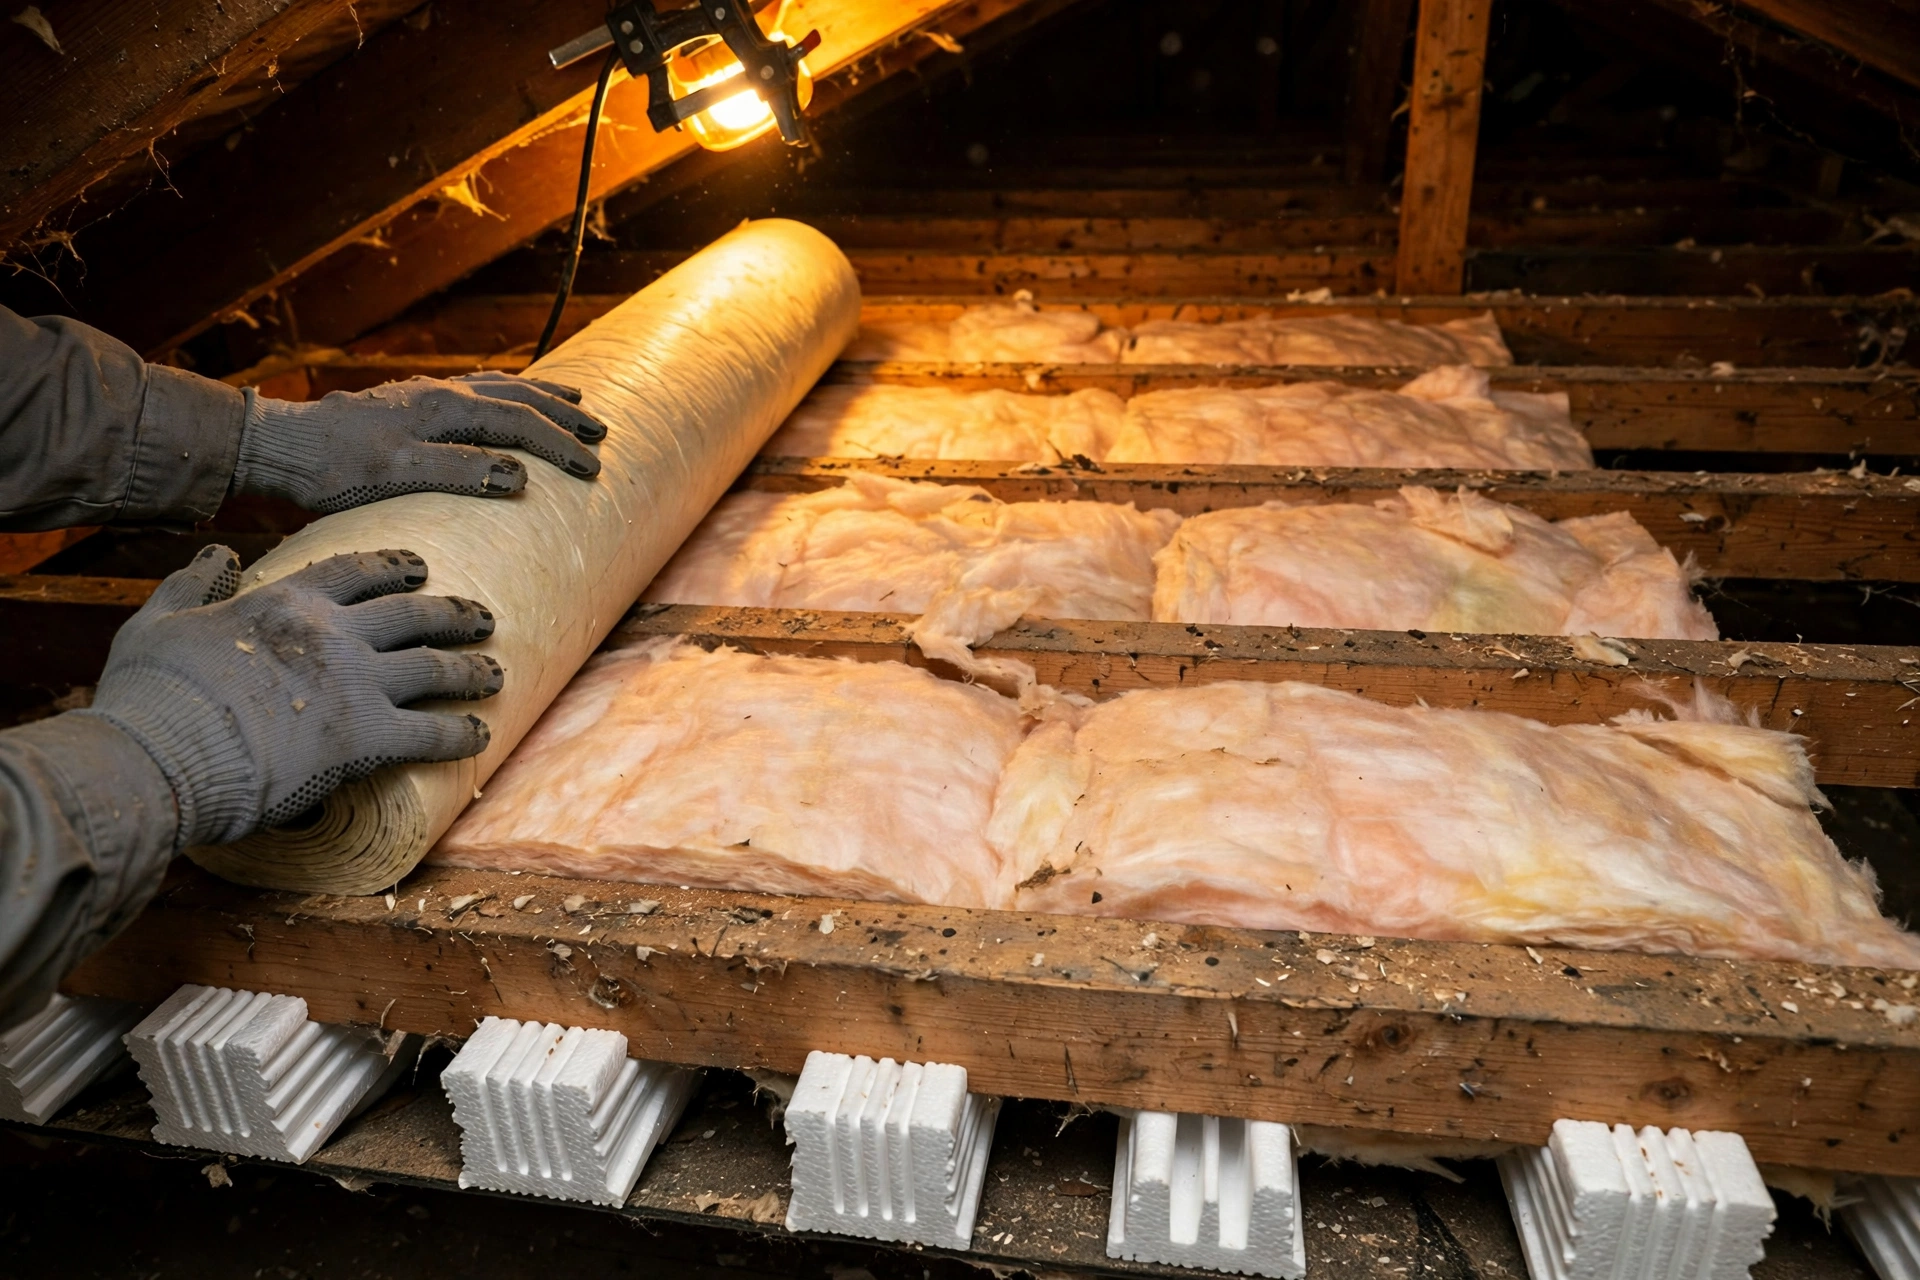
With the leaks sealed, the top-up itself is almost restful work: unfaced rolls or batts, laid perpendicular across the joists over the existing layer, so the new blanket covers the joist tops — the thermal bridges — as well as the bays. Unfaced is the rule for a top-up layer: a second vapor retarder sandwiched in the stack traps moisture where you cannot see it. Add depth until the total stack reaches your target (existing R-19 plus an R-19 crosswise layer is the classic R-38 finish), keep it off the soffit vents at the eaves, and do not compress it to make the roll fit a tight bay — squashed fiberglass is just expensive air.
Unfaced Fiberglass Insulation Roll, R-19
Long unfaced rolls sized for attic floors — friction-friendly over joists, no paper face to trap moisture in the stack, and the crosswise layer that takes a half-finished attic to a finished number.
→ Click here to check price on Amazon
Step 5: Keep the soffits breathing — the rafter vent baffles
The one way to make an attic worse while insulating it is to bury the soffit vents: the roof needs that intake air to stay cold and dry, which is the entire ventilation half of the ice dam problem. Baffles hold the channel open from soffit to attic over the new insulation — if you installed them for the ice dam guide, this is a check, not a purchase; if you skipped them, no top-up is finished until every vented bay has one.
Attic Rafter Vent Baffles, Foam, Multi-Pack
Lightweight chutes that hold a clear air channel from soffit to attic over the insulation — the unglamorous fix that stops the melt-freeze cycle at its source.
→ Click here to check price on Amazon
Already on this site’s hub: the attic rafter vent baffles are a pick in the Ice Dam Prevention guide too — listed once on the hub, on purpose.
A cold attic is a cheap attic
Measure honestly, seal before you pile, cover the lights and the stairs, and bring the floor up to a number that matches your winters — laid crosswise, vents breathing. The furnace will tell you it worked the first cold week: shorter runs, a house that holds its temperature overnight, and a roof that stays the same temperature as the weather — which is where every other winter guide on this site has been trying to get you.
Leave a Reply