Disclosure: This post contains affiliate links. If you buy through them, Built & Backyard may earn a commission at no extra cost to you.
Quick answer
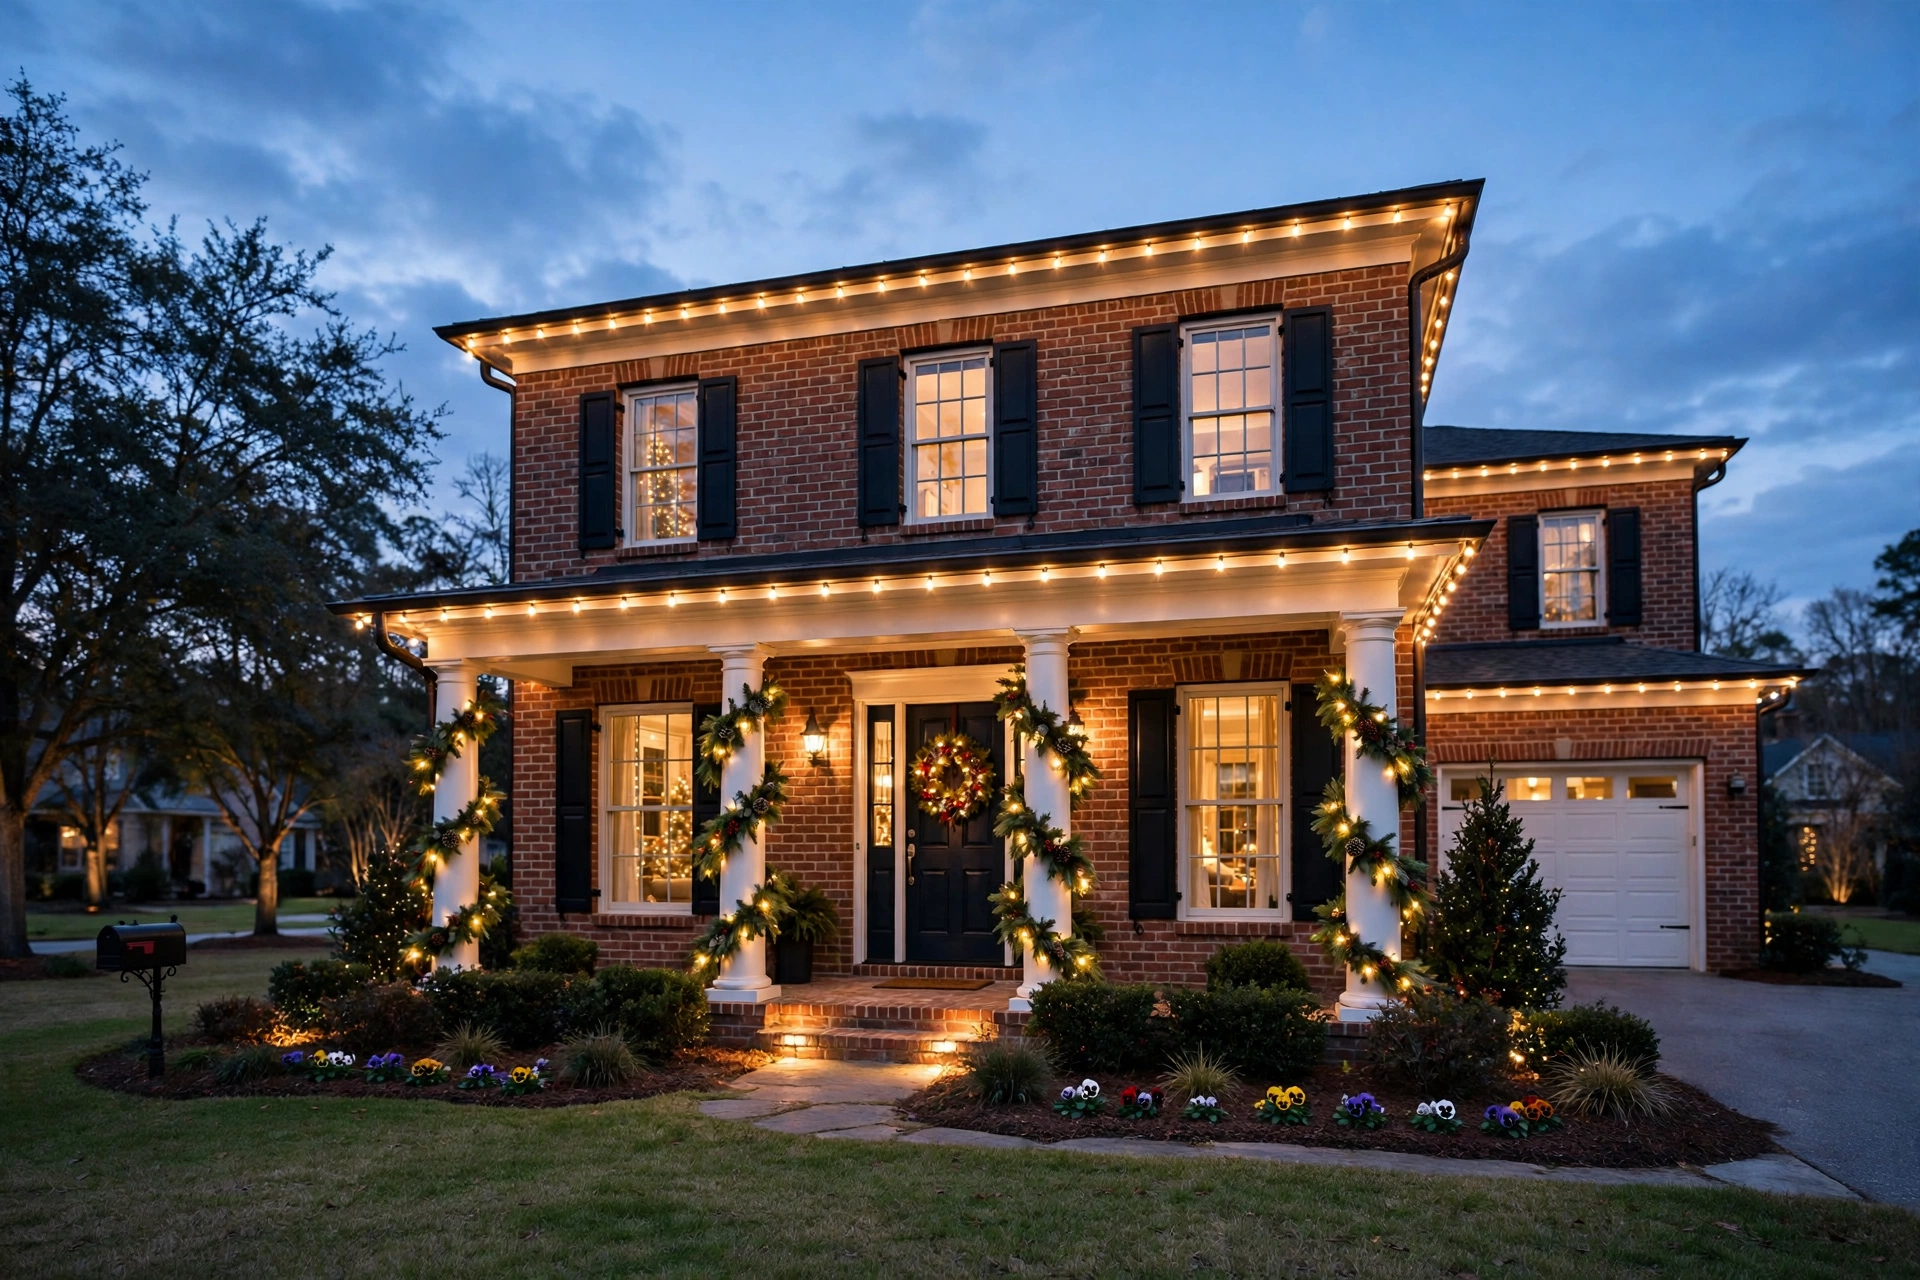
A good outdoor Christmas light setup comes down to three things: clips that don’t damage your roof or gutters, LED strings that draw a fraction of the power of old incandescent bulbs, and one outdoor-rated timer or smart plug running the whole display. Get those three right and the lights go up in an afternoon, turn themselves on at dusk, and come down in January without leaving holes, scorched cords, or a tripped breaker behind.
In the South you get one advantage and one trap. The advantage: you can hang lights in a t-shirt in November, no ice on the roof. The trap: rain. Southern December means wet weeks, so every connection point has to be outdoor-rated and off the ground, or your GFCI outlet will trip the display dark on the first rainy night.
This is the fun end of fall outdoor work — the shutdown jobs are in our lawn mower winterizing guide and fall winterizer guide, and if you’re setting up the patio for holiday company, our outdoor TV setup guide pairs well with it.
Step 1: Plan the display on paper first
Measure before you buy. Walk the roofline, gutters, porch posts, and any trees or shrubs you want lit, and pace off or tape-measure each run. Then add 20% — strings never stretch as far as the box math says once you account for drops down to the outlet and slack at corners.
Decide on one look and stick to it: all warm white reads classic, multicolor reads playful, and mixing the two on the same run reads accidental. Buy every string in the same purchase if you can; LED color temperature varies between brands and even between production runs, and a “warm white” that doesn’t match is the first thing your eye catches at night.
Step 2: Use clips, not staples or nails
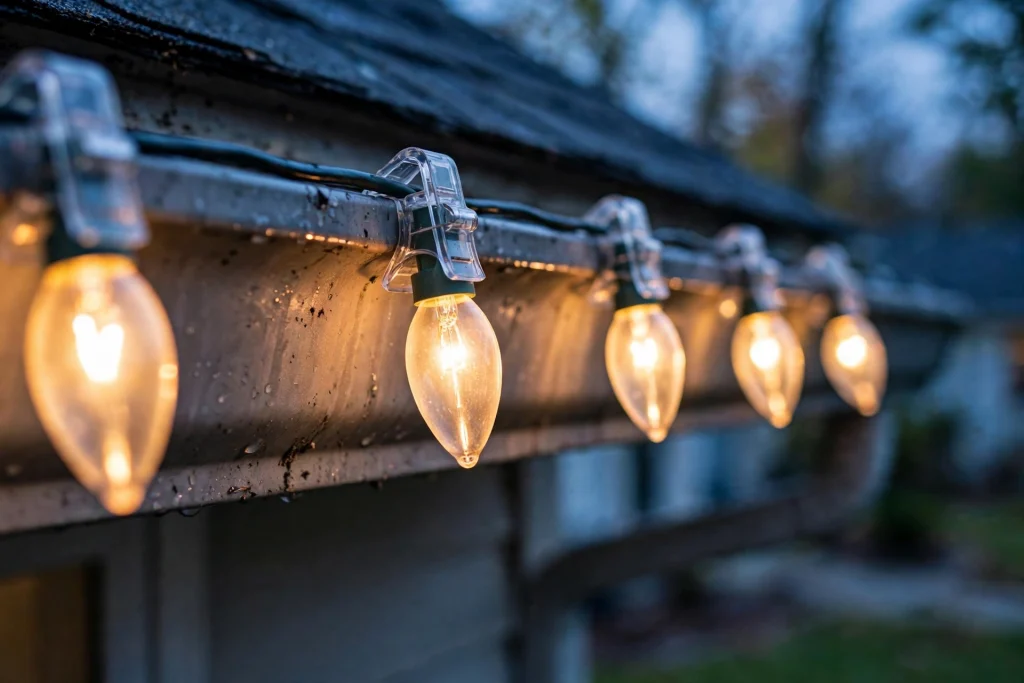
Staples and nails are how lights damage shingles, puncture the wire’s own insulation, and leave rust streaks down your fascia. Modern all-in-one clips grip the shingle edge or the gutter lip, hold the bulb socket upright and evenly spaced, and pop off in January with no holes to patch.
Even spacing is most of what makes a display look professional. Clips enforce it automatically; a staple gun guarantees the saggy, uneven line you see on the houses people slow down to pity, not admire.
Step 3: Go LED, and do the breaker math once
LED strings draw roughly a tenth of the power of incandescent strings. Practically, that means you can connect many more LED strings end-to-end (check the limit printed on the tag — it’s often 20+ strings) and run a whole front yard on one 15-amp circuit without thinking hard about it.
With incandescent strings, three or four end-to-end could be the limit, and overloads showed up as a dark display mid-party. If you’re still holding old incandescent strings, this is the year the math — and the electric bill — argues for replacing them. LED is also cool to the touch, which matters around dry wreaths and garland.
Step 4: Put the whole display on one timer
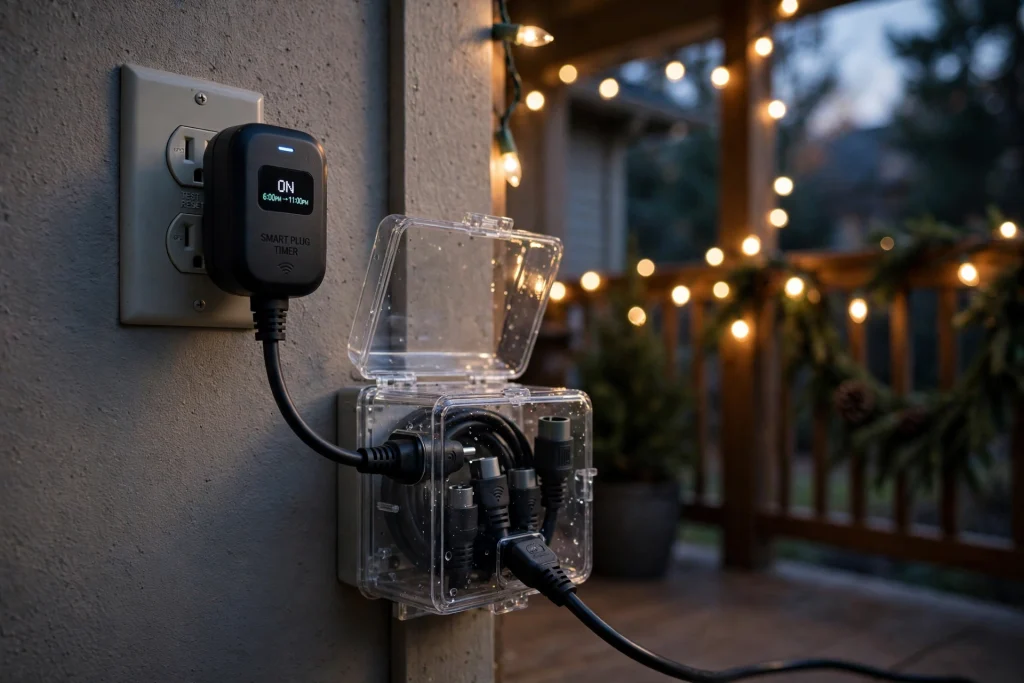
One outdoor-rated smart plug or timer on the main feed beats five cheap timers on five outlets. Set it to dusk-to-midnight (or dusk + 6 hours) and the display runs itself all season — no nightly trip outside, no lights burning at 3 a.m., no forgetting and leaving them on through a workday.
Smart plugs add app and voice control and most track power use, which is genuinely useful the first year: you learn exactly what your display costs to run, and it’s less than you feared if you went LED.
Step 5: Keep every connection dry and off the ground
This is the step that decides whether the display survives a rainy Southern December:
- Use a GFCI outlet. Non-negotiable outdoors. If it trips, it’s doing its job — find the wet connection instead of bypassing it.
- Outdoor-rated extension cords only, sized for the run: a long, thin indoor-style cord under load is a voltage-drop and heat problem. One heavier-gauge cord beats two light ones joined together.
- Raise the plugs. Where a cord meets a string, keep the junction off the ground and out of mulch and puddles; a cord cover box at the main junction keeps rain and sprinklers off the plugs entirely.
- Drip loops: let cords dip slightly before rising into an outlet or connection, so rain runs down and drips off instead of following the cord into the plug.
The setup checklist
- Measure every run; buy strings + 20%, all one brand and color.
- Clips for every bulb on roofline and gutters — no staples, no nails.
- LED strings only; check the end-to-end limit on the tag.
- One outdoor smart plug/timer on the main feed, dusk to midnight.
- GFCI outlet, outdoor-rated cords, junctions raised and covered.
- Photograph the layout before takedown in January — next year’s setup takes half the time.
And if you’re buying for a DIYer instead of a roofline this year, our tool gift guide has 11 picks that won’t end up in a junk drawer.
Picks for the job
LED C9 string lights, outdoor
The classic roofline look in LED form: bright, evenly spaced on clips, and cheap to run all month. C9s read from the street better than mini lights on a big roofline.
→ Click here to check price on Amazon
All-in-one gutter and shingle light clips
Grip gutters or shingles, hold sockets upright and evenly spaced, and come off clean in January. Buy one per bulb.
→ Click here to check price on Amazon
Outdoor smart plug with timer
Runs the whole display from one outlet: dusk-to-midnight schedules, app control, and power tracking. Get the outdoor-rated version with a weather-resistant housing.
→ Click here to check price on Amazon
Heavy-duty outdoor extension cord
A single heavier-gauge cord for the long run from outlet to roofline beats daisy-chained light cords on both voltage drop and heat.
→ Click here to check price on Amazon
Outdoor cord connection cover box
A weatherproof box that covers the main plug junction — the difference between a display that survives a rainy week and one that trips the GFCI nightly.
→ Click here to check price on Amazon
Mistakes that ruin a display (or worse)
- Stapling through the wire. A staple through insulation is a short waiting for rain. Clips exist precisely to prevent this.
- Indoor cords and timers outside. They’re not sealed against moisture; “it’ll be fine for a month” is how GFCI trips and worse happen.
- Overloading one circuit with incandescent strings. Do the end-to-end math on the tag, or switch to LED and stop worrying.
- Plugs sitting in mulch or puddles. Raise every junction and cover the main one.
- Hanging lights in the December cold snap. In the South you can do this job in November in a t-shirt — the whole point is to use that window.
Leave a Reply