Built & Backyard is reader-supported: we may earn a commission from qualifying purchases made through links on this page, at no extra cost to you.
A burst pipe is the most expensive thing an ordinary cold night can do to a house, and in the South it ambushes people precisely because it is rare: the houses are built for heat, the pipes run through unheated crawl spaces and exterior walls, and the one hard freeze of the winter finds every unprotected run. Our outdoor faucets guide covers the hose bibs and the outside plumbing; this one covers the pipes inside the walls, under the floor, and over the garage — the ones that flood a kitchen at 3 AM instead of dripping politely into the yard.
Quick answer
Insulate every pipe you can reach in unheated space, put a self-regulating heat cable on the runs you cannot insulate well enough, let faucets on exterior walls drip when the forecast drops below 20°F, and keep the house at 55°F or warmer even when you are away. A Wi-Fi freeze alarm under the most vulnerable run is the early warning that turns a burst pipe into a phone call.
Step 1: Find the pipes that freeze first
Freezing is not random — it follows a map. In rough order of risk: pipes in exterior walls (especially north-facing), pipes in the crawl space or unheated basement, pipes over an uninsulated garage, and any long run far from the house’s warm core. Walk those spaces with a flashlight before the cold arrives and note every water line you can see or reach. Those are the runs this checklist exists for; the pipes inside warm interior walls can look after themselves.
Step 2: Insulate every reachable run — foam first
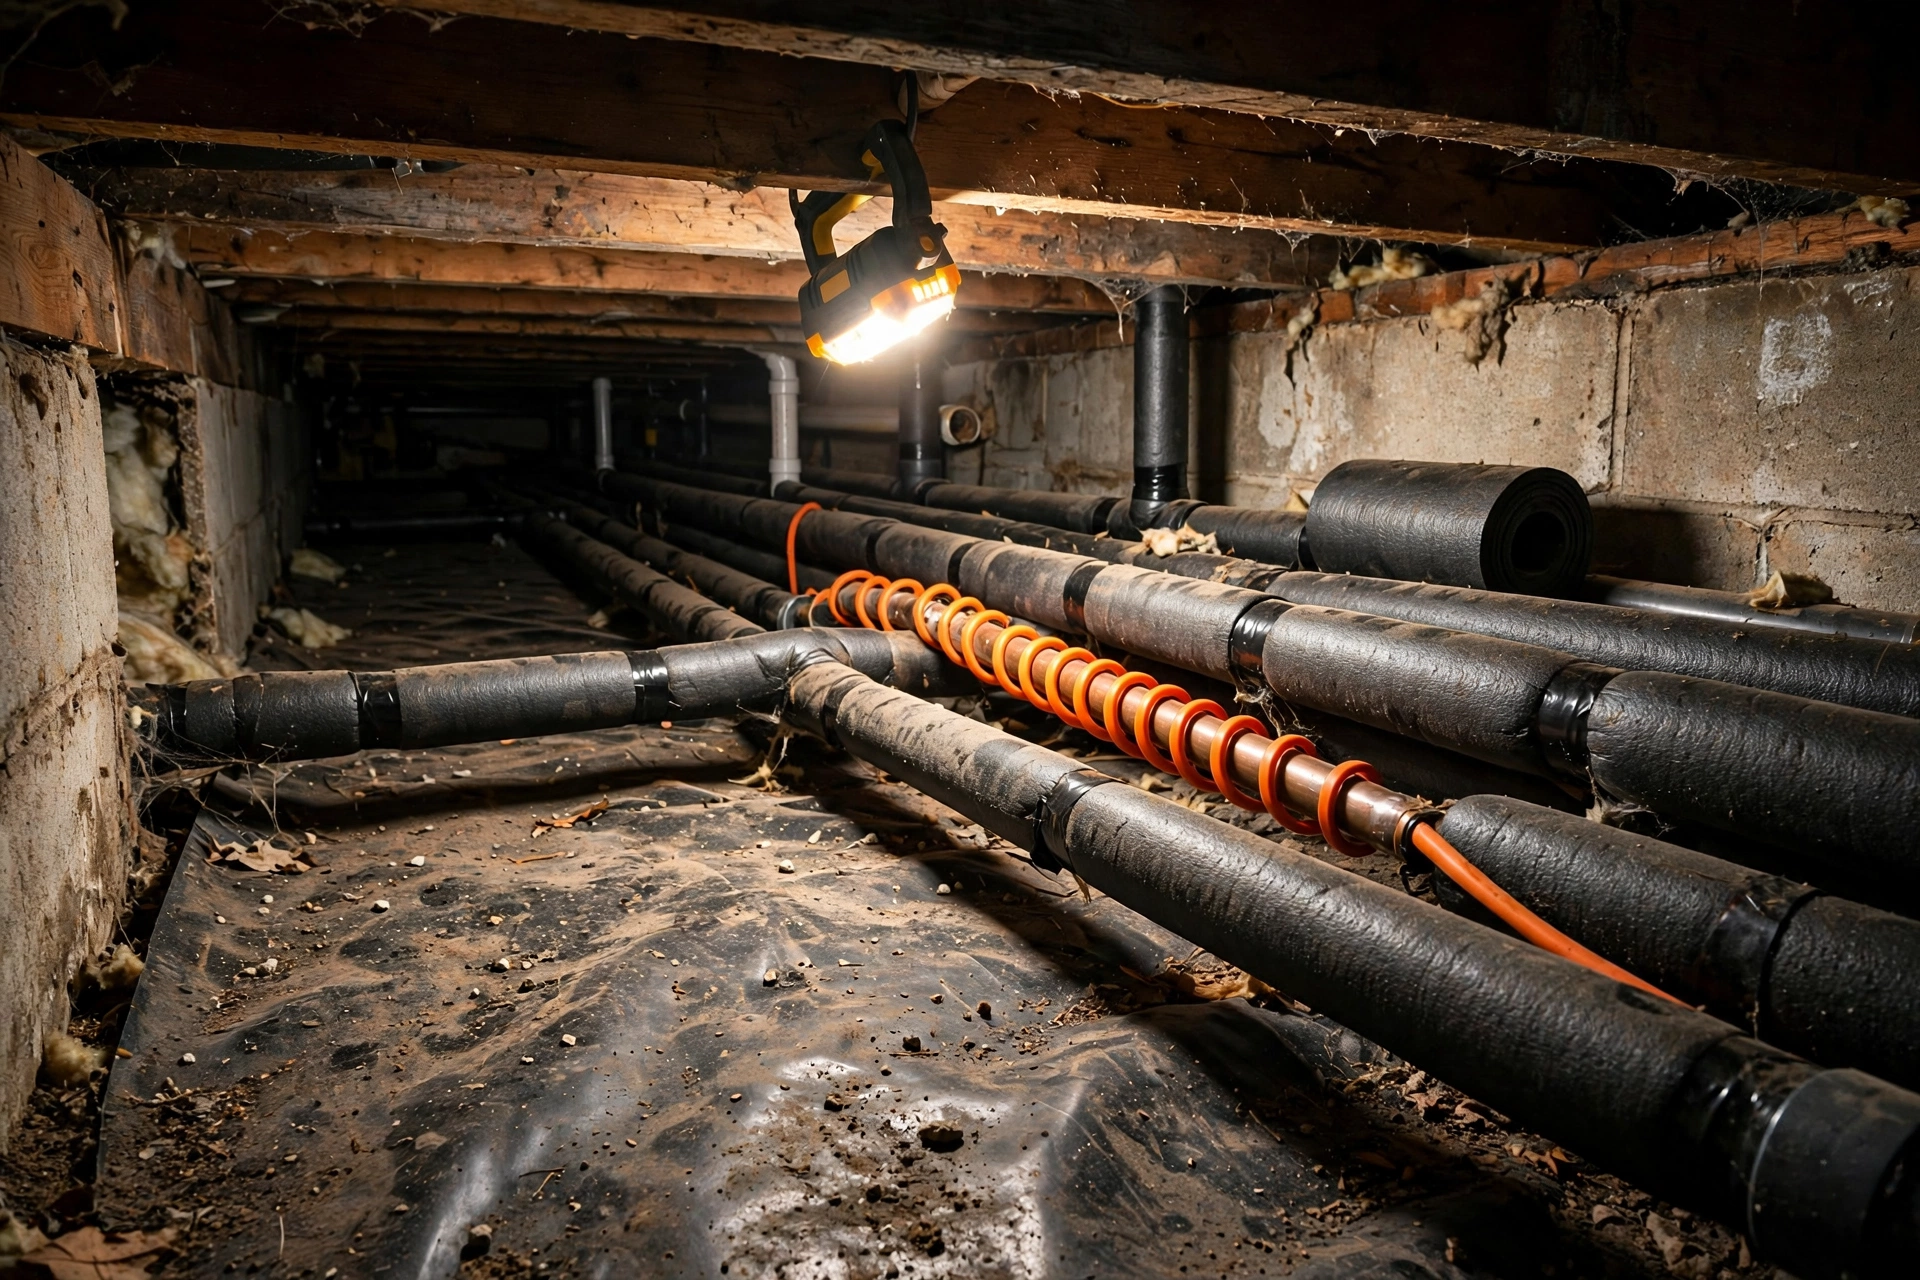
Self-sealing foam tubes are the cheapest insurance in the whole house: they slip over the pipe, the slit seals itself, and elbows take a miter cut and a wrap of tape. Cover both the hot and cold lines — cold lines freeze first, but a frozen hot line bursts just as wet. Do the crawl space and garage runs completely rather than the easy half, because the freeze finds the gap you skipped.
Self-Sealing Foam Pipe Insulation (multi-pack)
Pre-slit tubes that seal as you fit them — the crawl-space and garage runs done in an afternoon, no adhesive and no special tools.
→ Click here to check price on Amazon
Step 3: Heat cable for the runs insulation cannot save
Some runs sit where insulation alone loses: a line tight against an outside wall, a crawl-space pipe in the draft path of a vent, the stretch you cannot reach to wrap properly. A self-regulating heat cable is the answer for those — it warms up as the pipe gets colder, eases off as it warms, and is thermostat-controlled so it is not running in July. Fit it straight along the pipe under the insulation where the maker allows it, and test it before the season, not during the snap.
Self-Regulating Pipe Heat Cable Kit with Thermostat
Warming cable that adjusts its own output to the pipe’s temperature — the protection for the exposed runs foam alone cannot cover.
→ Click here to check price on Amazon
Step 4: The drip rule, and the cabinet doors nobody opens
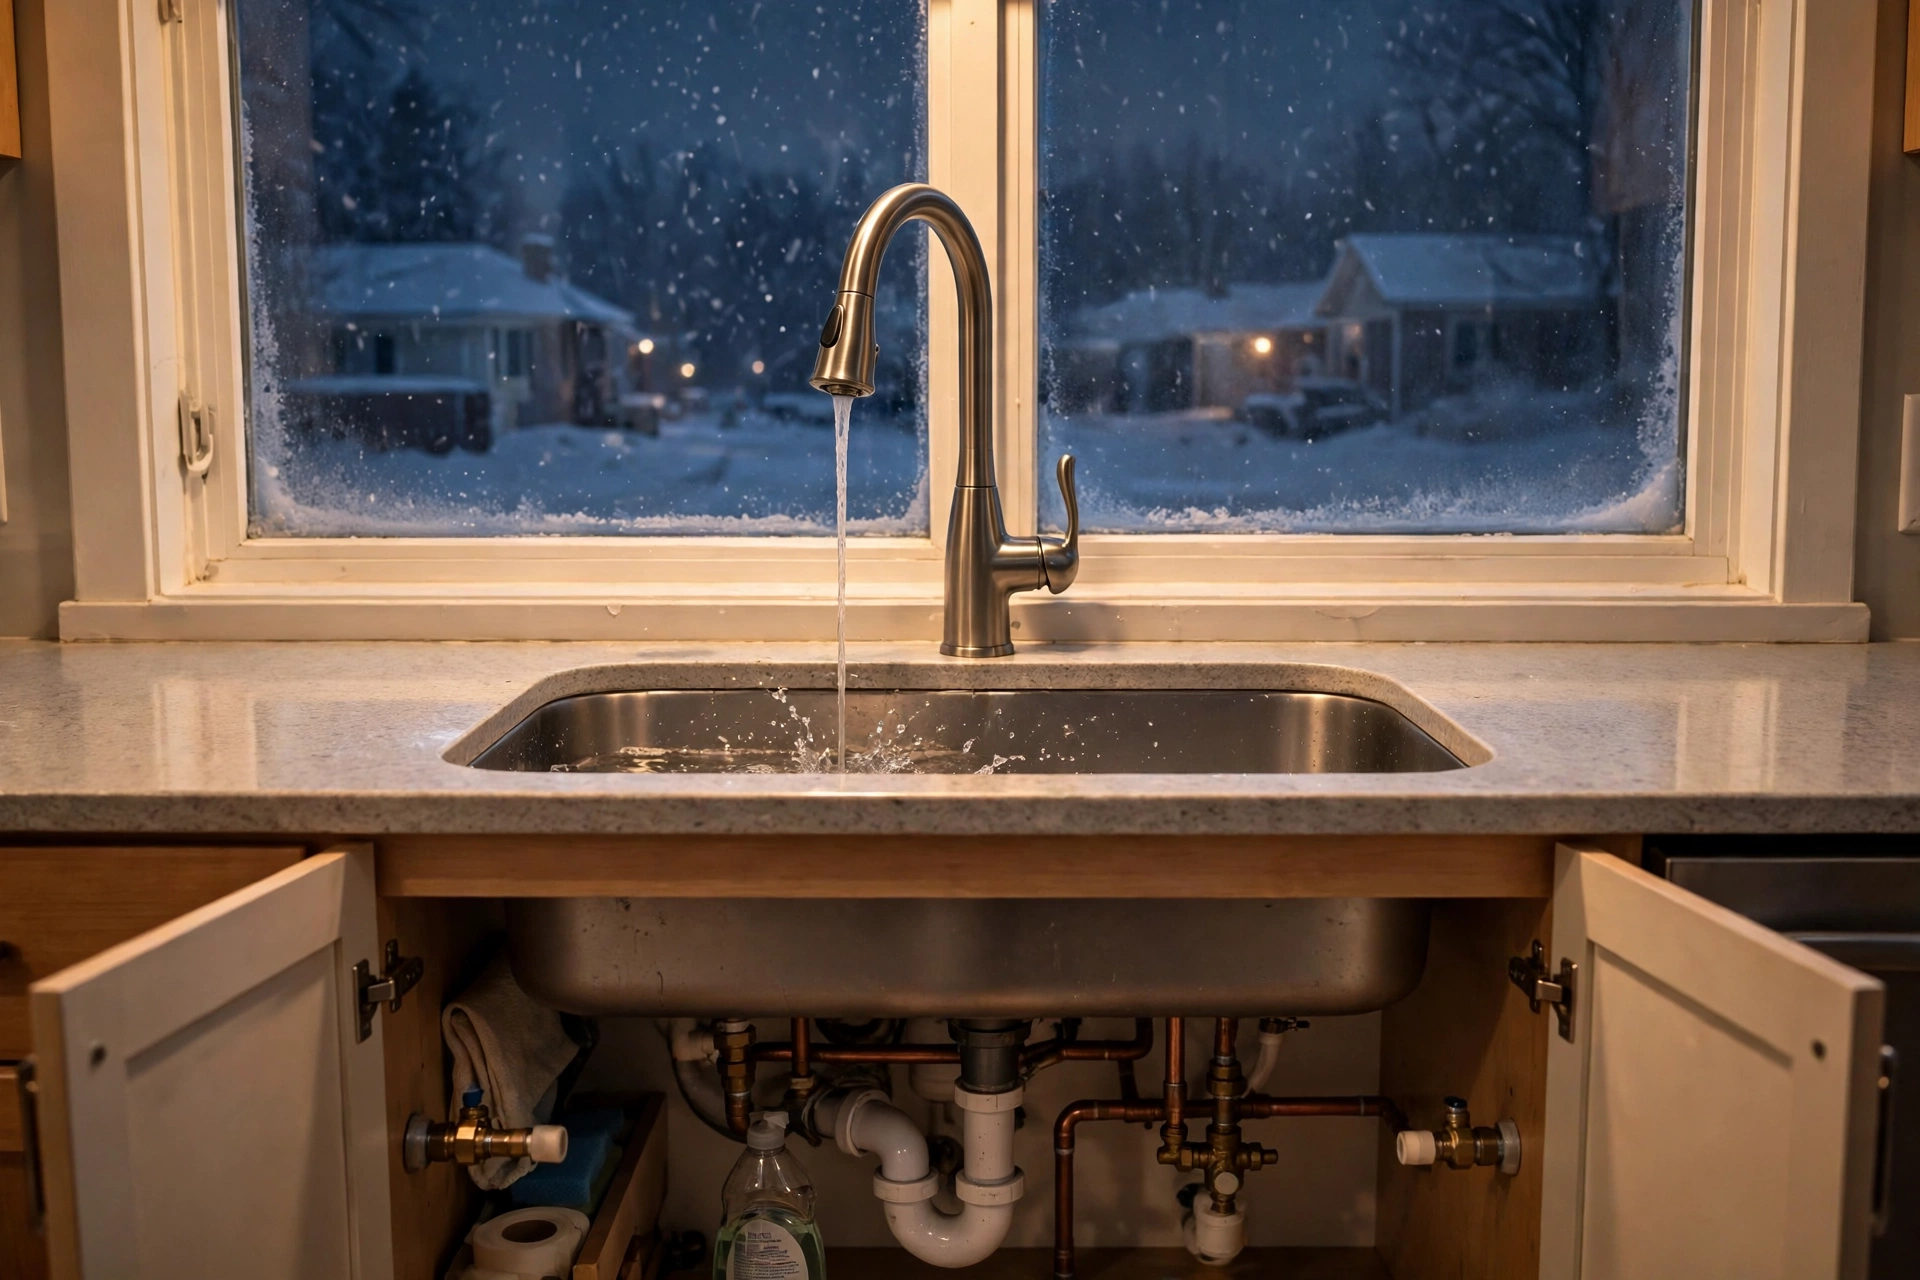
Moving water resists freezing, and a dripping faucet also relieves the pressure that actually bursts the pipe — the break happens between the ice plug and the closed faucet, not at the plug itself. When the forecast says below 20°F overnight: drip the faucets served by exterior-wall or crawl-space runs, a slow steady drip about the width of a pencil lead, and open the cabinet doors under kitchen and bathroom sinks so house heat reaches the wall pipes. It costs a few gallons of water; the water heater and the plumbing it feeds cost considerably more.
Step 5: A freeze alarm where the risk lives
Everything above is prevention; this is the alarm bell. A Wi-Fi water sensor with a temperature probe, placed at the coldest vulnerable run — the crawl-space manifold, the garage wall line — sends a phone alert when the temperature at the pipe approaches freezing and another if water appears where it should not. That alert is the difference between closing a shutoff valve at midnight and calling a restoration company in the morning. Know where your main shutoff is before you need it, and make sure it still turns.
Wi-Fi Freeze & Water Leak Alarm with Temperature Probe
Sends a phone alert as pipe temperature nears freezing and again at the first sign of a leak — placed at the run most likely to fail first.
→ Click here to check price on Amazon
Step 6: The kit for the night prevention loses
If a pipe freezes anyway: never a torch — open flame near framing is how a plumbing problem becomes a fire, and our smoke and CO detector check exists because winter emergencies compound. Warm the frozen section gently with a hair dryer or a space heater (used by the rules in our space heater guide), starting nearest the faucet. And keep an emergency repair clamp and wrap in the house: on a split pipe with the water shut off, they are the temporary seal that lets you restore water to the rest of the house while the plumber is booked out three days deep.
Emergency Pipe Repair Clamp & Wrap Kit
A clamp-and-seal kit sized for common household pipe — the temporary fix that buys back running water while the permanent repair is scheduled.
→ Click here to check price on Amazon
Insulated Outdoor Faucet Covers (multi-pack)
Hard-shell insulated covers for every hose bib — the outside half of freeze protection, fitted in minutes before the first hard night.
→ Click here to check price on Amazon
Freezes, settled
Map the vulnerable runs, foam what you can reach, cable what you cannot, drip and open cabinets below 20°F, keep the house at 55°F, and let a sensor stand watch over the coldest pipe in the house. One weekend afternoon of prevention, against the single most expensive night a Southern winter can schedule for you.
Leave a Reply