Built & Backyard is reader-supported: we may earn a commission from qualifying purchases made through links on this page, at no extra cost to you.
The most dangerous ice of the winter is not on the road — it is the invisible sheet on your own front steps, the one the mail carrier, the delivery driver, and you at 6 AM all cross without thinking. Driveways get the snow blower and the attention; walkways get a hopeful handful of whatever salt is left in the garage, usually thrown down after the ice has already formed. This guide is the national version of walkway winter: it works in Buffalo, in Kansas City, and in the parts of the South that freeze twice a year and own no equipment at all, because the method is the same everywhere — melt ahead of the storm, clear down to the pavement, and give boots something to grip. Do it in that order and the walk stays a walk all winter instead of becoming a story you tell with an ice pack on your hip. Pair it with the trunk kit in our winter car emergency kit guide and the whole property, house to curb, is ready for the first real freeze.
Quick answer
Spread calcium chloride ice melt on steps and walkways before the storm, not after — it works down to about -25°F and is gentler on concrete than rock salt, which quits near 15°F. Clear snow down to bare pavement with an ergonomic shovel (the powered snow shovel from our snow blower guide handles steps and decks), put a heated mat on the one set of steps everybody uses, and keep traction cleats by the door for the mornings the melt has not caught up yet.
Step 1: Melt ahead — calcium chloride, before the storm
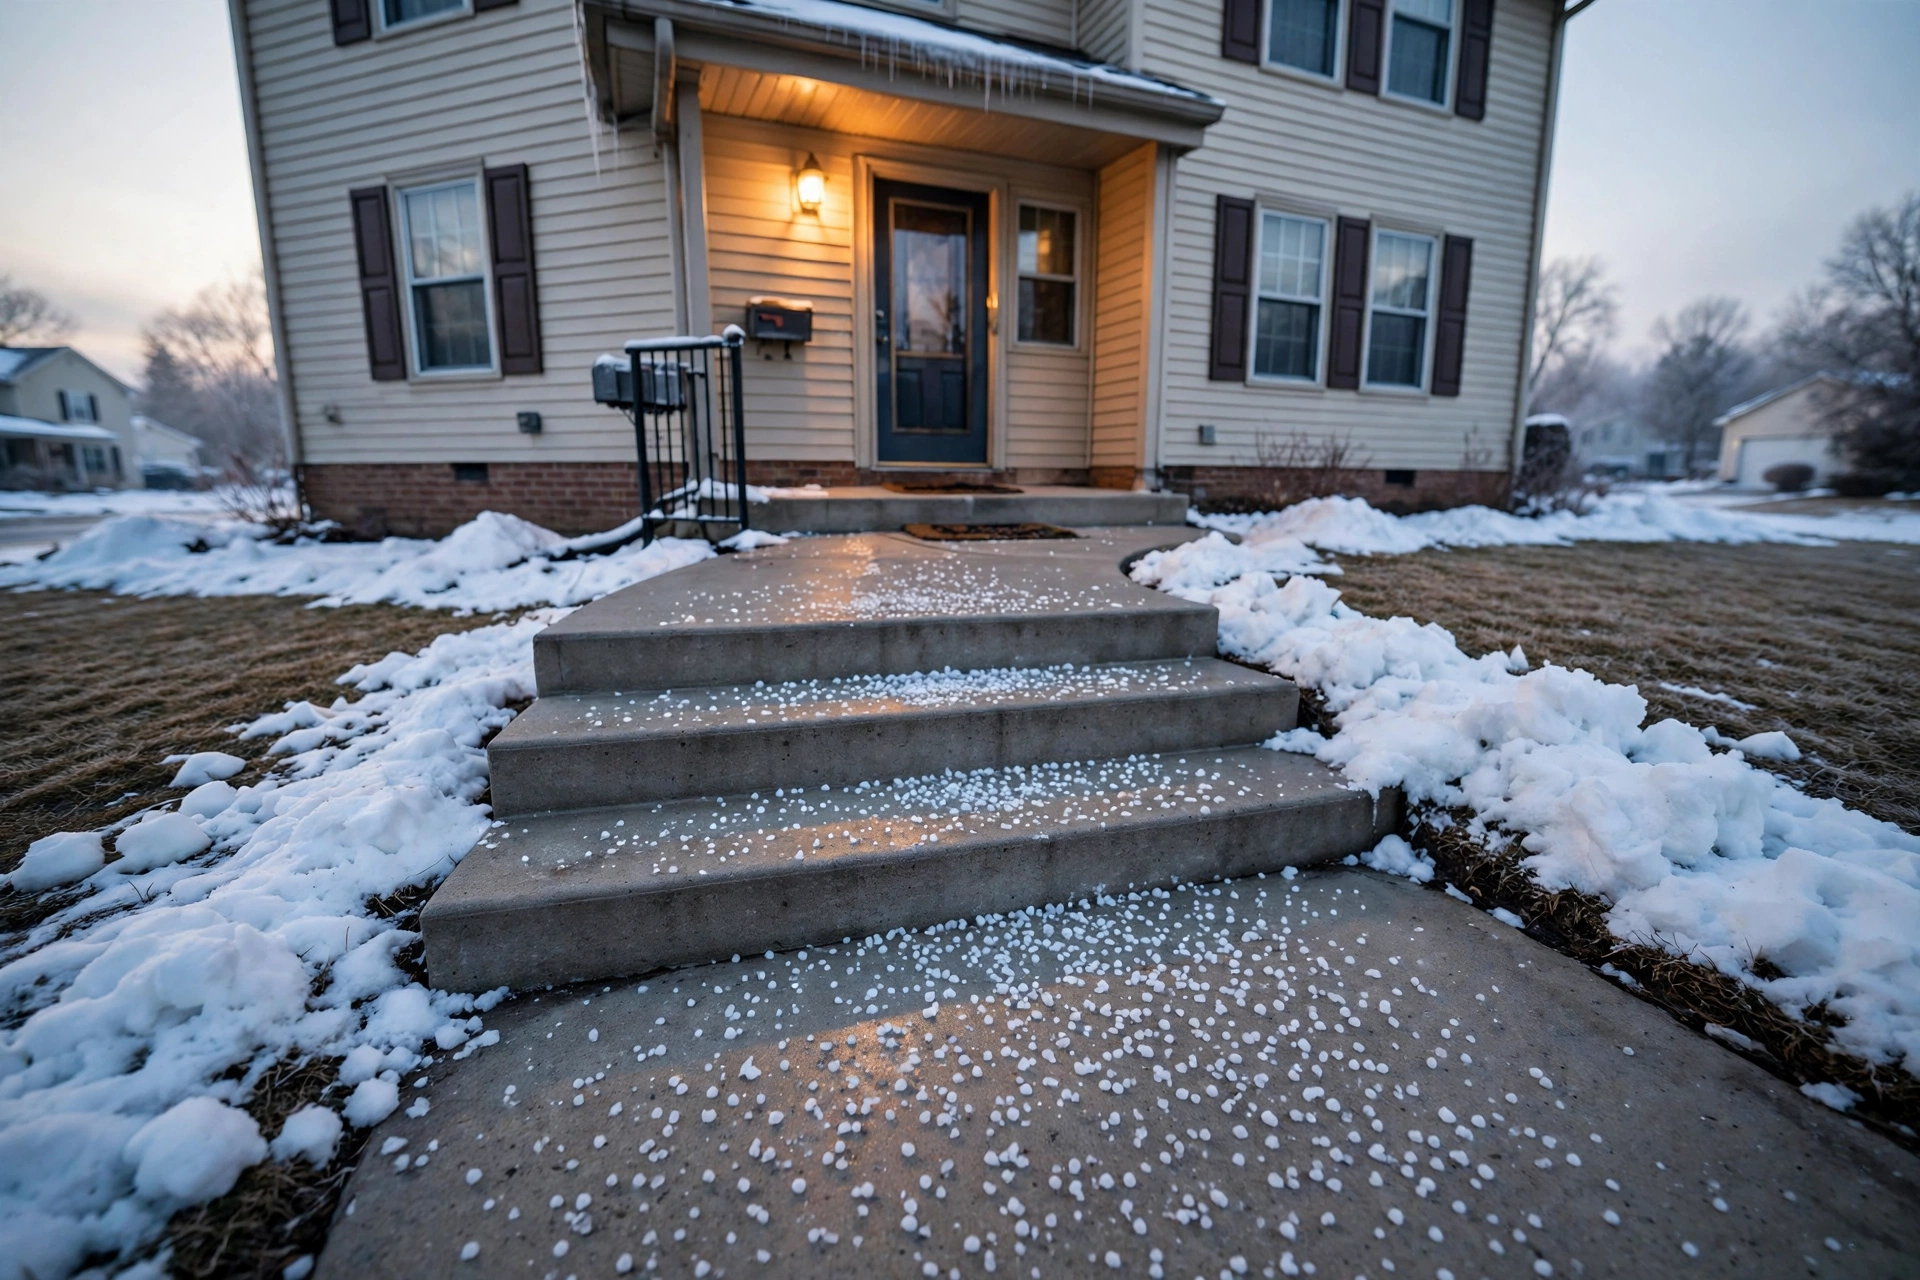
Ice melt is a pre-treatment that happens to also work after the fact, and the difference is a whole morning of chipping. Spread a thin, even layer on clean pavement before snow or freezing rain starts and the ice never bonds to the surface — the shovel then lifts it in sheets. The chemistry matters: plain rock salt (sodium chloride) slows to a crawl below about 20°F and effectively quits near 15°F, and it is the hardest common melt on concrete and the plants along the walk. Calcium chloride keeps working to roughly -25°F, pulls moisture from the air to get started, and does the same job with less product down, which is exactly what concrete and landscaping want. A coffee mug of pellets per square yard is plenty; the thick white drifts people pour are waste, runoff, and tracked-in floors. Store the bag sealed and dry — an open bag in a damp garage is a solid block by January.
Calcium Chloride Ice Melt Pellets
Works to about -25°F where rock salt quits, starts on contact, and clears a bonded sheet of ice with a thin pre-storm layer instead of a white drift — the gentler choice for concrete steps and walks.
→ Click here to check price on Amazon
Step 2: Clear to the pavement — the ergonomic shovel
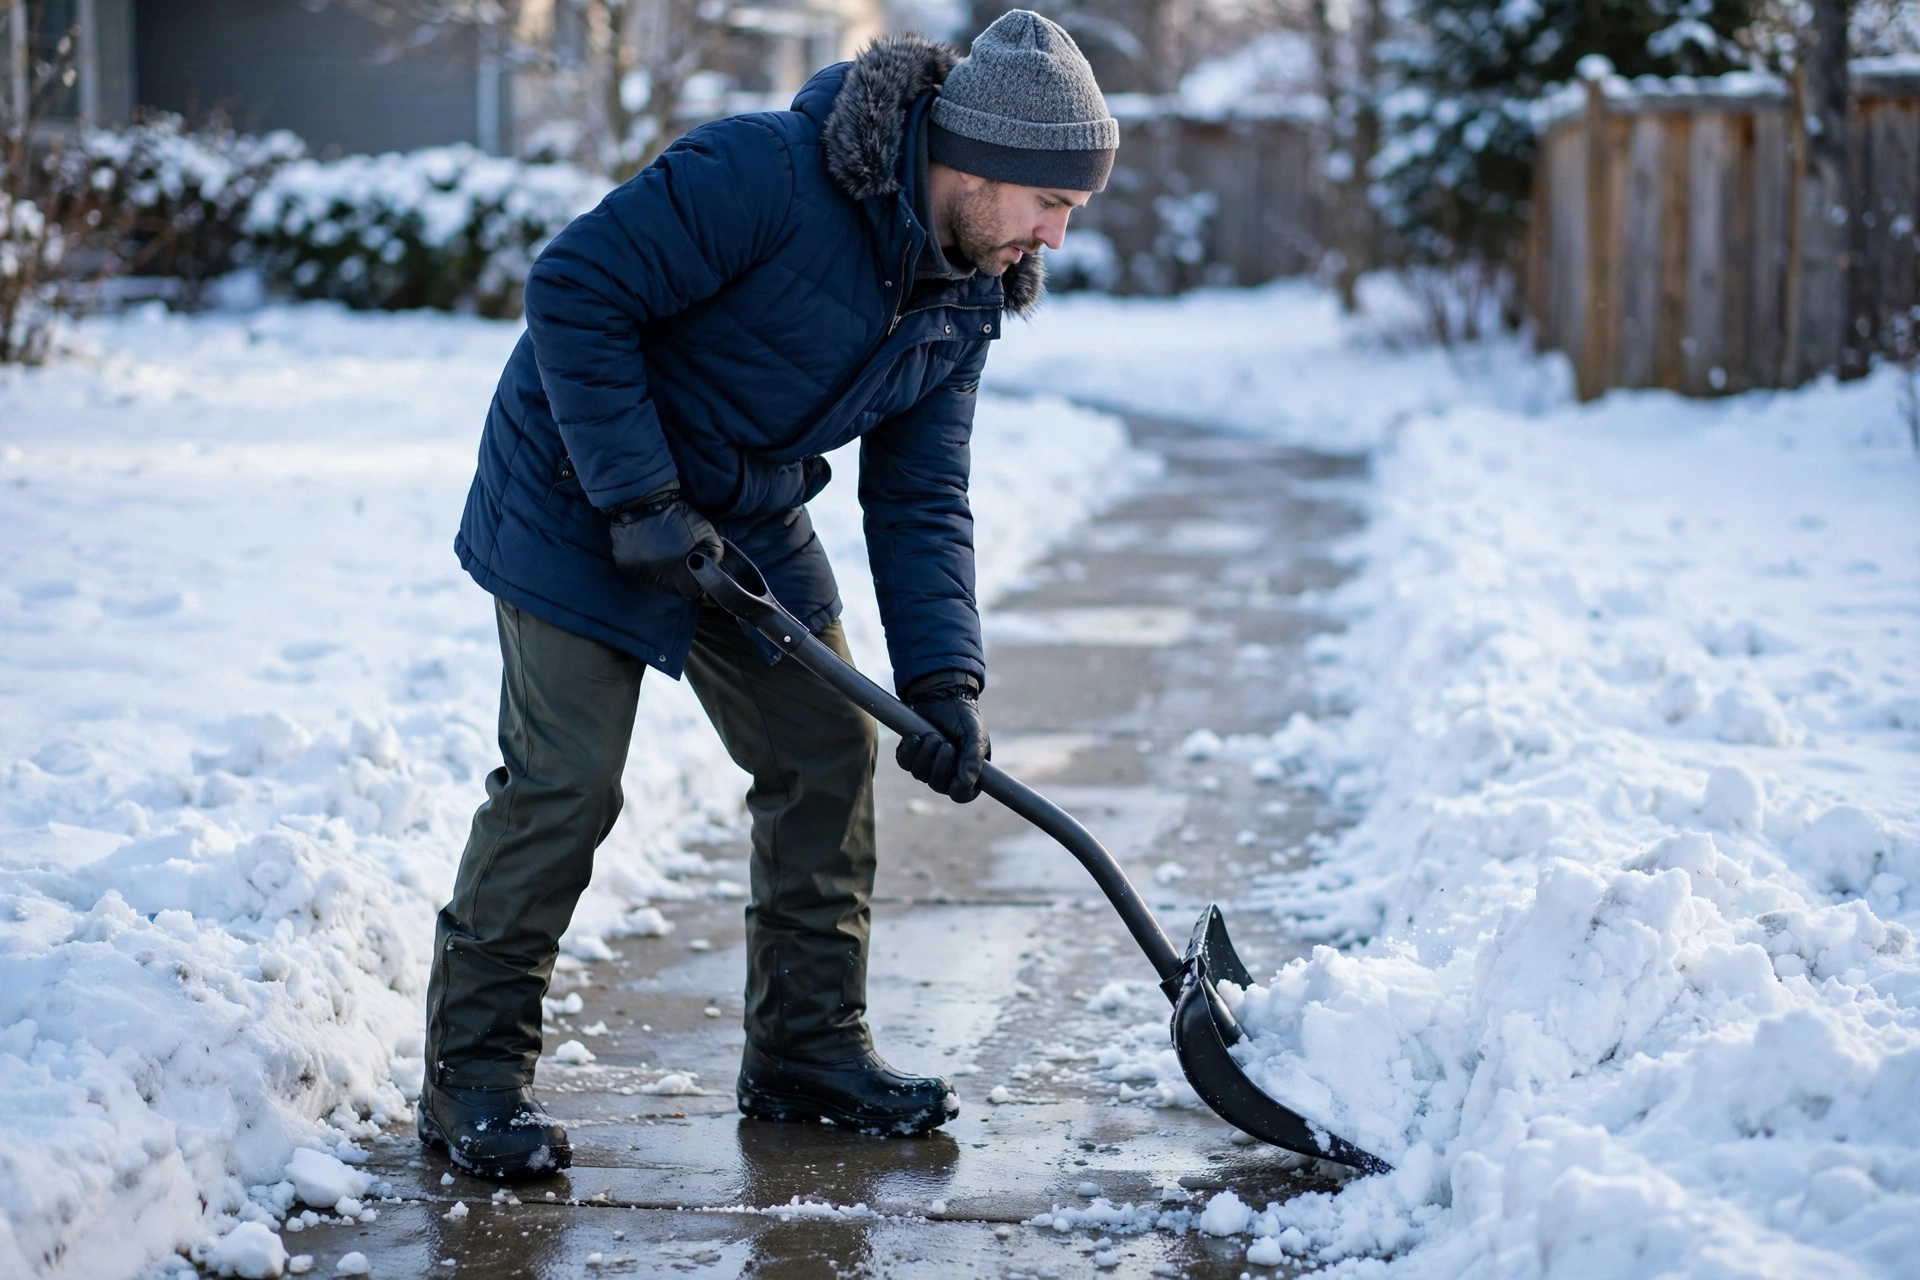
Whatever snow lands on top of the melt still has to move, and the rule is bare pavement, every time: the packed inch you leave behind polishes into the ice sheet you were trying to prevent. A bent-handle ergonomic shovel is the manual tool that respects your back — the offset handle keeps the load closer and the stoop shallower, which matters more with every pass and every winter. Push what you can instead of lifting; when you must lift, fill the blade half, bend at the knees, and never twist to throw. For steps, decks, and tight spots a blower cannot reach, the powered option from our snow blower guide earns its keep here too.
Ergonomic Snow Shovel, Bent Handle
The offset bent handle that keeps the lift in your legs instead of your lower back — wide blade, half loads, and a walk cleared to bare pavement instead of packed snow.
→ Click here to check price on Amazon
Steps, decks, and tight spots: battery snow shovel
Already on our Recommended Gear hub from the snow blower guide: the powered shovel for the places a blower can’t reach — steps, decks, and the short walk to the door.
→ Click here to check price on Amazon
Step 3: The steps everybody uses — a heated mat
Every house has one set of steps that takes all the traffic, and it is always the set in the shade that refreezes first. A heated walkway mat solves that one spot permanently: lay it on the steps or the stoop before the season, plug it into an outdoor outlet, and it holds the surface just above freezing through the storm — no melting, no chipping, no salt tracked inside. It is the highest-priced pick in this guide and the only one that works while you sleep, which is the entire argument: the 6 AM trip down the steps with the dog should not be the most dangerous thing you do all day. Daisy-chainable sizes cover a stoop and the first treads; a full staircase wants the step-sized versions. Roll it up in spring and it is ready for a decade of winters.
Heated Walkway & Step Melting Mat
An outdoor-rated heated mat that holds steps and stoops above freezing through the storm — the melt-and-clear job done for you on the one set of steps everybody uses, all night long.
→ Click here to check price on Amazon
Step 4: Grip for your boots — traction cleats by the door
Melts and mats cover the home walk; they do nothing for the icy stretch between the car and the office door, the mailbox run, or the dog walk around the block. Slip-on traction cleats — steel coils or short spikes on a rubber harness — turn ordinary boots into ice boots in ten seconds and come off just as fast at the door. Keep a pair hanging by the door you actually use, sized to your winter boots, and a second pair in the car next to the scraper from the winter car emergency kit. Most winter falls happen within fifty feet of a door, on ground somebody assumed was fine. Cleats are the cheapest insurance in this entire guide.
Traction Cleats for Boots & Shoes, Slip-On Ice Grips
Steel grip that slips over ordinary boots in ten seconds and comes off at the door — for the mailbox run, the dog walk, and every icy stretch the melt never reaches.
→ Click here to check price on Amazon
The walk is the winter front door
Melt ahead of the storm, clear to bare pavement, heat the one set of steps everybody uses, and keep cleats by the door — four habits and the most-crossed ground on your property stops being the most dangerous. Every pick above — plus the rest of our winter gear — lives in one place on our Recommended Gear page.
Leave a Reply