
Built & Backyard is reader-supported: we may earn a commission from qualifying purchases made through links on this page, at no extra cost to you.
A real Christmas tree has about four weeks of glory in it — or about ten days, if the setup goes wrong. Almost every dried-out, needle-shedding tree traces back to the same three mistakes: a stand that holds too little water, a first watering that came too late, and a spot next to a heat vent. Get the stand, the water, and the placement right on day one and the tree mostly takes care of itself. Here’s the setup that works, in order.
Quick answer
Make a fresh cut an inch off the trunk, set the tree in a stand that holds at least a quart of water per inch of trunk diameter, and fill it within the first few hours. After that, keep the reservoir from ever running dry — a tree can drink a quart a day in the first week. Keep it away from heat sources, and when the season ends, a removal bag and an upright storage bag turn teardown into a ten-minute job instead of a needle trail through the house.
Step 1: The stand does more than hold the tree up
The stand is not a decoration decision — it’s the tree’s water supply. Two rules:
- Capacity beats looks. A 6-foot tree with a 4-inch trunk wants a stand holding a gallon or close to it. Small stands with a pint-sized reservoir are the number one cause of trees drying out by week two.
- Skip the drilling and the whittling. A fresh straight cut across the bottom opens the trunk’s water channels. Don’t drill holes in the trunk unless your stand’s spike needs it, and don’t shave the sides — the outer wood just under the bark does the drinking.
Heavy-Duty Christmas Tree Stand with Large Water Reservoir
A wide, stable base with a reservoir sized for real trees — it holds close to a gallon, tightens down with bolts instead of wobbly screws, and doesn’t tip when the cat audits your ornament placement.
→ Click here to check price on Amazon
One more setup detail that saves marriages: put the stand where the tree is going to live before the tree goes in it, and lay a waterproof mat or tray underneath. Filling the reservoir on a bare floor is how hardwood gets its first water ring.
Step 2: Watering — the one job that matters
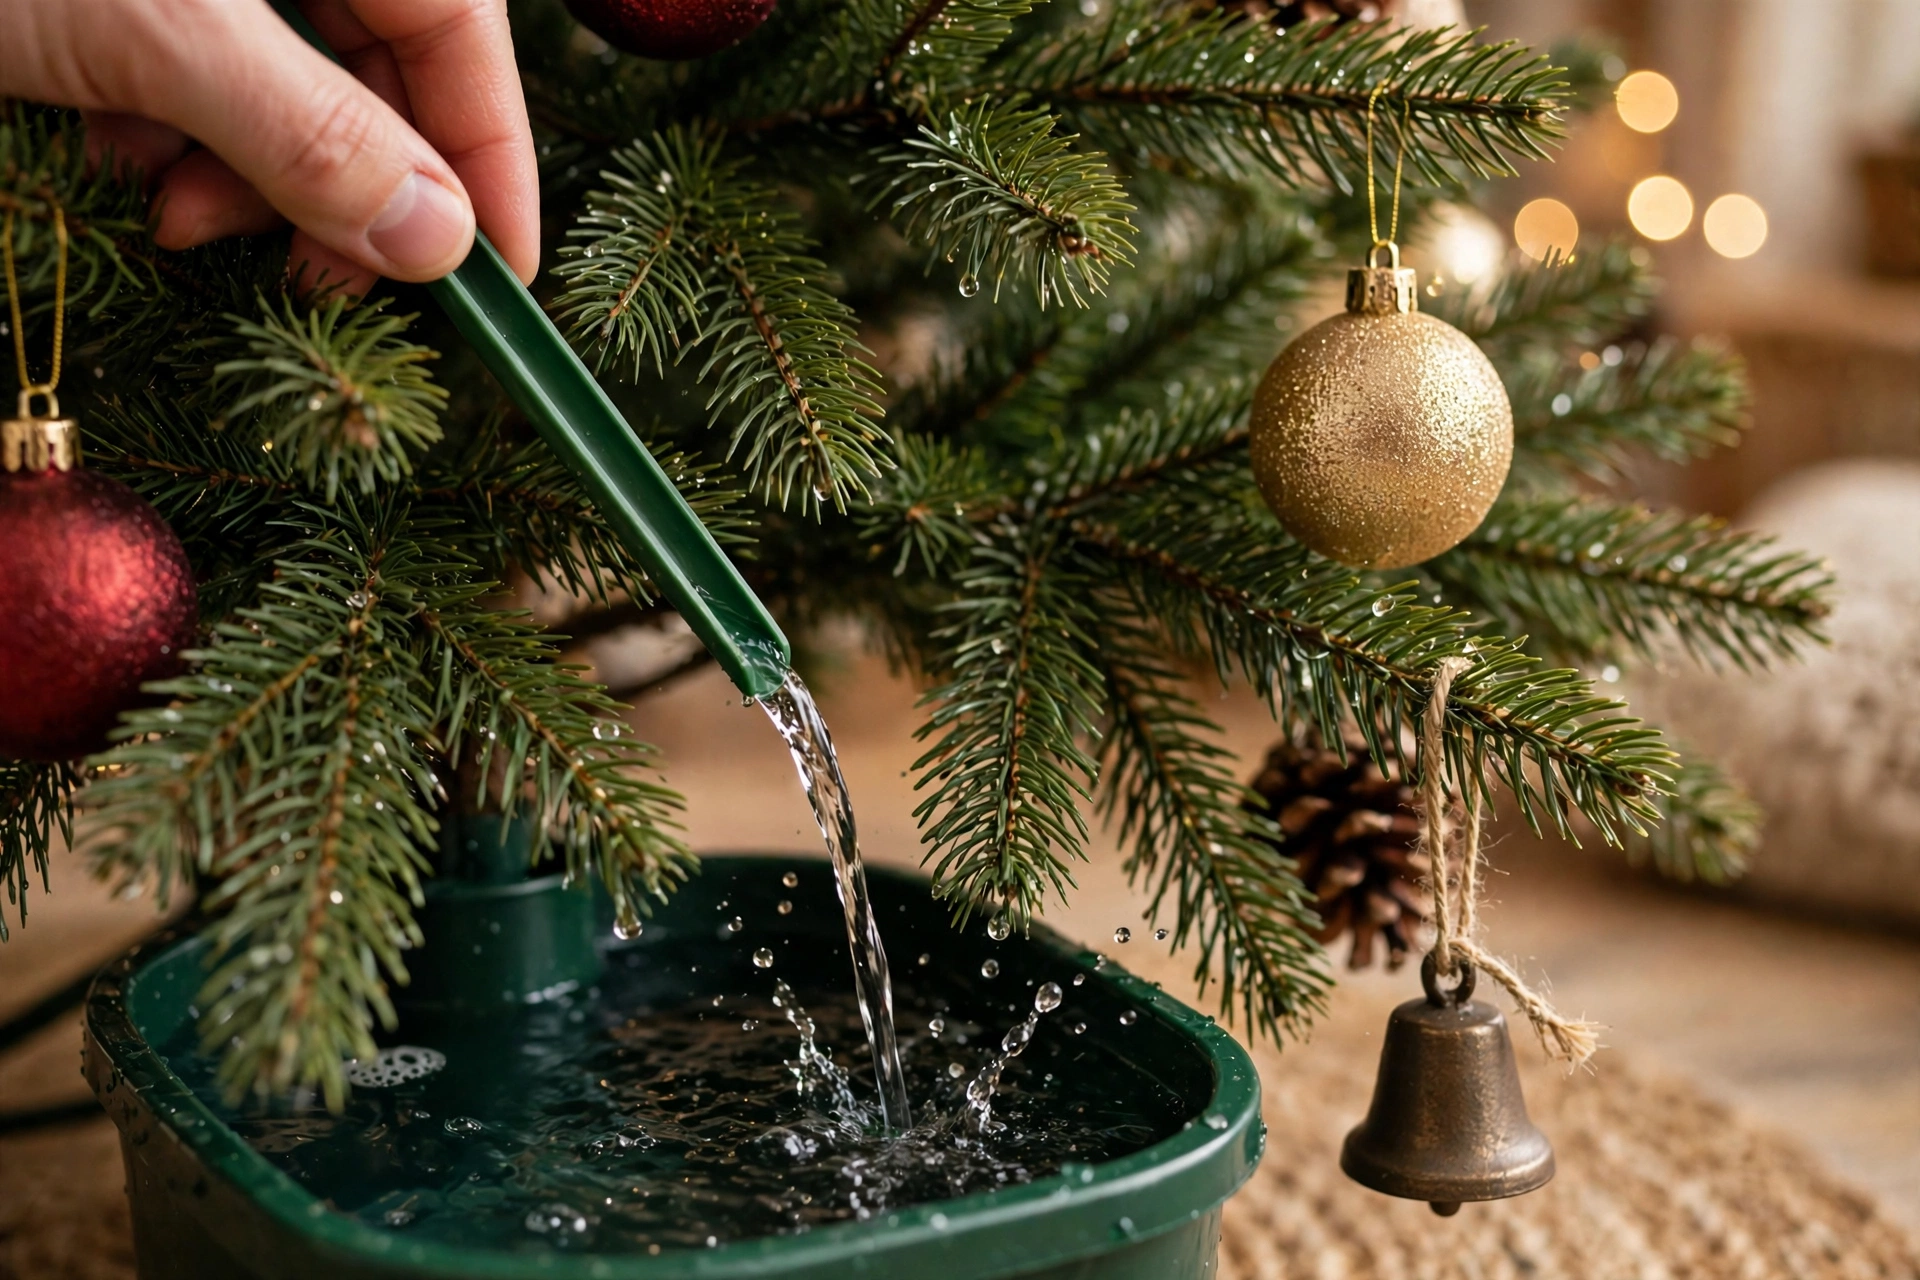
A fresh tree drinks hardest in the first 48 hours, then settles into roughly a quart a day for an average tree. The routine is simple:
- Fill the reservoir as soon as the tree is standing. Plain tap water — skip the soda, aspirin, and fire-retardant recipes; university extension tests keep landing on plain water as the best performer.
- Check the level every morning for the first week, then every other day. The reservoir should never sit empty: once the cut surface dries and seals, the tree stops drinking even if you refill it later.
- If bending under the branches with a watering can is why the tree would get skipped at your house, solve that problem directly.
Christmas Tree Watering Funnel System
A slim funnel tube that hides in the branches and lets you fill the stand standing up — no crawling, no spills, and the float tells you the level at a glance. It’s the difference between watering daily and watering whenever somebody remembers.
→ Click here to check price on Amazon
Step 3: Placement and safety
Where the tree stands matters almost as much as the water:
- Three feet from heat. Fireplaces, wood stoves, space heaters, and even a floor vent blowing warm air will dry a tree out days early. (If you’re getting the fireplace ready for the season too, our fireplace and chimney safety guide covers that pass.)
- Check the lights before they go on the tree, not after. A strand with a cracked socket or frayed wire doesn’t belong on a tree, fresh or not. Our outdoor Christmas light setup guide has the timer and cord routine that works for the indoor tree too.
- A fresh, watered tree is a safe tree. The fire risk everyone pictures belongs to the dry, neglected tree in January. The watering routine above is your fire prevention.
Step 4: Teardown and storage — the part nobody plans
The season ends, and this is where most households improvise badly: the tree gets dragged out shedding needles down the hall, and the ornaments go back into a grocery bag. Two cheap pieces of gear fix both ends of that.
Christmas Tree Removal Bags
Slip the bag under the stand when you set the tree up (it hides under the tree skirt), then at teardown just pull it up over the tree and carry the whole thing out. The needles go with the tree instead of all over your floor and driveway.
→ Click here to check price on Amazon
Ornament Storage Box with Dividers
Individual padded cells for up to 128 ornaments — the good ones stop chipping each other in a tote, and you can actually find the topper next year without unwrapping forty balls of newspaper.
→ Click here to check price on Amazon
Upright Christmas Tree Storage Bag with Wheels
For artificial trees — and for keeping next year’s real-tree gear together — an upright bag on wheels lets you store the tree assembled and roll it straight to the closet or garage instead of wrestling it back into its cardboard box.
→ Click here to check price on Amazon
The whole routine, start to finish
Fresh cut, big-reservoir stand, water within hours and never dry, three feet from the heat, lights checked, and a bag ready for teardown. That’s it — none of it is hard, and every bit of it is decided in the first hour the tree comes home. Do the setup right and the tree you pick this weekend is still dropping almost no needles when the family shows up for Christmas dinner.
Leave a Reply