Disclosure: This post contains affiliate links. If you buy through them, Built & Backyard may earn a commission at no extra cost to you.
The first cold snap in the South sneaks up on you. One week you’re running the AC, the next you’re standing in front of the fireplace with an armload of oak, ready for the first fire of the season. Before you strike that match, give the fireplace and chimney a once-over. A chimney that sat all summer can hide creosote buildup, a bird’s nest, a cracked flue liner, or a damper that no longer seals — and every one of those is cheaper to catch in October than in an emergency-room or insurance-claim kind of way in December.
Quick answer
Sweep (or hire out) the chimney if you burn more than a cord or two a year, check that the damper opens fully and seals shut, confirm you have a working carbon monoxide detector on the fireplace’s floor of the house, and burn only dry, seasoned hardwood. The five picks below cover the gear side: a sweep kit if you DIY it, a creosote treatment between cleanings, a CO detector, a proper screen, and a lidded ash bucket.
Step 1: Look up the flue before anything else
Shine a bright flashlight up the chimney from the firebox (or down from the roof, if you’re comfortable up there). You’re looking for three things:
- Creosote. Shiny, tarry, or flaky black buildup on the flue walls. A thin layer is normal; anything approaching a quarter-inch thick, or glazed and shiny, is a chimney fire waiting for a hot night. Creosote is the whole reason chimney fires happen — it ignites inside the flue and burns far hotter than the fireplace is built for.
- Obstructions. Birds and squirrels love an uncapped chimney. A nest, leaves, or a dead critter blocks the draft and pushes smoke and carbon monoxide back into the room.
- Damage. Cracked or missing flue tiles, crumbling mortar, and gaps between liner sections let heat and sparks reach the wood framing around the chimney. If you see cracked liner, that’s a stop-and-call-a-pro item, not a DIY fix.
The rule of thumb from every chimney sweep we’ve ever talked to: get a professional inspection at least once a year if you burn regularly, and a cleaning whenever creosote reaches about 1/8 inch. Occasional burners — a dozen fires a season — can often go every other year, but the annual look-up-the-flue costs you nothing but five minutes.
Step 2: Sweep it, or treat it
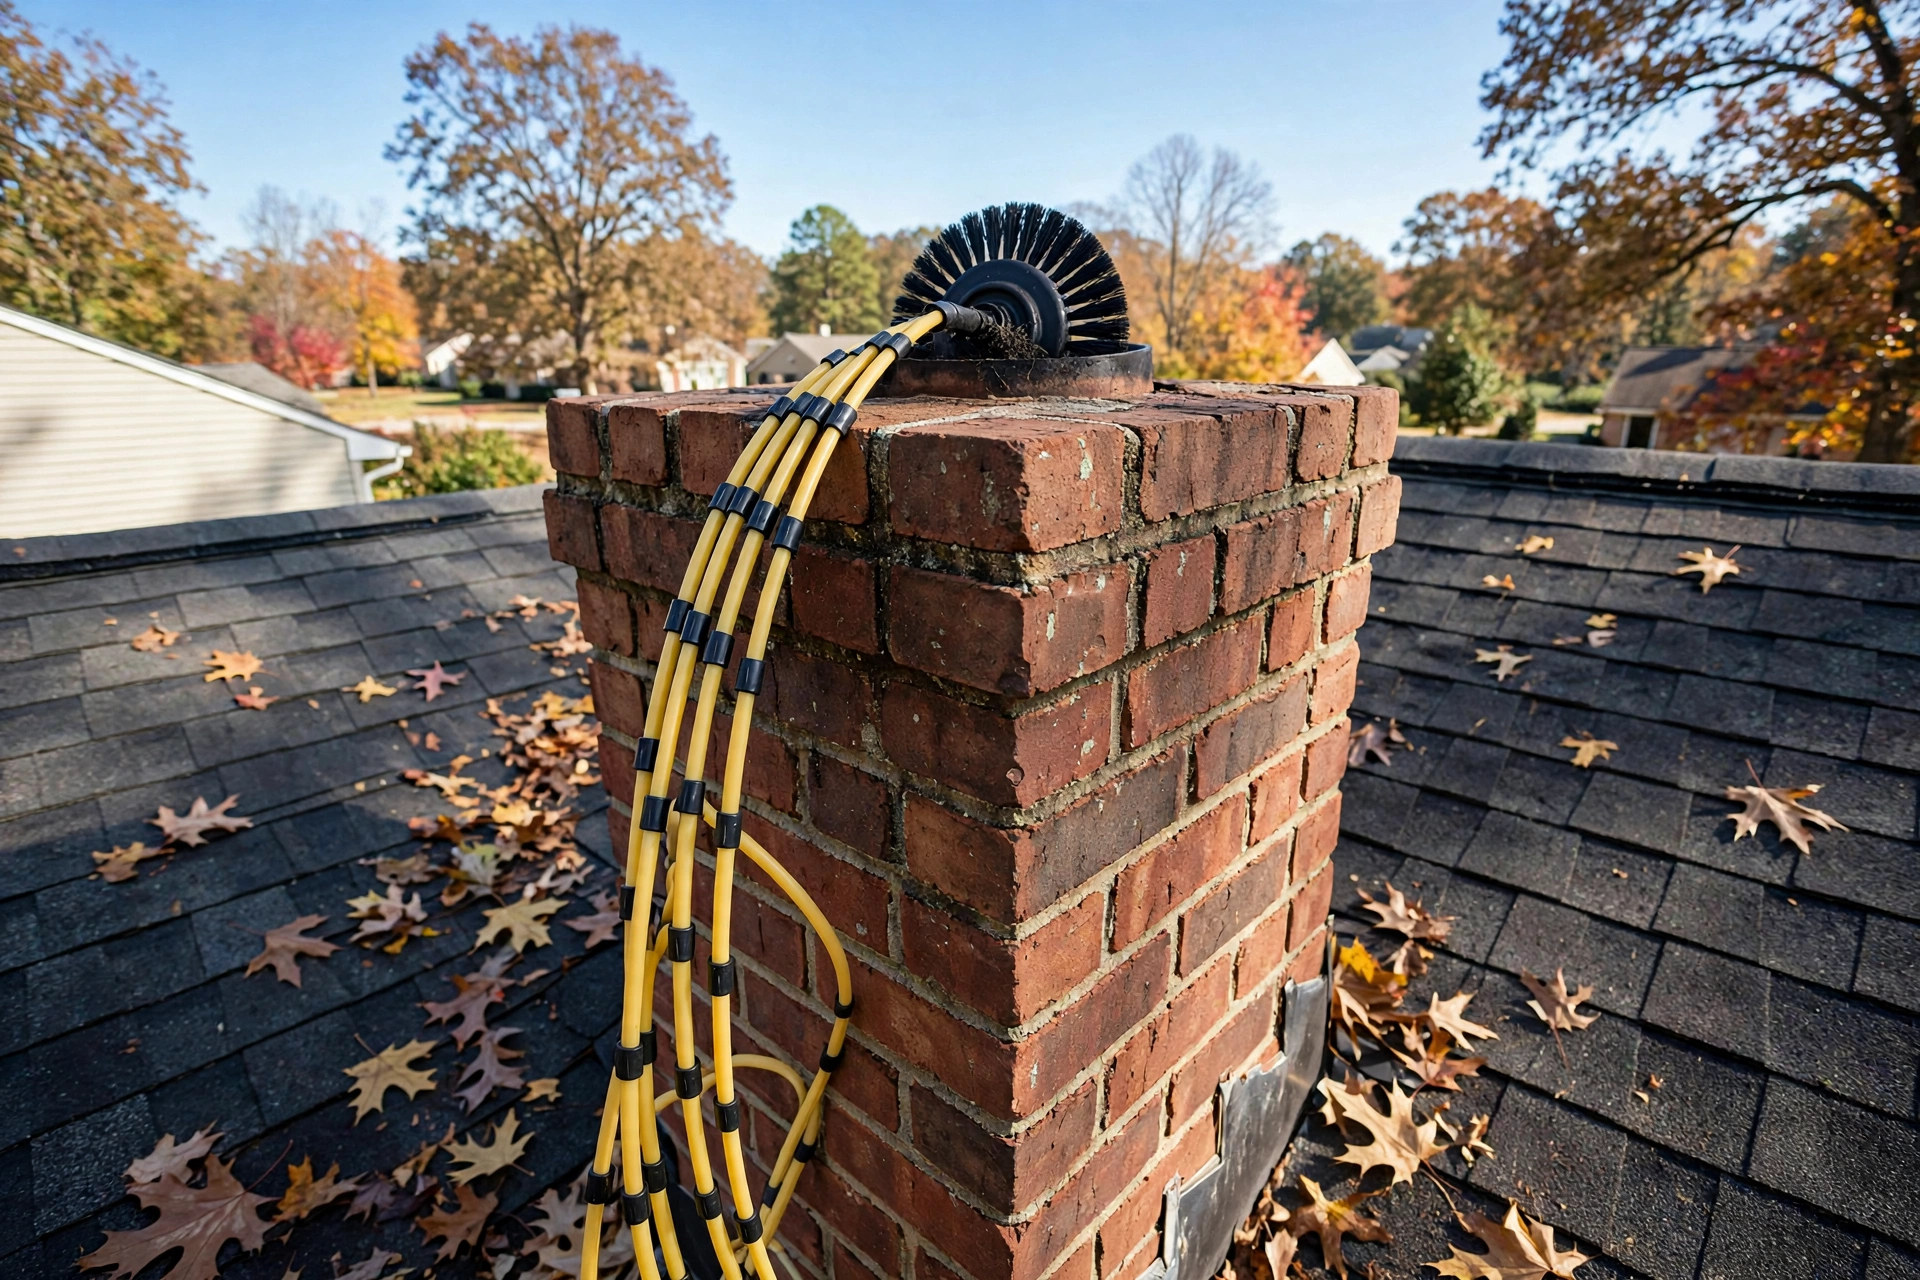
If you burn a lot and your roof pitch doesn’t scare you, a rotary chimney sweep kit that runs off a cordless drill genuinely works — flexible rods screw together to reach the full flue, and the brush head scrubs creosote off the walls as it spins. Measure your flue size first (most are 6–8 inch round or a rectangular tile) and buy the kit to match.
Our pick: a rotary chimney sweep kit (drill-driven). Rods reach a full two-story flue, and it pays for itself the first time versus a sweep visit.
→ Click here to check price on Amazon
Between cleanings, a creosote remover log or powder treatment helps keep new buildup soft and flaky instead of glazed — burned every few weeks during heavy use, it makes the next sweep easier. It’s a maintenance helper, not a substitute for an actual cleaning, and any product that claims otherwise is overselling.
Our pick: a creosote remover log treatment. One in the firebox every few weeks of regular burning keeps buildup from glazing over.
→ Click here to check price on Amazon
Step 3: The damper and the draft
Open and close the damper a few times before the first fire. It should swing or slide fully open and thunk shut with a decent seal. A warped or rusted damper that won’t open all the way will smoke up your room; one that won’t close leaks heated house air up the chimney all winter — the same kind of quiet money leak we chase in our weatherstripping guide. A top-sealing damper (mounted at the flue top, cable-operated) is the permanent fix for a bad throat damper and usually pays for itself in a season or two of saved heat.
Also confirm the chimney has a cap. A cap keeps out rain, animals, and downdrafts, and it arrests sparks on the way out. If yours is missing or rusted through, replacing it is a one-ladder job on most roofs.
Step 4: Carbon monoxide — the detector is not optional
Every fuel-burning appliance can make carbon monoxide, and a fireplace with a poor draft is no exception. CO is colorless and odorless; the detector is the only warning you get. Put one on every floor with a sleeping area and one in the room with the fireplace, and check the date — most sensors expire after 7–10 years and quietly stop being trustworthy. If your detector is older than the sticker says, replace it, don’t just swap the battery.
Our pick: a plug-in CO detector with battery backup and a digital display. The display shows low levels before they hit alarm threshold, and the battery keeps it alive in an outage — which, if you’ve read our generator sizing guide, is exactly when a fireplace gets used hardest.
→ Click here to check price on Amazon
Step 5: Screen, tools, and ash — the everyday safety gear
An open fireplace pops. One ember on the rug or the hardwood is all it takes, so a screen that actually covers the full opening — and stays put when a log shifts — is standard equipment, not decoration. Measure your firebox opening before ordering; screens are sold by overall width and height and should overlap the opening by an inch or more on each side.
Our pick: a flat guard fireplace screen sized to your opening. Flat guards sit close to the firebox, spark-proof the room, and don’t eat hearth space like a folding screen.
→ Click here to check price on Amazon
Last, the ash bucket. Ashes can hold live coals for days — plural. Never scoop them into a paper bag, a plastic bin, or the garage trash. A galvanized steel bucket with a tight lid is the whole system: shovel in, lid on, set it on a non-combustible surface (concrete, not the deck) for at least 72 hours before disposal.
Our pick: a galvanized ash bucket with lid and shovel. Sized for a weekend of fires, with a handle that stays cool enough to carry.
→ Click here to check price on Amazon
What to burn (and what never to burn)
- Burn: seasoned hardwood — oak, hickory, ash — split and stacked for at least 6–12 months until the ends check and the moisture reads under 20%. Dry wood burns hotter, cleaner, and leaves a fraction of the creosote.
- Skip: green or wet wood (steam, smoke, creosote), pine and other resinous softwoods as your main fuel (fast, hot, dirty), and anything pressure-treated, painted, or glued — plywood and treated lumber put genuinely nasty chemicals in your air.
- Never: lighter fluid to “help it along,” cardboard boxes by the armload, or a Christmas tree in January. All three cause flare-ups that can ignite creosote on the spot.
The pre-season checklist
- ☐ Flashlight inspection done — creosote under 1/8″, no nests, no cracked liner
- ☐ Chimney swept (or sweep scheduled) if you burn a cord or more a year
- ☐ Damper opens fully, seals shut; chimney cap present and sound
- ☐ CO detector on the fireplace floor and near bedrooms, in date, tested
- ☐ Screen covers the full opening; ash bucket is metal with a lid
- ☐ Woodpile is seasoned hardwood, stacked off the ground and covered on top
- ☐ Fire extinguisher in the room, gauge in the green
FAQ
How often should a chimney be cleaned, really? The standard answer is annually inspected, cleaned at 1/8 inch of creosote. Heavy burners hit that in one season; light burners may take two or three. The flashlight check tells you which one you are.
Is a gas fireplace exempt? No — gas logs still need the vent checked for blockages and the CO detector still matters. The failure mode is rarer, but a blocked vent on a gas unit is just as dangerous.
Can I sweep from the bottom instead of the roof? Yes — rotary kits work from the firebox up on many flues, and it’s the safer route on steep roofs. Seal the fireplace opening with plastic and tape first; soot goes everywhere otherwise.
What’s that smell on humid days? Creosote and soot absorb moisture and smell like an old campfire when it’s muggy. A cleaning usually fixes it — and a top-sealing damper helps keep humid air out of the flue in the off-season.
Ten minutes of checking and one weekend chore, and your first fire of the season is all reward and no worry. Light it up, y’all.
Leave a Reply