Built & Backyard is reader-supported: we may earn a commission from qualifying purchases made through links on this page, at no extra cost to you.
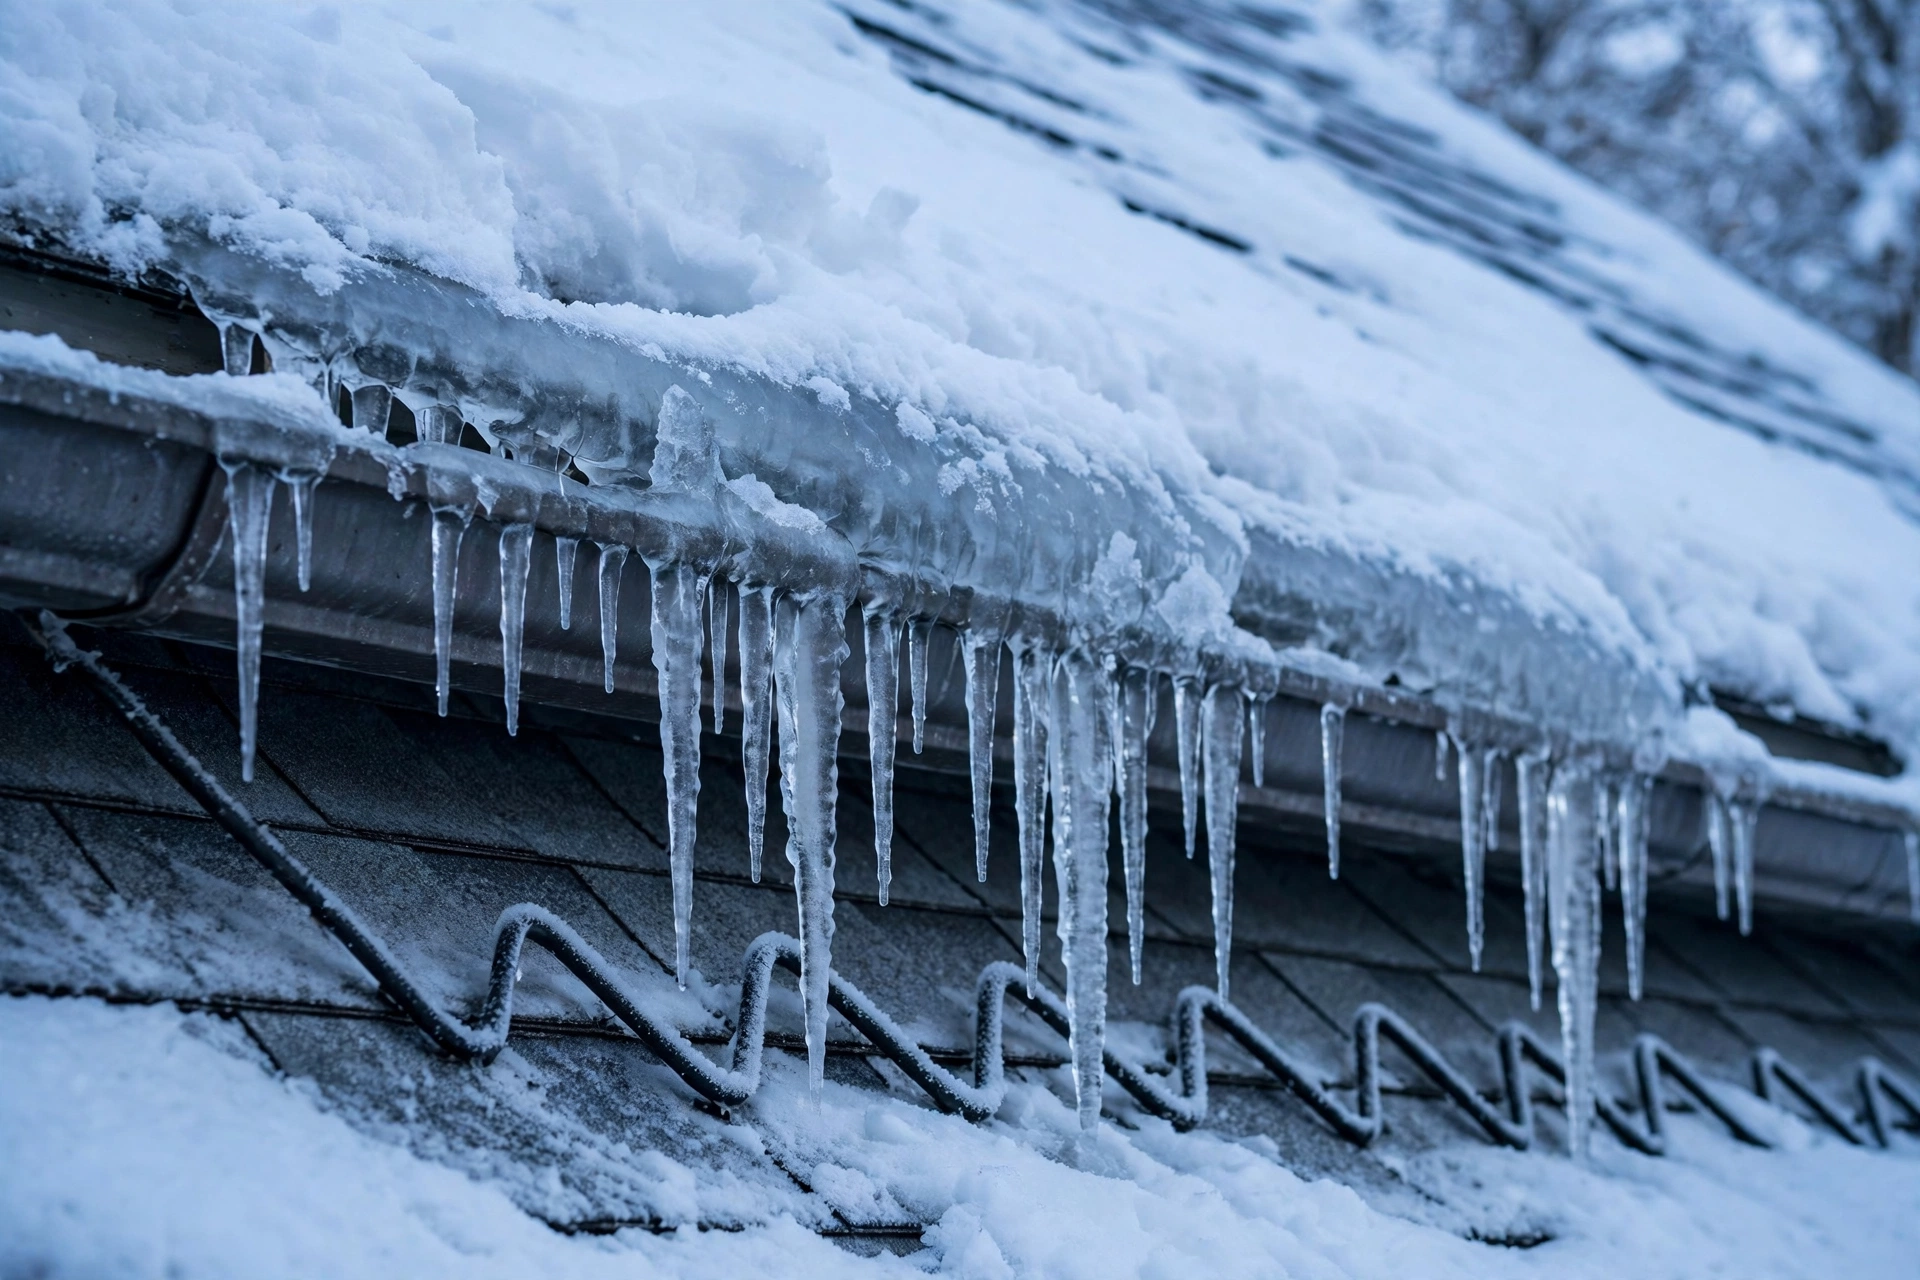
An ice dam is the winter leak that makes no sense until somebody explains it: snow melts on the warm upper part of your roof, runs down to the cold edge, and freezes there into a ridge of ice. Every melt after that ponds behind the ridge until the water finds its way under the shingles and into the wall — which is why the stain shows up on a sunny day after the storm, not during it. The fix is not one product; it is three layers working together. Keep the snow load off the eaves, keep a melt channel open at the edge, and stop the attic heat that starts the whole cycle. Do the first two this weekend and the third before the next cold snap, and the ridge never forms. It pairs naturally with our ice melt & walkway safety guide — same storm, same calcium chloride, one job at ground level and one at the roofline — and with the roof-edge checks in our gutter cleaning guide.
Quick answer
Rake the snow off the bottom three to four feet of roof after every storm over six inches, from the ground, never from a ladder. Run de-icing cable in a zigzag along the eaves and down the downspout before the first freeze. Toss roof melt tablets just above the dam line on roofs you cannot reach. Then fix the cause: vent baffles and sealed attic air leaks, so the roof stays cold and the snow stops melting from underneath.
Step 1: Rake from the ground — the telescoping roof rake
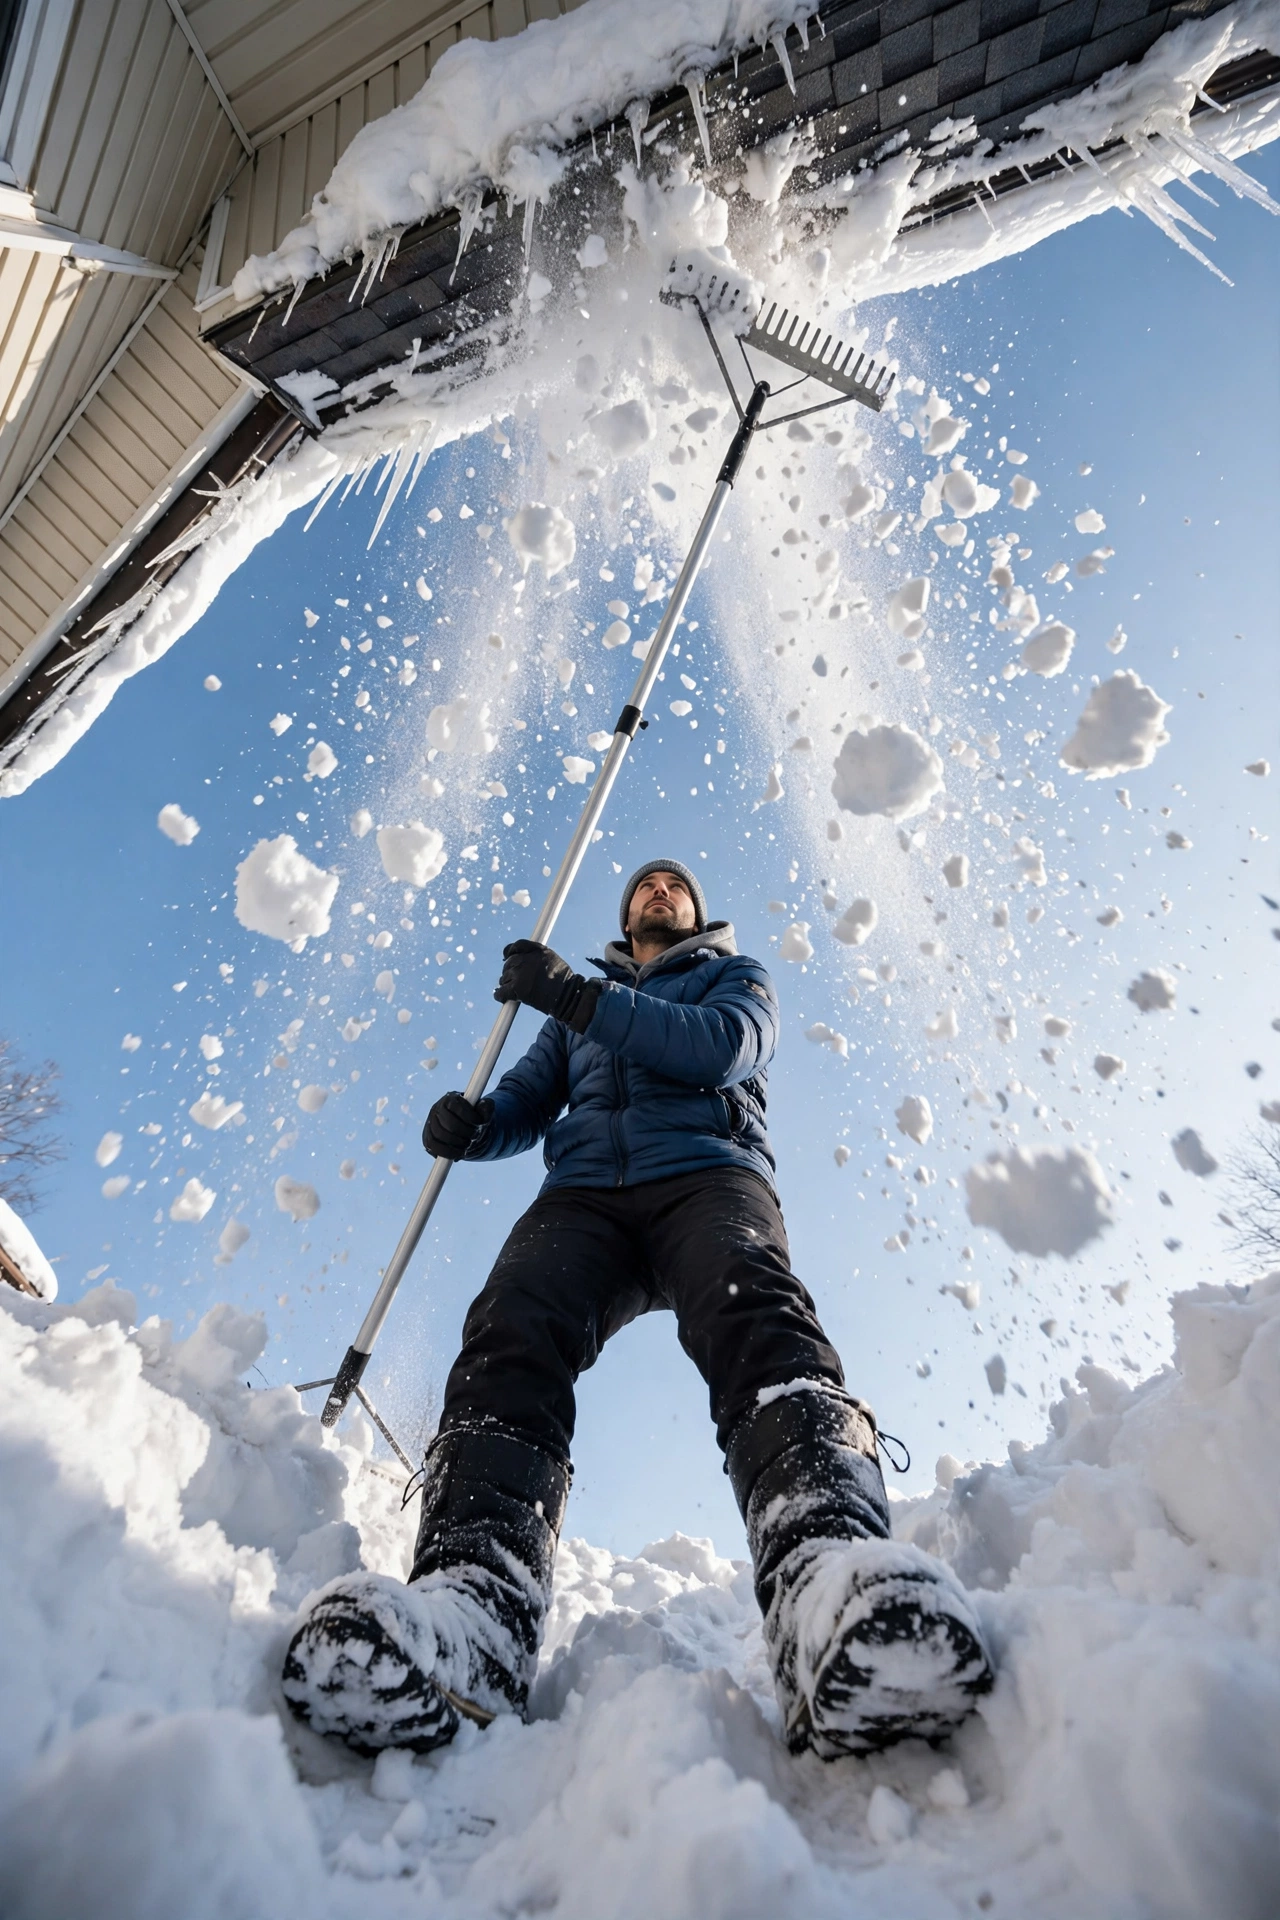
The cheapest ice dam is the one whose snow never melts in place. A roof rake with a telescoping aluminum handle — look for 20 feet of reach or better — lets you pull the snow off the lowest band of roof standing on the ground with both feet planted. Work after each storm, pull down and away in small bites, and leave a thin layer rather than scraping to the shingle: the goal is removing the reservoir that feeds the dam, not polishing the roof. This is also the step that protects the gutter line you cleaned this fall from a winter of ice weight.
Telescoping Aluminum Roof Rake, 20+ Foot Reach
Light sectional aluminum pole, wide poly blade with roller guides that ride over shingles instead of digging in — the snow comes off the eaves in minutes, from the ground, after every storm.
→ Click here to check price on Amazon
Step 2: Keep a channel open — roof & gutter de-icing cable
Where raking cannot keep up — north-facing eaves, shaded valleys, the roof over a heated porch — de-icing cable is the insurance. It lays in a zigzag across the bottom band of shingles, loops over the gutter, and drops down the downspout, holding a melted channel open so runoff always has somewhere to go. Install it on a mild, dry day before the season turns; clipping cable to frozen shingles in January is nobody’s idea of a good Saturday. Plug it into a GFCI outlet and run it during and just after storms, not all winter. This is a different cable from the pipe heat cable in our pipe freeze prevention guide — that one wraps plumbing, this one is rated for shingles, gutters, and weather.
Roof & Gutter De-Icing Heat Cable Kit
Outdoor-rated self-regulating cable with shingle clips and spacer hardware included — sized by the kit for standard eave lengths, zigzag at the edge, loop through the gutter, tail down the downspout.
→ Click here to check price on Amazon
Step 3: The roofs you can’t reach — roof melt tablets
Some eaves are three stories up, over a slope, or simply not rakeable from anywhere safe. For those, calcium chloride roof melt tablets are the stand-in: dense pucks you toss — underhand, like skipping stones — so they land a foot or two above the dam line, where each one melts a vertical channel through the ice for ponded water to escape. Use calcium chloride, not rock salt: it works in real cold and is far kinder to shingles and the plants below. The same chemistry does the walkway in our ice melt guide — one tub on the ground, one box of tablets for the roof.
Calcium Chloride Roof Melt Tablets
Pre-measured pucks that melt a drainage channel through an ice dam from above — no ladder, no chisel, and no gouged shingles from trying to break ice by hand.
→ Click here to check price on Amazon
Step 4: Fix the cause — attic vent baffles
Raking and cable manage the symptom. The cause is almost always upstairs: warm air leaking from the house into the attic warms the roof deck from below, and blocked soffit vents keep the eave edge from staying cold. Rafter vent baffles — the foam or plastic chutes stapled between rafters at the eave — keep insulation from choking off the soffit airflow, so cold outside air washes the underside of the deck and the whole roof stays one temperature. An afternoon in the attic with baffles and a headlamp does more against next year’s dams than any cable, and it pays a second dividend in summer cooling. Pair it with the attic-side checks in our garage insulation guide if the garage ceiling shares the roofline.
Attic Rafter Vent Baffles, Foam, Multi-Pack
Lightweight chutes that hold a clear air channel from soffit to attic over the insulation — the unglamorous fix that stops the melt-freeze cycle at its source.
→ Click here to check price on Amazon
Step 5: Where the meltwater lands — pellets at the drip line
A working dam defence moves a lot of water off the roof — and it lands at the drip line, across the walk and the drive, where it refreezes overnight into exactly the black-ice patch the rest of this programme exists to prevent. A thin pre-storm layer of calcium chloride pellets along the drip line and across the walk below the eaves keeps that landing zone open. It is the same pick that anchors the ice melt guide, doing double duty — one tub serves the roofline above and the concrete below.
Calcium Chloride Ice Melt Pellets
Works to about -25°F where rock salt quits, starts on contact, and is the gentler choice for concrete — a thin layer at the drip line stops meltwater from refreezing where everybody walks.
→ Click here to check price on Amazon
The ridge never has to form
Ice dams feel like bad luck because the damage shows up days after the weather that caused it. They are not luck — they are a sequence, and every step of it has a counter: rake the reservoir off, keep the channel open, melt a drain where you cannot reach, and cool the roof at the source. An hour after each storm and one attic afternoon a year, and the sunny-day ceiling stain becomes a story about the neighbour’s house instead of yours.
Leave a Reply