Disclosure: This post contains affiliate links. If you buy through them, Built & Backyard may earn a commission at no extra cost to you.
Quick answer
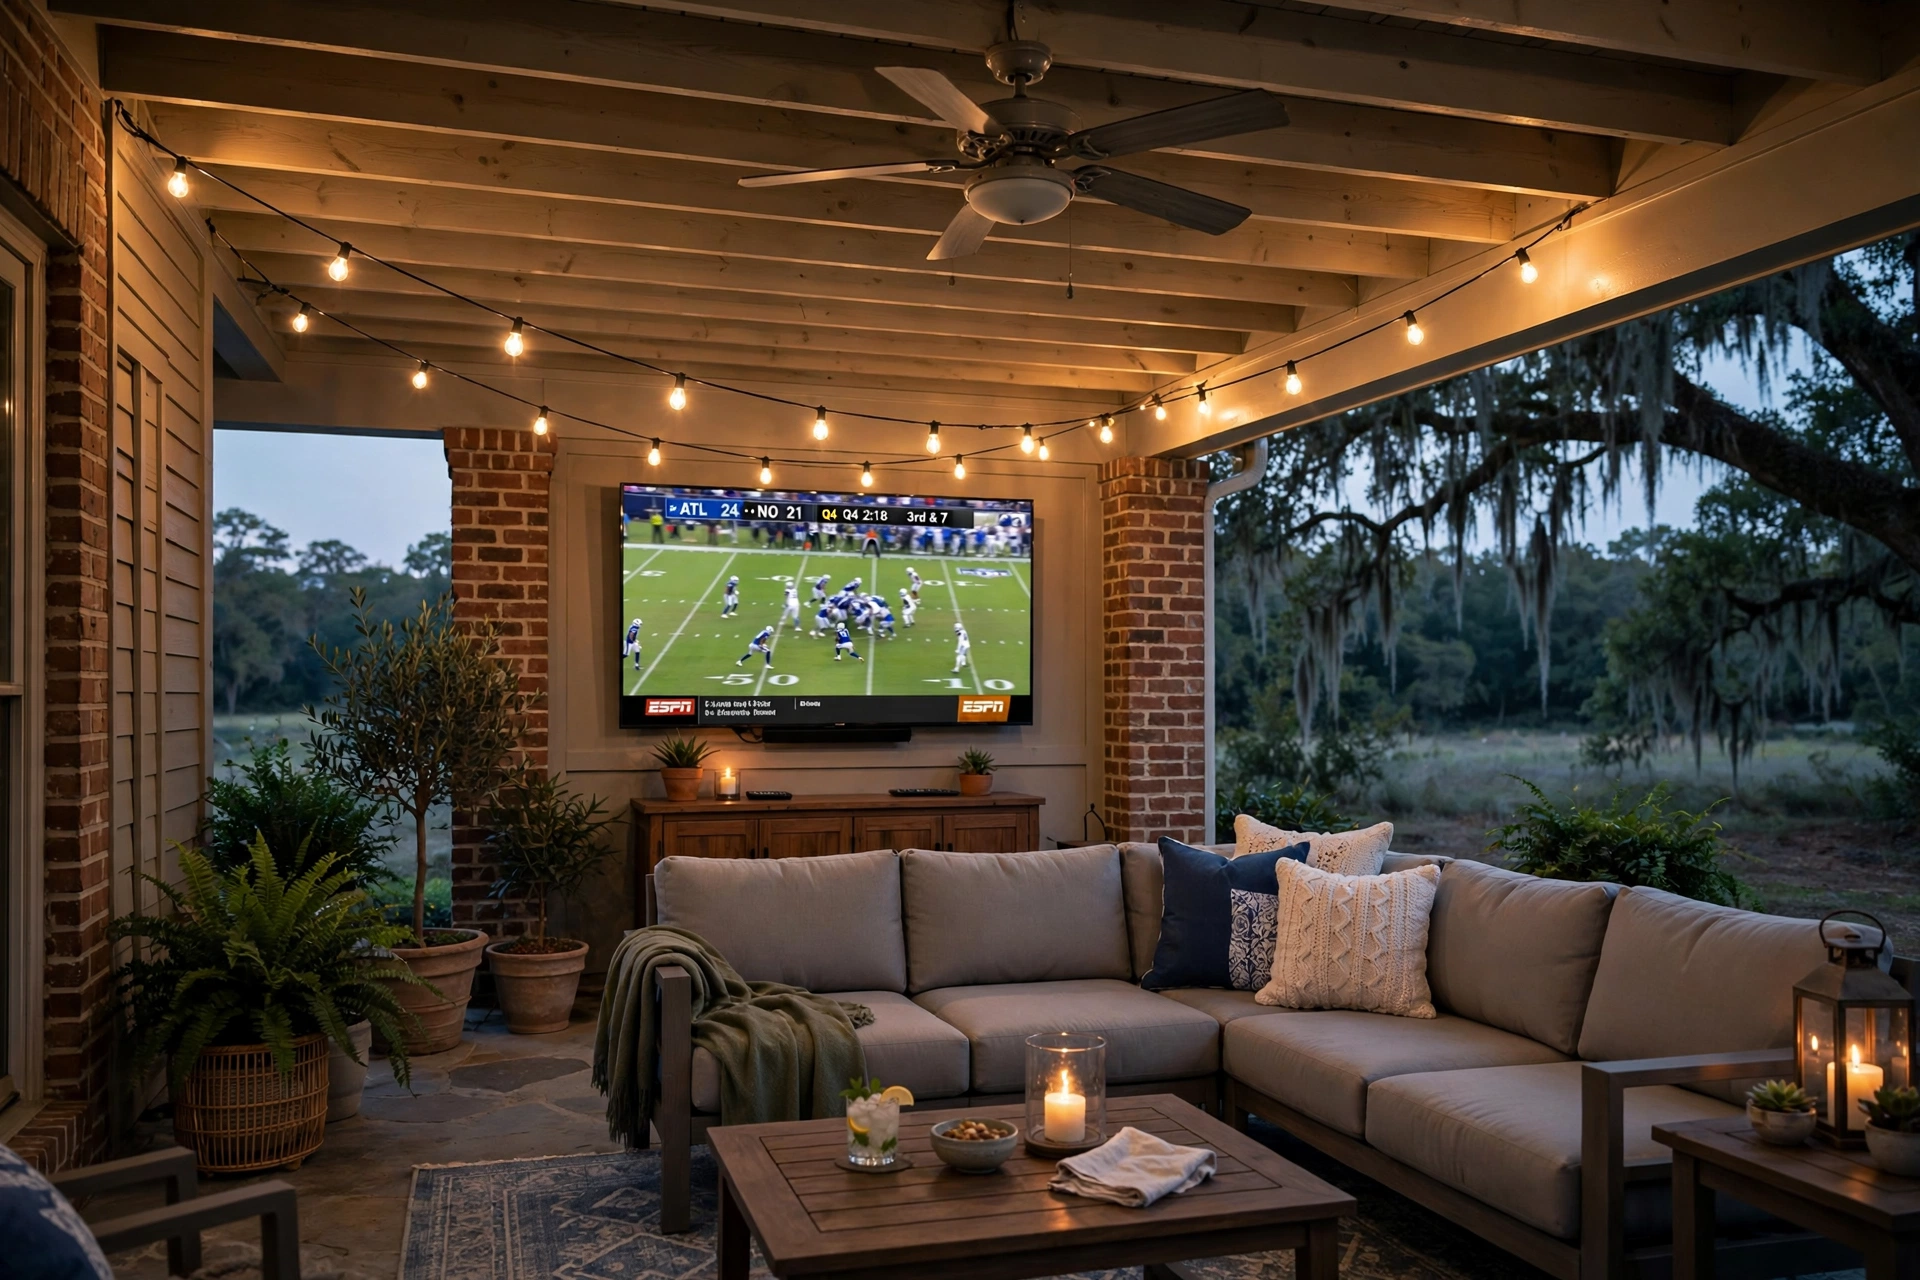
Covered patio, always in shade: almost any TV works if you protect it with a good cover — this is the budget route, and it’s honest about the risk.
Partial sun: you want a TV rated for outdoor use with at least 700–1,000 nits of brightness, or the picture washes out.
Full sun: only a true full-sun outdoor TV (1,500+ nits, anti-glare, sealed against rain and bugs) survives — and yes, they’re expensive.
The TV itself is only about half the setup. A weather-rated mount, outdoor-safe power, and a sound plan matter just as much, and they’re where most backyard setups go sideways.
Step 1: Be honest about your sun
Brightness is measured in nits, and daylight is ruthless. A typical indoor TV puts out 250–400 nits — fine in a living room, nearly invisible on a sunny patio.
- Full shade (covered porch, pergola with a roof, north-facing wall): 400+ nits can work. An indoor TV on this path is a calculated gamble; see Step 2.
- Partial sun (sun hits the screen part of the day): 700–1,000 nits, anti-glare screen. This is where purpose-built “partial sun” outdoor TVs live.
- Full sun (poolside, open deck, south-facing): 1,500+ nits and a panel built to shed heat. Budget accordingly or move the seating instead — sometimes the cheapest fix is turning the setup 90 degrees into shade.
Viewing distance still rules screen size: for 4K, sit roughly 1 to 1.5 times the screen width away. A 55″ TV is the patio sweet spot for most seating areas; go 65″ only if your chairs are 8+ feet back.
Step 2: Outdoor TV vs. regular TV (the real trade-off)
A true outdoor TV is sealed against rain, dust, humidity, and bugs, handles temperature swings from below freezing to triple digits, and is bright enough for daylight. Warranties actually cover outdoor use. Prices start around $1,000 for partial-sun models and climb fast for full-sun.
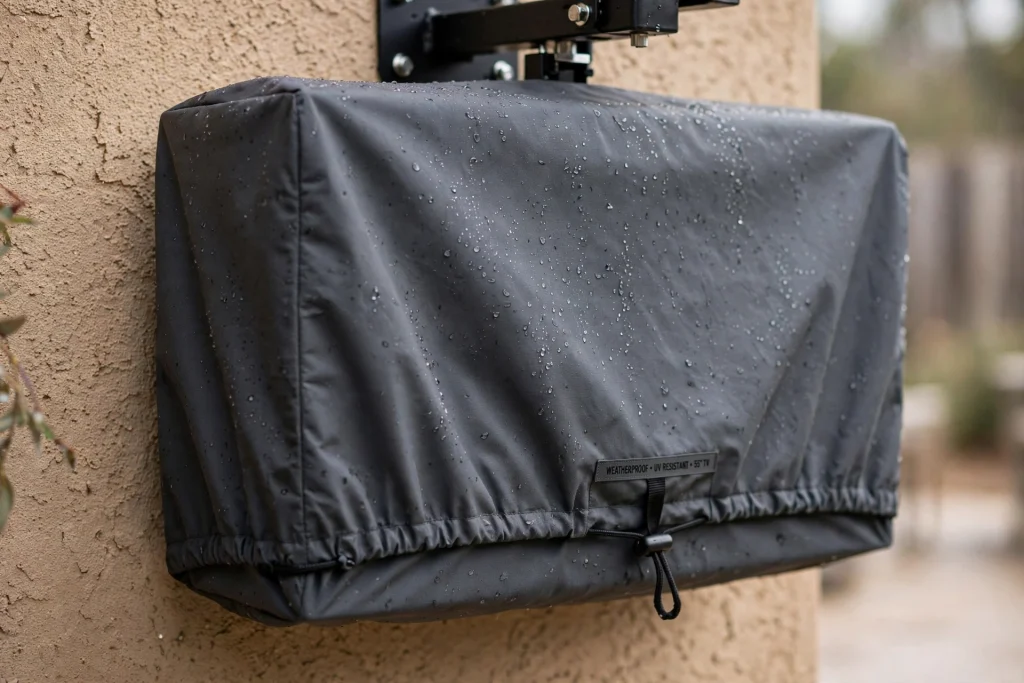
A regular TV outside costs a fraction as much — and its warranty is void the moment you hang it outdoors. Humidity corrodes boards, heat cooks panels, and condensation builds inside the screen. Plenty of people get 2–4 seasons out of a cheap TV under a covered patio with a good cover, and decide a $300 replacement beats a $1,500 outdoor TV. That’s a legitimate strategy if the TV lives in full shade and comes down (or gets covered) in bad weather.
What doesn’t work: an indoor TV in direct sun or open rain. It will die, quickly, and no cover fixes sun damage while you’re watching it.
Step 3: The mount and placement
- Use an outdoor-rated mount — powder-coated or stainless hardware that won’t rust streaks down your wall in the first season. Full-motion mounts are worth it on patios: angle away from glare in the afternoon, swing it toward the fire pit at night.
- Mount to structure, not siding. Lag bolts into studs or masonry. A 55″ TV plus mount can top 60 lbs, and wind load on a patio is real.
- Height: center of screen at seated eye level (about 42″ for patio chairs) unless it’s going over an outdoor fireplace — then tilt it down and accept the compromise.
- Leave airflow. Don’t box a TV into a sealed enclosure without ventilation; heat kills more outdoor TVs than water does. If you build or buy an enclosure, it needs vents or fans.
Step 4: Power, signal, and sound
Power: Run power from a GFCI-protected outdoor outlet — non-negotiable for anything electrical outside. In-use (“bubble”) outlet covers keep rain out while cords stay plugged in. If the outlet isn’t where the TV is, that’s an electrician job, not an extension-cord-across-the-yard job; cords are for game day, not permanent installs.
Signal: Most patios stream. Check your Wi-Fi strength at the TV before mounting — patios are far from routers and exterior walls eat signal. Fixes, in order: move/upgrade the router, a mesh Wi-Fi node indoors near the patio wall, or a streaming stick that lives in a weatherproof box behind the TV. Cable/satellite runs need outdoor-rated coax and a plan for the box.
Sound: TV speakers firing at the great outdoors lose to lawn mowers, pool pumps, and your neighbor’s everything. A weatherproof soundbar under the TV is the cleanest upgrade; a portable waterproof Bluetooth speaker is the flexible one (and it comes inside with you). For big yards, outdoor rock/landscape speakers are the permanent solution.
Picks by setup
The TV: partial-sun outdoor TV
Sealed, bright, and warranted for outdoor use — the one to buy if your patio gets part-day sun and you want to do this once.
Click here to check price on Amazon
The budget route: indoor TV + a serious cover
If your spot is fully shaded and covered, a fitted weatherproof cover is what makes the cheap-TV strategy work — it blocks humidity, dust, and UV between watch sessions.
Click here to check price on Amazon
The mount: full-motion outdoor mount
Rust-resistant hardware and enough swing to dodge glare. Size it to your TV’s weight, not just its screen inches.
Click here to check price on Amazon
The sound: weatherproof soundbar
Dialogue you can actually hear over the grill fan. Look for an IP rating and an HDMI ARC connection so the TV remote still runs the show.
Click here to check price on Amazon
The signal saver: outdoor mesh Wi-Fi / weatherproof box
If the stream buffers, start here: a mesh node near the patio, and a weatherproof enclosure box for the streaming stick and connections behind the TV.
Click here to check price on Amazon
Don’t forget
- A cover is maintenance, not magic. Even a true outdoor TV lasts longer covered when it’s off for weeks.
- Cold snaps: if you went the indoor-TV route, manufacturer storage ratings usually bottom out around -4°F to 14°F — in a hard freeze, a shaded patio TV is safer spending a few nights in the garage. Our garage insulation guide helps either way.
- Game-day power backup: a patio setup plus a storm outage is how TVs meet the great beyond. Our generator sizing guide covers keeping the essentials running — safely, and never with the generator on the patio itself.
- Viewing party ready: pair the finished setup with the picks on our Recommended Gear page for the rest of the backyard.
Follow along: every guide we publish goes up on the Built & Backyard Facebook page — follow us there so you don’t miss the next one.
Leave a Reply