Built & Backyard is reader-supported: we may earn a commission from qualifying purchases made through links on this page, at no extra cost to you.
Winter is when the water heater works hardest — colder water coming in, longer showers, a house full of holiday guests — and it’s also when a neglected one chooses to fail. Most failures aren’t sudden: sediment cooks on the bottom of the tank for years, the anode rod quietly sacrifices itself down to wire, and a slow drip at a fitting goes unnoticed until it’s a floor problem. One hour of maintenance each fall fixes all three, and in a lot of Southern homes the heater sits in the garage, so this pairs naturally with our garage organization weekend — clear a path to it first, then run this list. Safety first, every time: turn the power off at the breaker (electric) or set the gas control to pilot, and let the water cool below 120°F before draining anything. Hot tank water scalds.
Quick answer
Flush a few gallons (or the whole tank) to clear sediment, pull and inspect the anode rod and replace it if it’s down to wire or coated in calcium, set the thermostat to 120°F, wrap the tank only if it’s a smooth-sided electric model (never cover a gas flue, burner or controls), insulate the first six feet of hot and cold pipe, and set a leak alarm on the floor beside it.
Step 1: Flush the sediment out
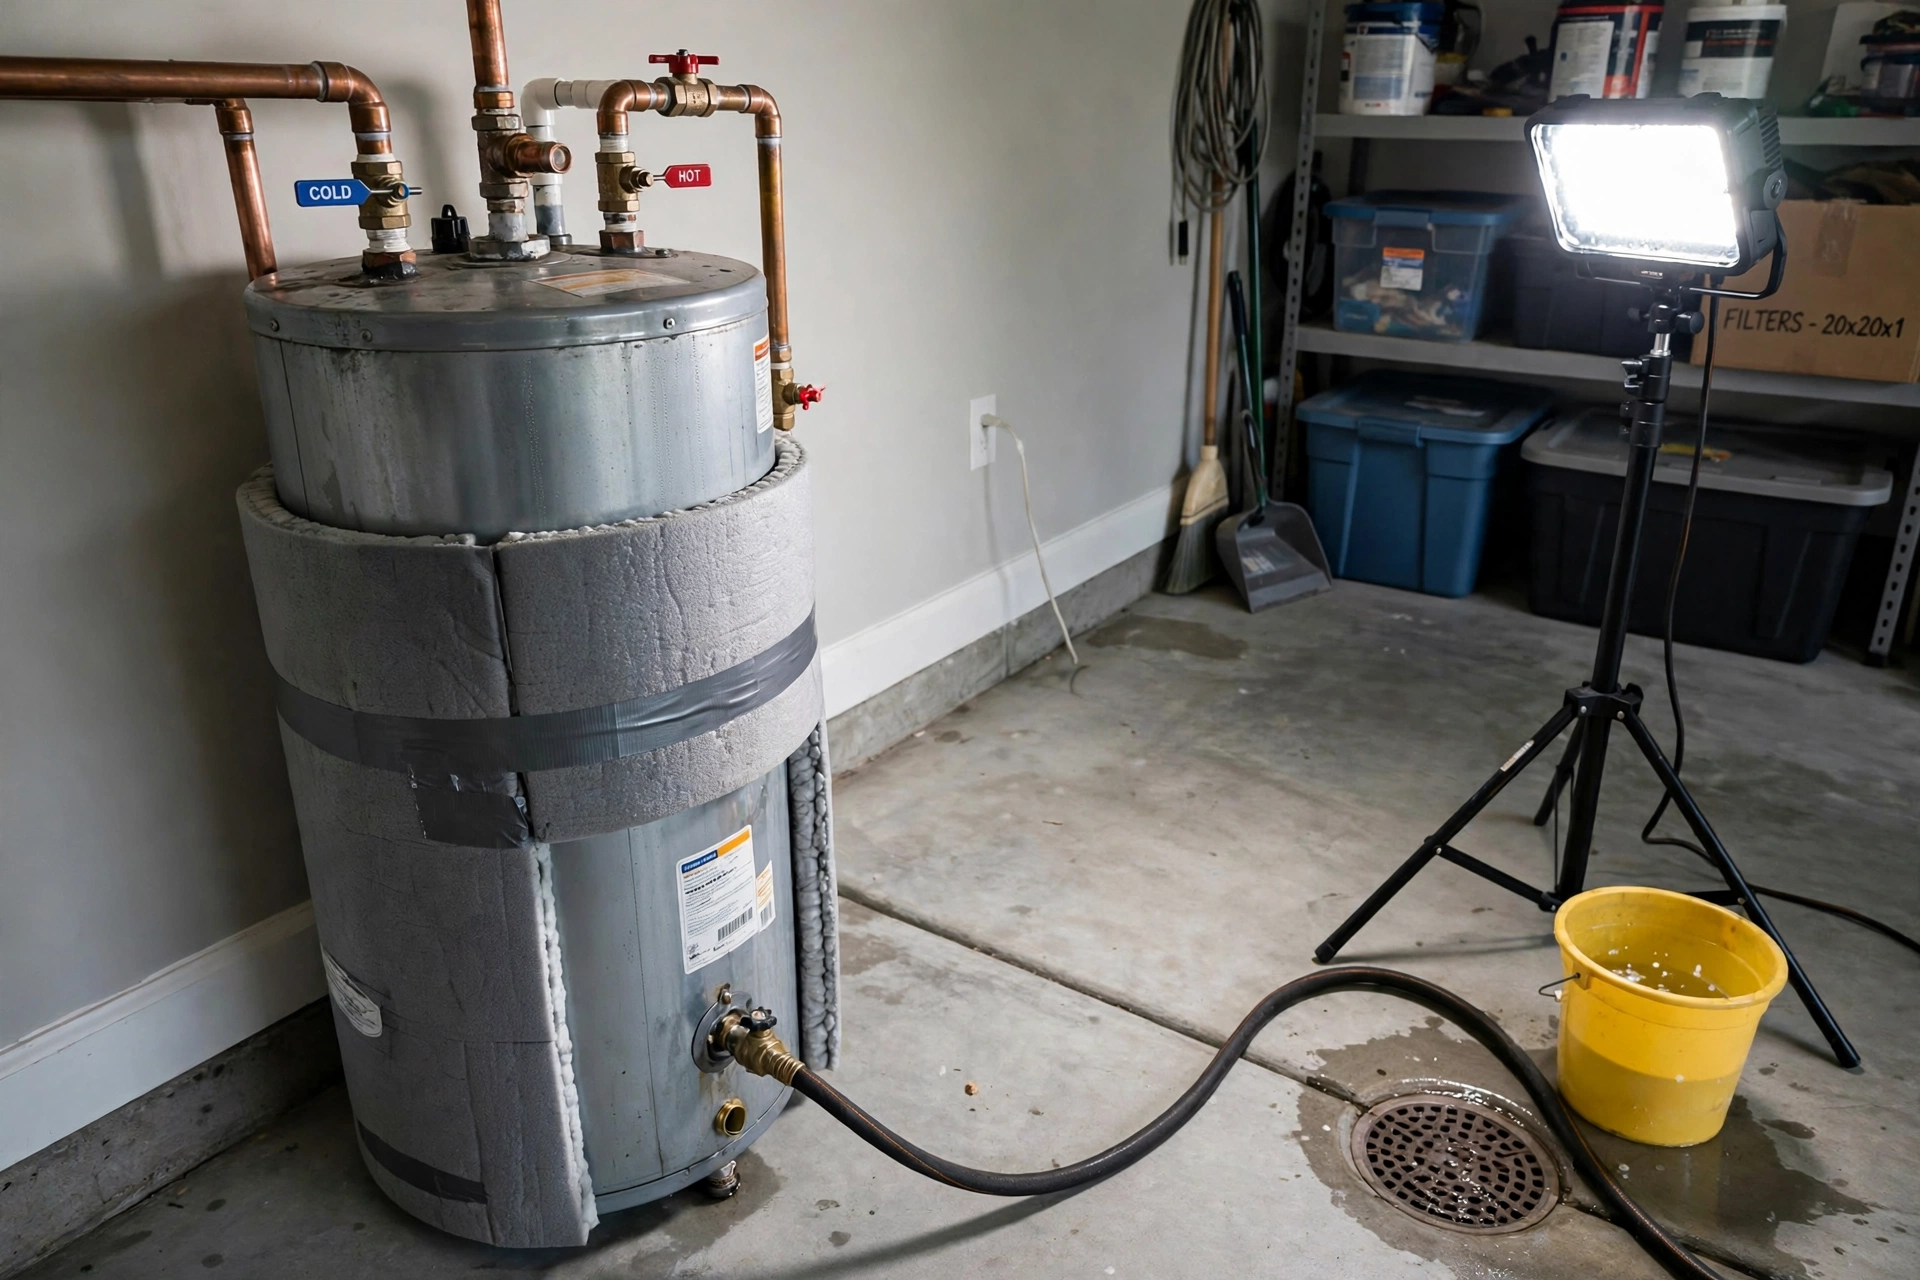
Rumbling or popping from the tank is sediment boiling — minerals that settled out, hardened, and now insulate the water from the burner or elements, so the heater runs longer to do the same job. Hook a hose to the drain valve, run it somewhere safe to drain, open a hot tap upstairs to break the vacuum, and drain until the water runs clear. A short, kink-free drain hose with proper brass fittings matters more than it sounds: the drain valve is the lowest point in the system and a cheap hose that splits mid-flush puts gallons on the floor.
Heavy-Duty Water Heater Drain Hose, 10 ft
Short, reinforced and fitted for a tank drain valve: long enough to reach a floor drain or the driveway, stiff enough not to kink at the valve, and it stores coiled on a hook the other 364 days of the year.
→ Click here to check price on Amazon
Step 2: Check the anode rod — the part designed to die so the tank doesn’t
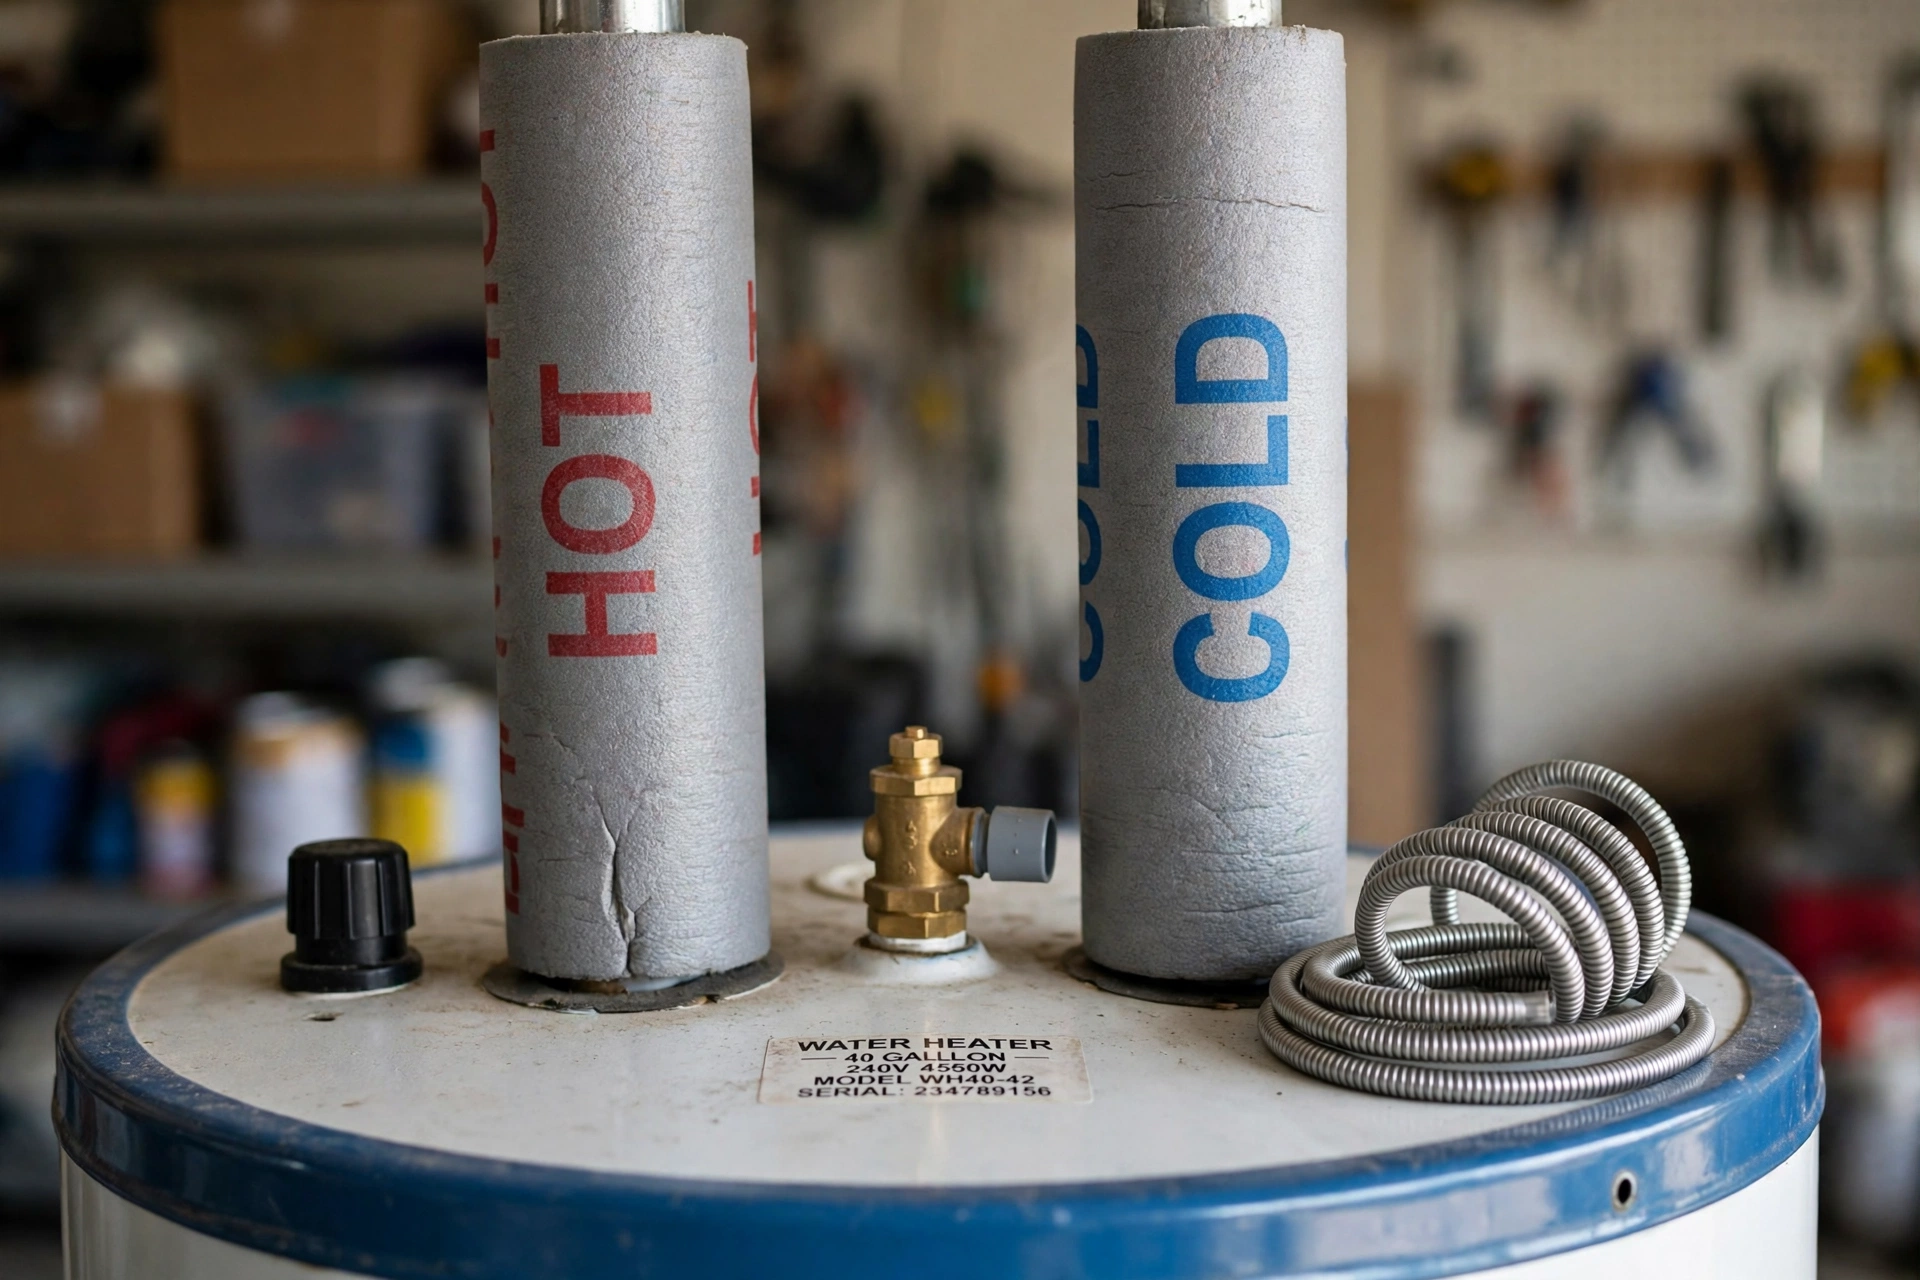
Inside every tank hangs a magnesium or aluminum rod that corrodes on purpose, drawing the attack that would otherwise eat the tank lining. When it’s gone — typically every 3–5 years — the tank itself starts corroding, and that’s the countdown to a replacement. Shut off the cold supply, drain a few gallons, and break the rod loose from the top of the tank (it’s tight; a breaker bar helps). If what’s left is a thin wire core, or it’s caked in calcium, replace it. In a garage or closet with low clearance, a flexible segmented rod bends into place where a rigid 44-inch rod never will.
Flexible Magnesium Anode Rod for Water Heaters
Segmented on a steel cable, so it installs through tight ceilings and closet doors without tilting the tank — magnesium, not aluminum, so it protects longer and doesn’t add the sulfur smell aluminum rods can cause in some well and city water.
→ Click here to check price on Amazon
Step 3: Set 120°F, then wrap — only where wrapping is safe
120°F is the settled number: hot enough to keep bacteria down and showers comfortable, cool enough to cut standby loss and scald risk. If the tank is warm to the touch, it’s losing heat into the room around the clock. An insulation blanket pays on older, smooth-sided electric tanks. Read this part twice: never wrap a gas tank’s top, flue, burner compartment or controls, never cover the temperature-and-pressure relief valve or its pipe, and if the manufacturer’s label says do not wrap, don’t. When in doubt, skip the blanket and do Step 4 instead — the pipes lose plenty on their own.
Water Heater Insulation Blanket Jacket (R-11, fits up to 60 gal)
A pre-cut fiberglass blanket with tape included, sized for standard tanks: wrap the sides, cut around fittings and valves, and leave every control, label and vent fully clear.
→ Click here to check price on Amazon
Step 4: Insulate the first six feet of pipe
The first run of pipe off the top of the tank — hot side and cold side — radiates heat every hour of the day, and in an unheated garage it’s also the first run to feel a January freeze. Foam sleeves are the cheapest fix in this whole guide: pre-slit, pushed on by hand, trimmed with scissors. This is the same foam and the same logic as the pipe work in our outdoor faucets guide, just indoors where the heater lives.
Foam Pipe Insulation Tubes, 3/4 in (6-pack)
Pre-slit polyethylene tubes that snap over standard 3/4-inch lines: six feet on the hot outlet, six on the cold inlet, corners mitered with a utility knife and taped.
→ Click here to check price on Amazon
Step 5: Put a leak alarm where you can’t see
Most heater leaks start as a drip at the drain valve, a fitting, or the relief valve — weeks of warning, if anything is watching. A battery leak alarm on the floor beside the tank (or inside the drain pan, if you have one) turns that drip into a noise you hear the same day instead of a warped floor you find in February. Test the T&P relief valve while you’re standing there: lift the lever briefly, confirm a short burst into the discharge pipe, and if it dribbles afterward or won’t reseat, that’s a plumber call, not a DIY part swap to learn on.
Water Leak Alarm Detector (3-pack, battery included)
Loud, simple, no app and no hub: one sensor beside the heater, one under the kitchen sink, one behind the washing machine — the three places houses actually leak.
→ Click here to check price on Amazon
The winter-ready heater, settled
Flush the sediment, keep a live anode rod in the tank, hold 120°F, wrap only what’s safe to wrap, sleeve the first pipes, and let a $15 alarm watch the floor. An hour in November is the difference between a heater that hums through the coldest weeks and one that quits during them — usually on the coldest morning, with guests in the house.
Leave a Reply